
The case for grilling whole birds
I used to think grocery store rotisserie was the gold standard for convenience, but the grill actually does it better. You get a level of char and moisture control that a plastic container can't match. It's less about copying the store and more about making something that actually tastes like fire and smoke.
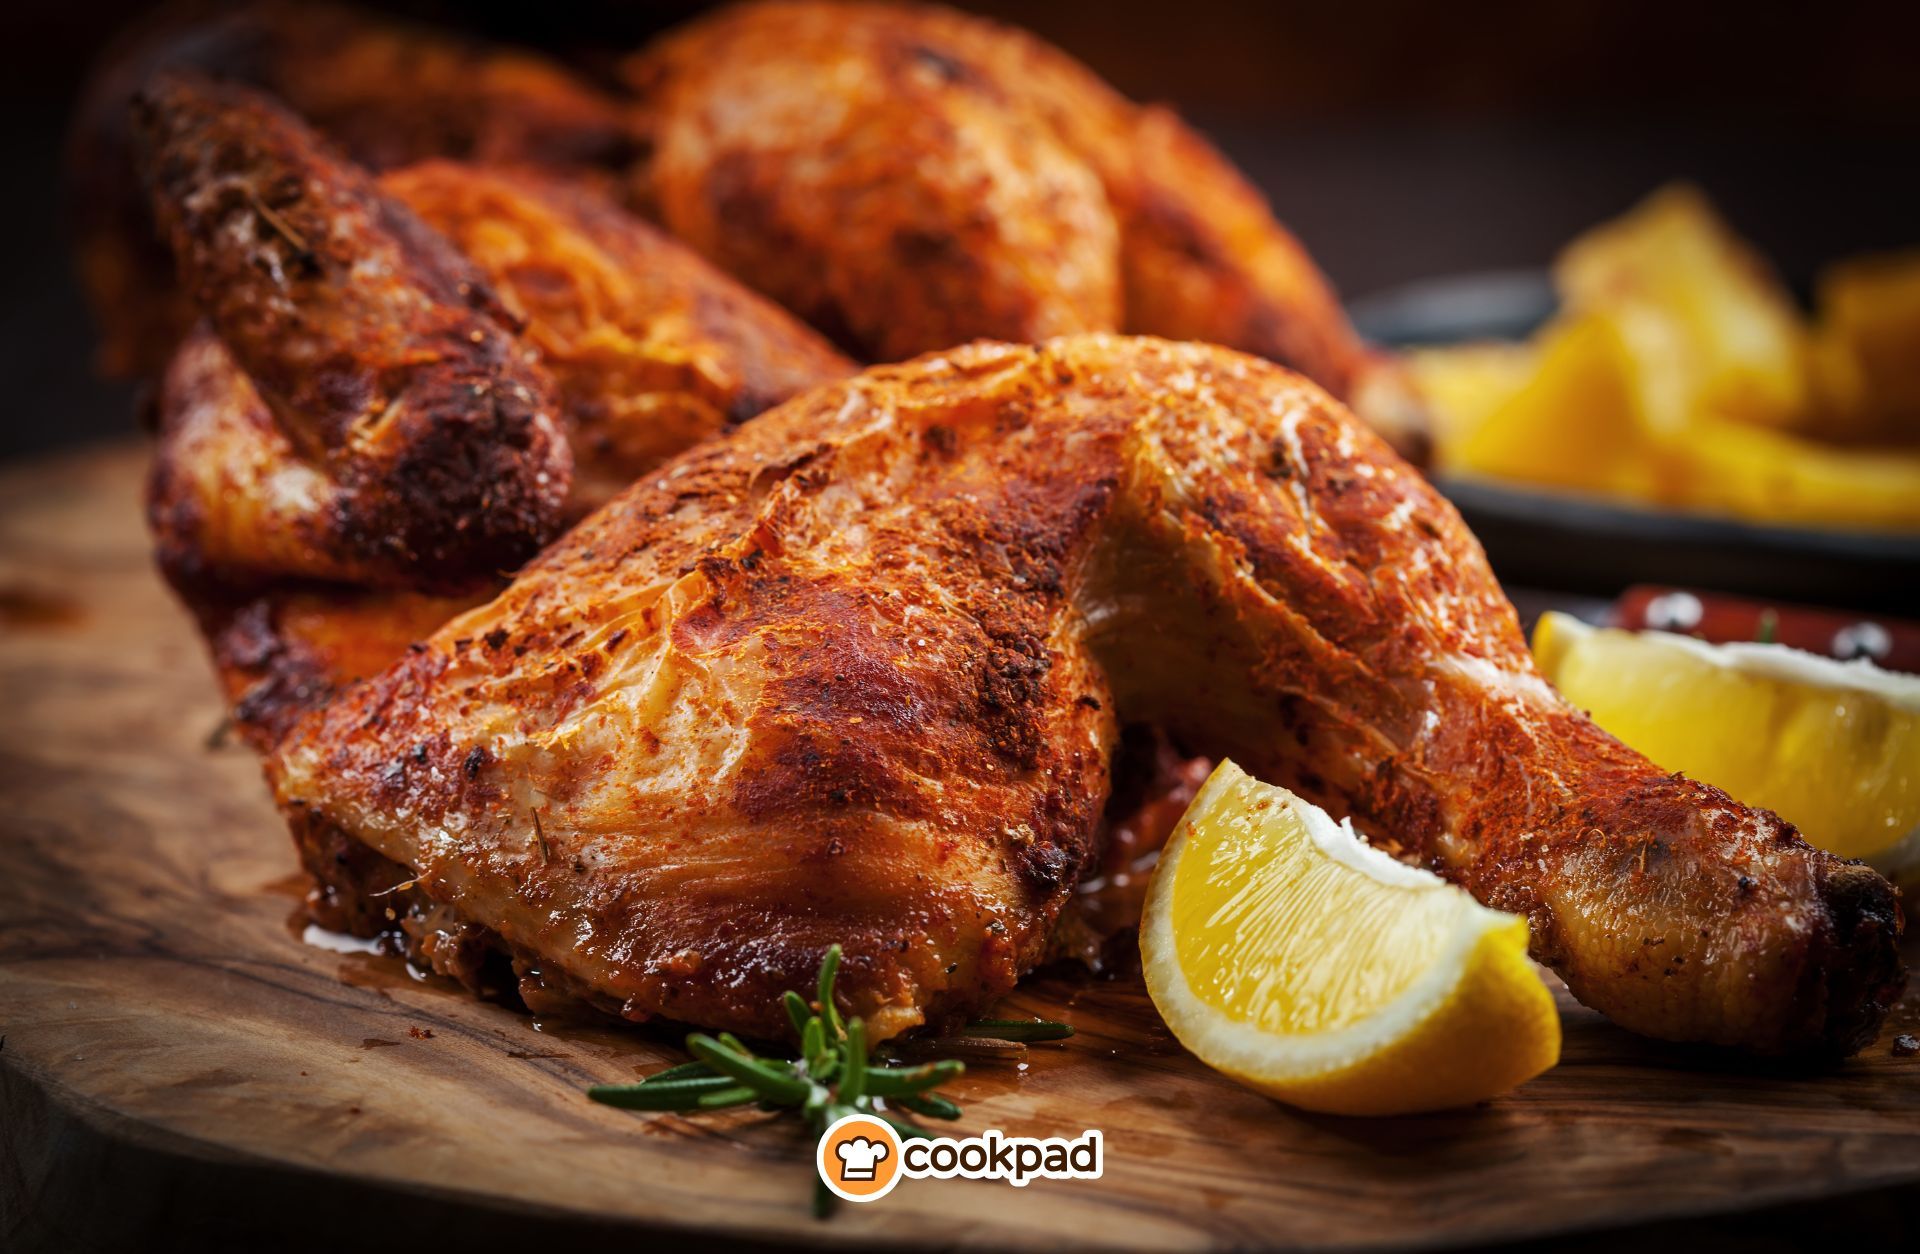
Grilling a whole chicken offers a flavor complexity you simply can't get from a rotisserie. The smoky char from the grill, the rendered fat basting the meat as it cooks, and the ability to customize seasonings all contribute to a truly exceptional final product. Plus, there’s a definite 'wow' factor when you present a beautifully grilled chicken to the table. It feels more special, more celebratory.
What's driving this trend? Partly, it's accessibility. More people are investing in quality grills, and techniques like spatchcocking (we'll get to that) have made whole chicken grilling surprisingly achievable for home cooks of all skill levels. It's about moving beyond burgers and steaks and embracing a more rewarding cooking experience – one that delivers both incredible flavor and a satisfying sense of accomplishment.
Safe handling and prep
Before we even think about seasoning or heat, let’s talk safety. The USDA’s Food Safety and Inspection Service (FSIS) is your go-to resource for proper chicken handling (fsis.usda.gov). This isn’t something to skim over; it’s the foundation of a safe and enjoyable grilling experience. Start with thawing – never thaw chicken at room temperature. The safest methods are in the refrigerator, in cold water (changing the water every 30 minutes), or in the microwave (followed by immediate cooking).
Cross-contamination is a major concern. Ensure all surfaces that come into contact with raw chicken – cutting boards, knives, countertops – are thoroughly cleaned and sanitized with hot, soapy water and a bleach solution. Wash your hands meticulously after handling raw chicken. This is absolutely non-negotiable. Keep raw chicken separate from cooked foods and other ingredients to prevent the spread of bacteria.
Internal temperature is the ultimate indicator of doneness. The FSIS recommends cooking chicken to an internal temperature of 165°F (74°C). Use a reliable meat thermometer inserted into the thickest part of the thigh, avoiding the bone. Brining, while optional, can contribute to a juicier bird. A brine helps the chicken retain moisture during cooking, but it's not a substitute for proper cooking techniques and temperature monitoring. A wet brine can make the skin less crispy, so keep that in mind.
Spatchcocking for even heat
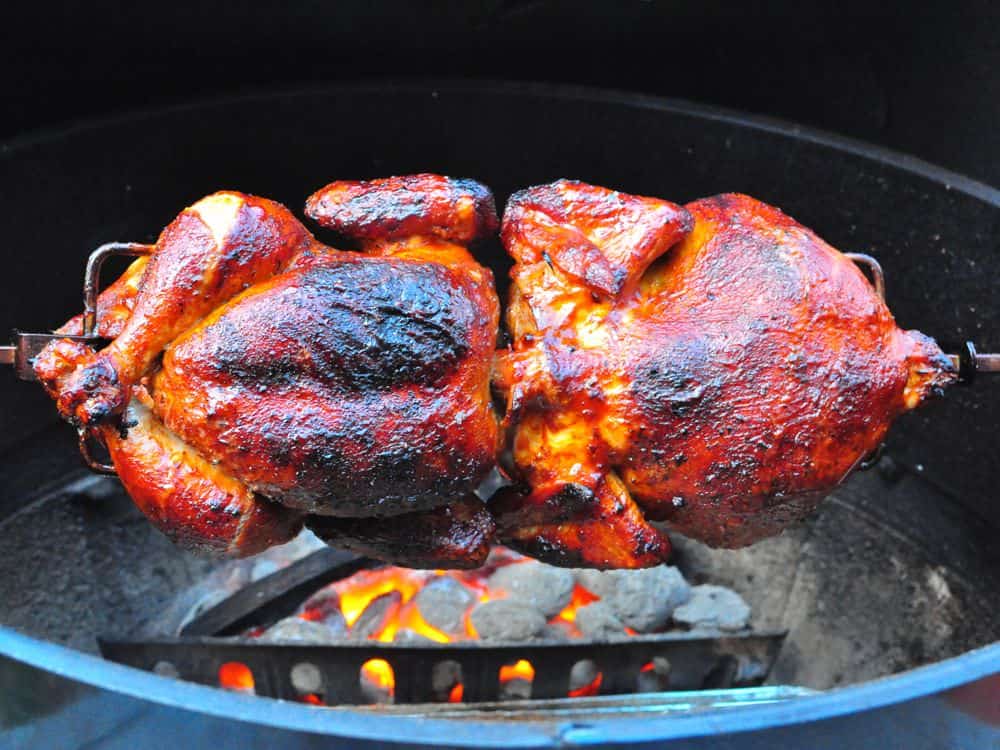
If you’re serious about grilling whole chicken, learn to spatchcock it. Also known as butterflying, this technique involves removing the backbone of the chicken, allowing it to lay flat. Why is it so effective? It drastically reduces cooking time, ensures even cooking (no more dry breast!), and promotes incredibly crispy skin. It’s a bit daunting at first, but trust me, the results are worth it.
To do this, put the bird breast-side down and use kitchen shears to cut along both sides of the backbone. Pull the bone out—I save mine for stock—then flip it over and press the breastbone until it cracks and flattens. Helen Rennie’s June 2025 tutorial is the best guide if you want to see the hand placement.
While you can grill a whole chicken without spatchcocking, it’s significantly more challenging to achieve consistent results. Without flattening the bird, you’re fighting against uneven heat distribution and longer cooking times. Spatchcocking transforms the process, making it much more approachable and predictable. It’s the single biggest improvement you can make to your whole chicken grilling game. Helen Rennie's video on YouTube is a great resource for seeing it done (uploaded June 26, 2025).
If you're really hesitant about spatchcocking, you can try grilling the chicken upright, but be prepared for a longer cook time and potentially uneven results. Consider propping the chicken up with beer cans or a grill stand to promote air circulation.
Dry vs. wet brining
Brining – whether dry or wet – is all about enhancing flavor and moisture retention. Wet brining involves submerging the chicken in a saltwater solution, often with added herbs and spices. Dry brining, on the other hand, involves coating the chicken with a generous amount of salt and letting it sit in the refrigerator for a period of time. Both methods draw moisture into the meat, but they do so in different ways.
Wet brining relies on osmosis to pull water into the chicken, but it can also dilute the flavor and result in a less crispy skin. Dry brining, however, allows the salt to penetrate the meat more effectively, seasoning it throughout and ultimately leading to a more flavorful and juicy final product. The salt also helps to break down proteins, resulting in a more tender texture. It’s a more modern technique gaining traction for good reason.
The Mediterranean Dish recommends a dry brine of about 1 teaspoon of kosher salt per pound of chicken, left in the refrigerator for at least 4 hours, and up to 24 hours. I find this to be a solid starting point. Regardless of which method you choose, remember that salt is a powerful flavor enhancer. Don't be afraid to experiment with different seasonings and herbs to create your own signature brine.
Direct and indirect heat zones
Mastering grill heat control is essential for grilling a whole chicken. We're aiming for a combination of direct and indirect heat. Direct heat – placing the chicken directly over the flames or coals – is used for searing and achieving that beautiful, crispy skin. Indirect heat – moving the chicken to a cooler part of the grill – is used for cooking the meat through evenly.
The setup will vary depending on your grill type. On a gas grill, you can create two zones: one with all burners on high for direct heat, and one with burners off or on low for indirect heat. On a charcoal grill, bank the coals to one side, creating a hot zone and a cooler zone. Pellet grills offer precise temperature control, making it easy to maintain both direct and indirect heat zones.
I sear the bird over direct heat for about six minutes per side to get the skin moving, then slide it to the cool zone. Keep the grill around 350°F. If you guess the internal temp, you'll probably end up with dry meat.
- Scrub the grates clean before lighting the fire.
- Preheat grill to medium-high heat.
- Create direct and indirect heat zones.
- Have meat thermometer ready.
Rub recipes for 2026
Beyond salt and pepper, 2026 is seeing a surge in bold and globally-inspired flavor profiles. Forget the basic barbecue rub – it’s time to get creative. One trending option is Spicy Korean Gochujang: Combine 2 tablespoons gochujang, 1 tablespoon soy sauce, 1 tablespoon honey, 1 teaspoon sesame oil, 1 teaspoon garlic powder, and ½ teaspoon ginger powder.
Another popular choice is Lemon-Herb Mediterranean: Mix 2 tablespoons lemon zest, 2 tablespoons chopped fresh oregano, 1 tablespoon chopped fresh rosemary, 1 tablespoon garlic powder, 1 teaspoon salt, and ½ teaspoon black pepper. For something with a smoky kick, try Smoked Paprika & Brown Sugar: Combine 2 tablespoons smoked paprika, 2 tablespoons brown sugar, 1 tablespoon garlic powder, 1 tablespoon onion powder, 1 teaspoon cayenne pepper, and 1 teaspoon salt.
Finally, a bold Chipotle-Lime blend is gaining traction: Mix 2 tablespoons chipotle powder, 2 tablespoons lime zest, 1 tablespoon garlic powder, 1 tablespoon onion powder, 1 teaspoon cumin, and 1 teaspoon salt. Feel free to adjust the ratios to your liking. The key is to experiment and find what flavors you enjoy most.
Resting and carving
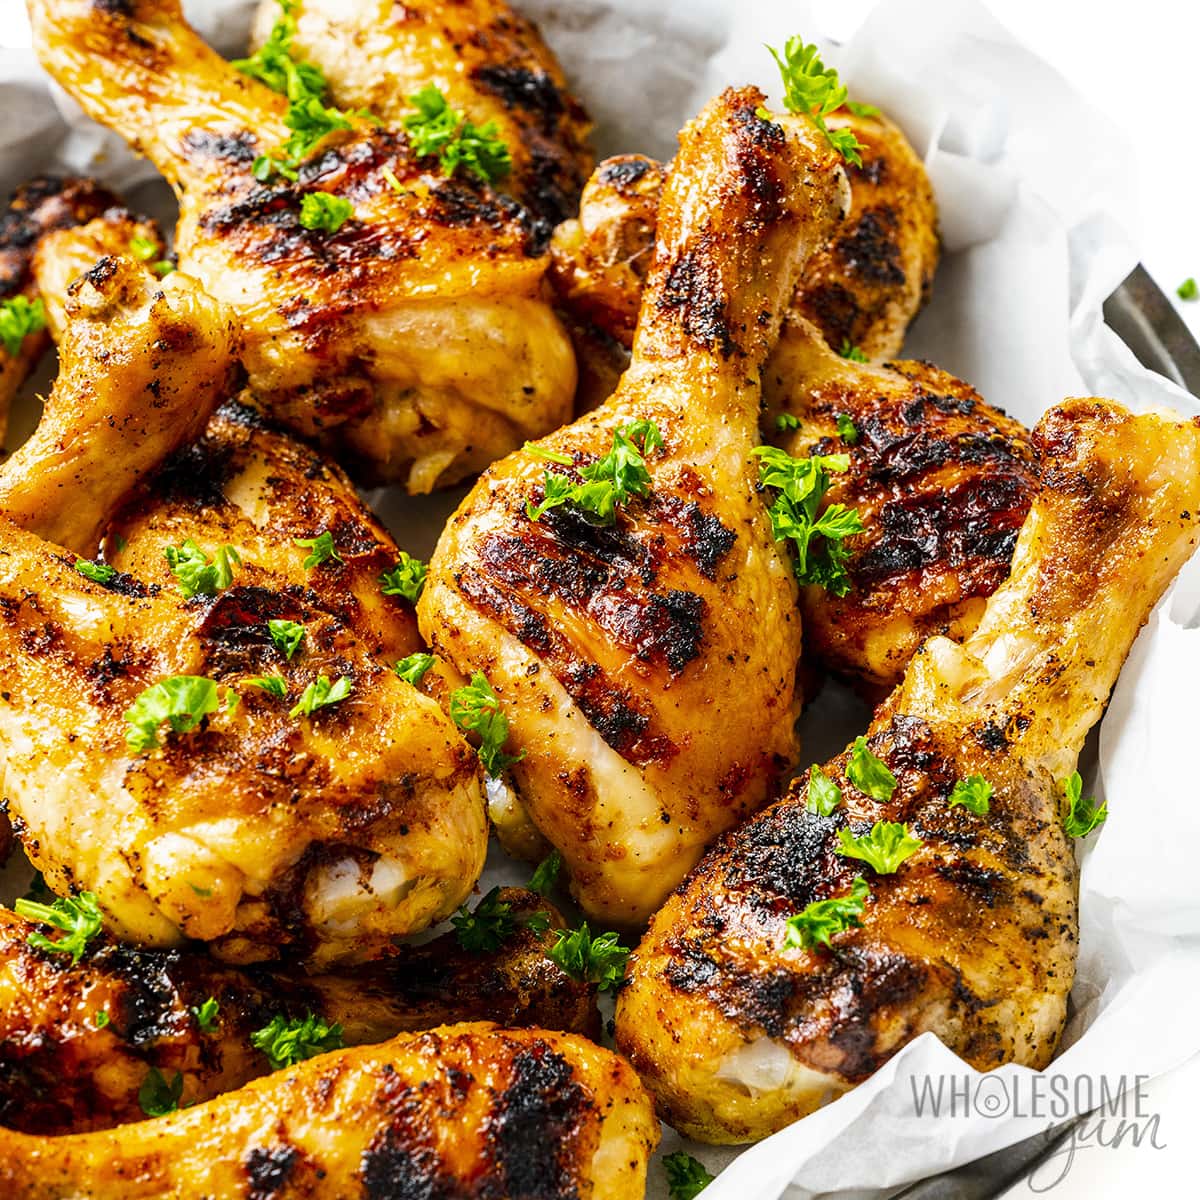
Once the chicken reaches 165°F (74°C), remove it from the grill and let it rest for at least 15-20 minutes. This allows the juices to redistribute throughout the meat, resulting in a more tender and flavorful final product. Tent it loosely with foil to keep it warm.
Carving a whole chicken can seem intimidating, but it's actually quite straightforward. Start by removing the legs and thighs, then separate the wings. Finally, carve the breast meat, slicing against the grain. There are plenty of helpful videos online demonstrating proper carving techniques. For a visual guide, check out a carving tutorial on YouTube.
With a little practice, you’ll be presenting beautifully carved, perfectly grilled whole chickens that are sure to impress. It’s a skill worth mastering, and the reward – a delicious and satisfying meal – is well worth the effort.
Doneness Indicators for Grilled Whole Chicken (Use a Thermometer for Accuracy)
| Internal Temperature | Juice Color | Meat Firmness | Overall Appearance |
|---|---|---|---|
| 165°F (74°C) | Clear | Firm, springs back when pressed | Skin is golden brown and crispy |
| 160-165°F (71-74°C) | Slightly pink | Resistant to pressure, but still some give | Skin is browned, starting to crisp |
| 150-160°F (66-71°C) | Pink | Soft to the touch | Skin is browning, not yet crispy |
| 140-150°F (60-66°C) | Reddish-pink | Very soft and pliable | Skin is pale, not browned |
| Below 140°F (60°C) | Red | Extremely soft | Skin is pale and uncooked |
Illustrative comparison based on the article research brief. Verify current pricing, limits, and product details in the official docs before relying on it.
No comments yet. Be the first to share your thoughts!