
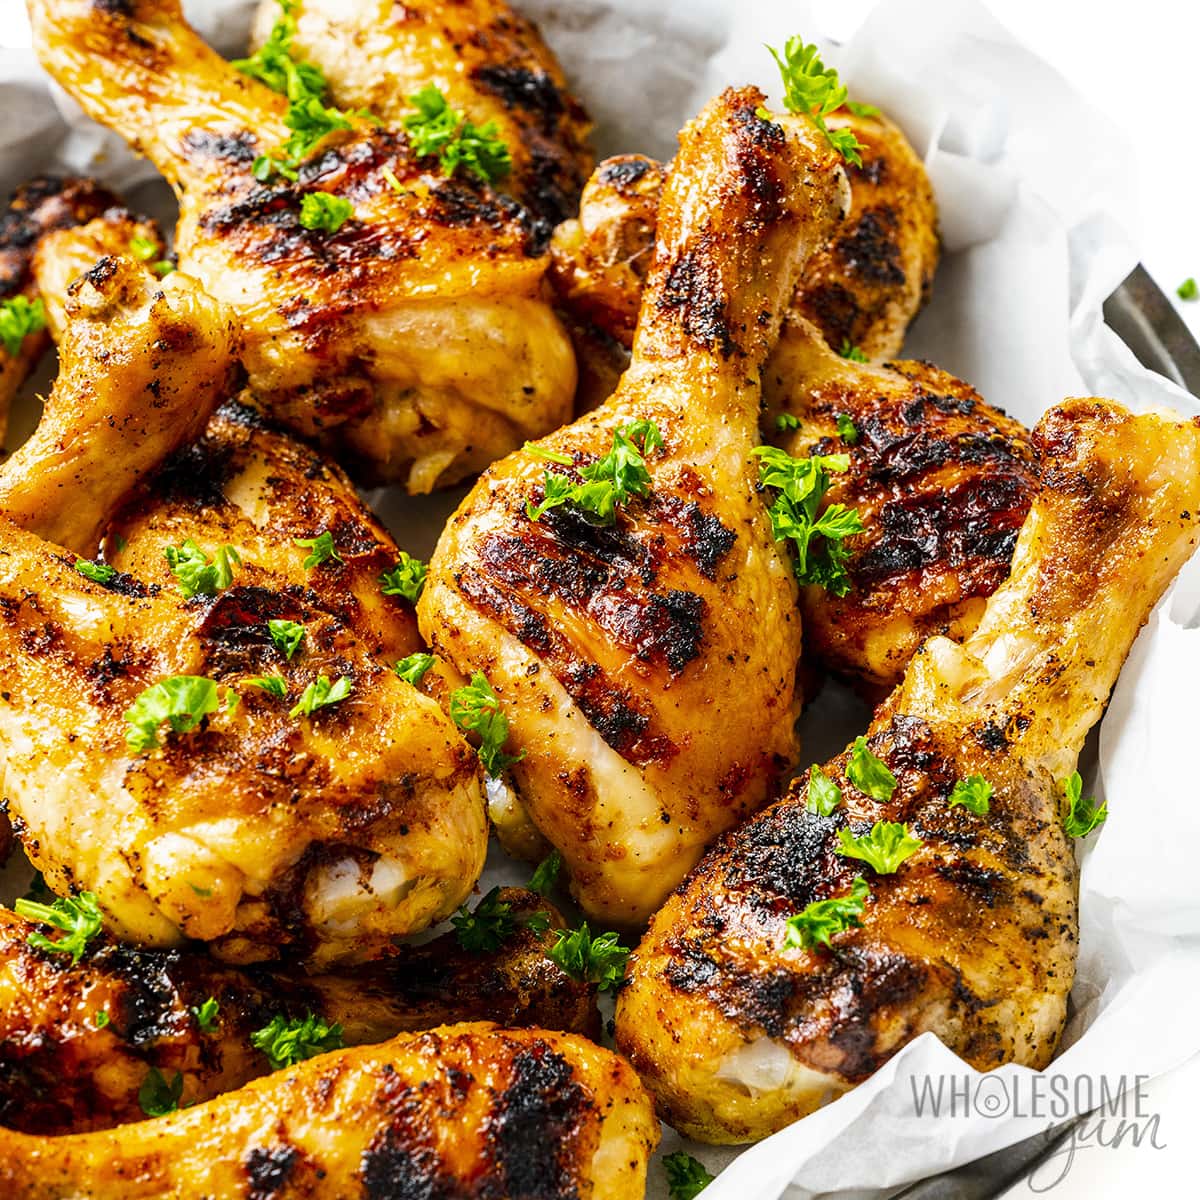
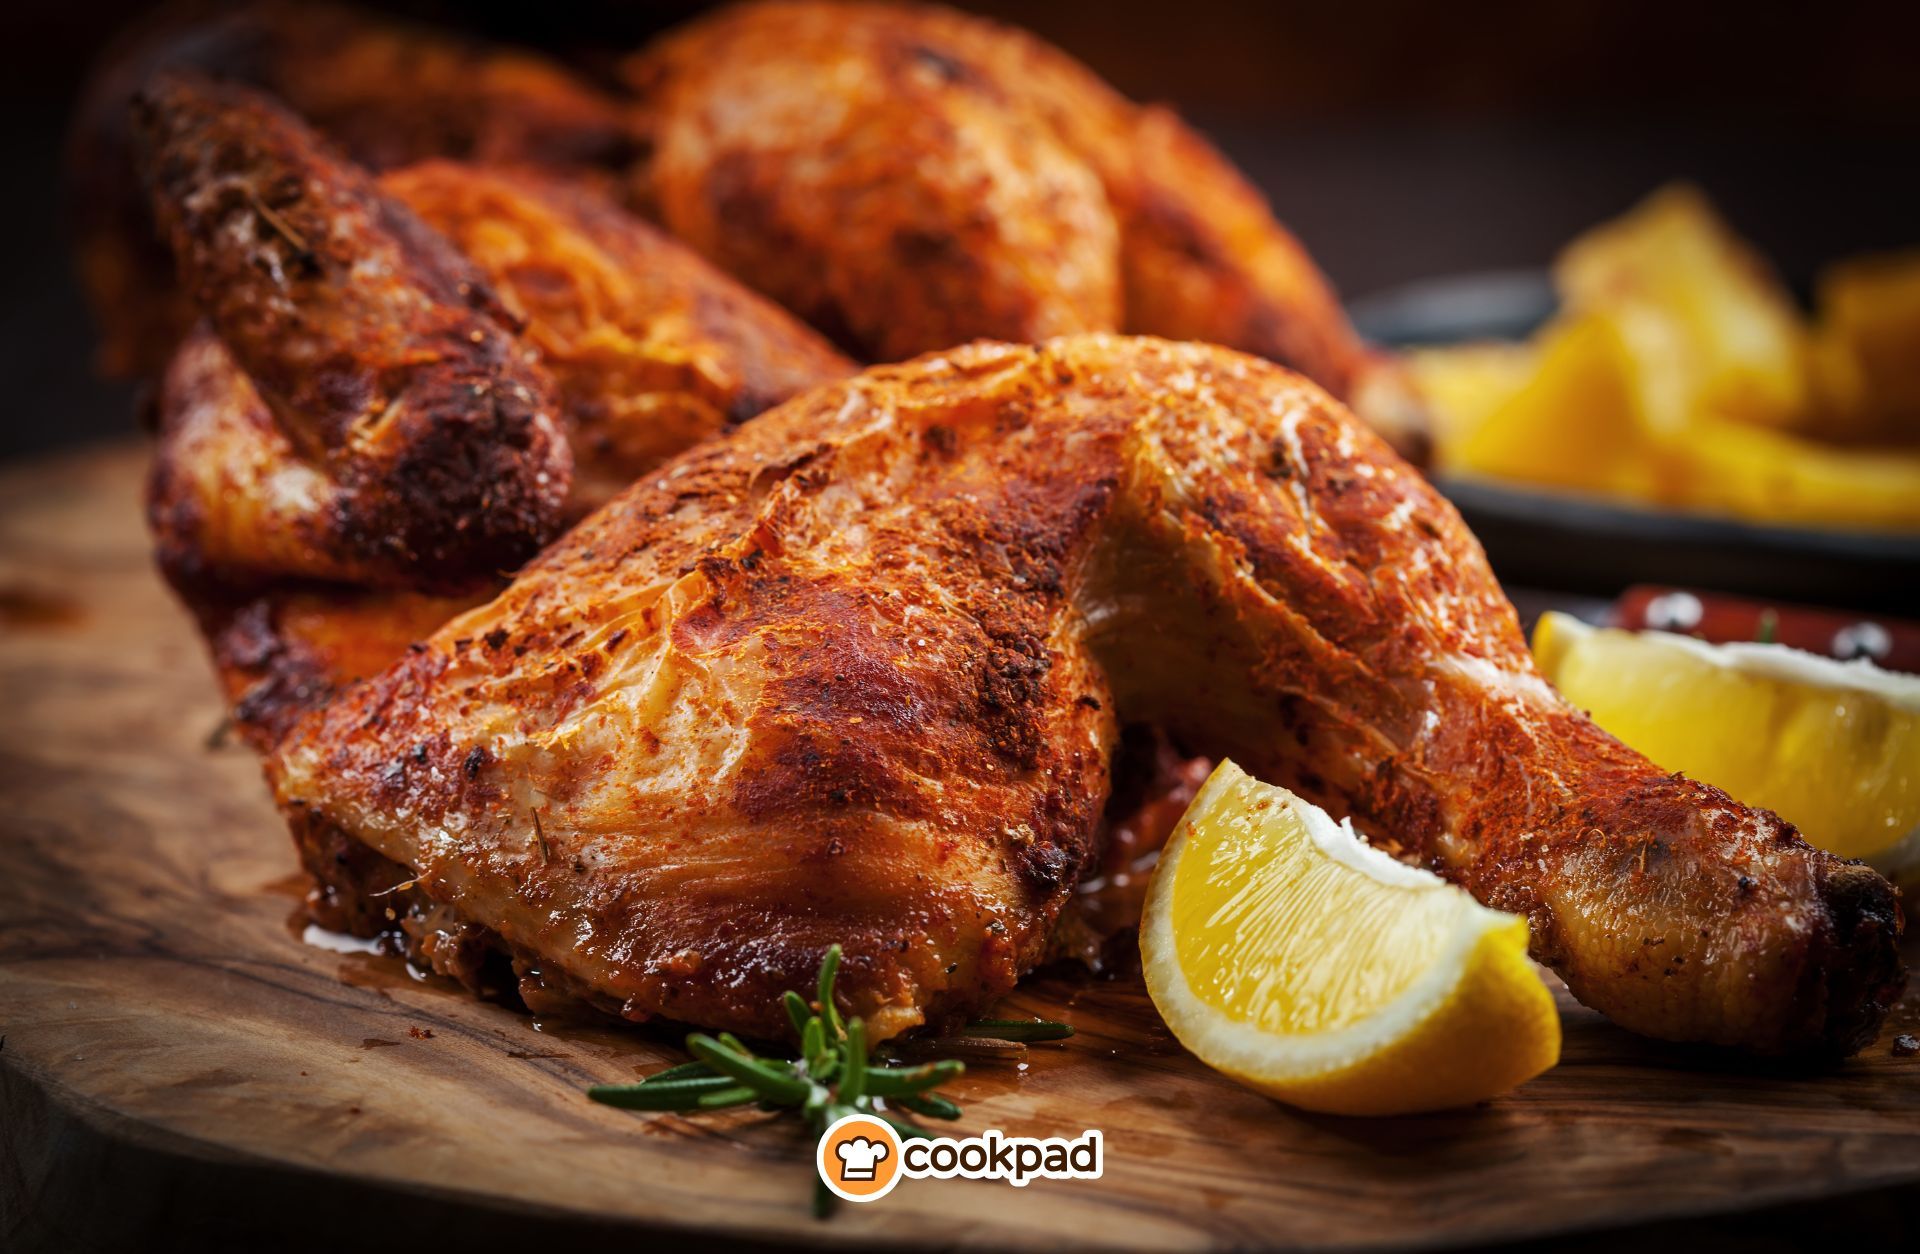
crispy skin and juicy meat
Chicken legs are the best value at the butcher shop, but most people ruin them. They either end up with rubbery skin or meat that's dry as a bone. You don't need a fancy rig to fix this, just a few changes to how you prep the bird.
This isn’t about just slathering on your favorite BBQ sauce and hoping for the best. It's about understanding the science of grilling chicken legs – how to maximize flavor, retain moisture, and achieve that perfect, crispy skin. These five hacks, honed from years of backyard experimentation and informed by techniques from sources like America’s Test Kitchen, will transform your chicken leg game.
The foundation of a great grilled chicken leg starts with the quality of the meat and proper preparation. Look for legs that have the skin intact and aren’t bruised or damaged. Patting them dry before seasoning is surprisingly important; moisture is the enemy of crispy skin. We’ll build on this base with techniques that guarantee a BBQ triumph.
why you should brine
I used to skip brining because it felt like an unnecessary chore, but the difference is obvious once you try it. Saltwater changes the protein structure so the meat holds onto its juices. It gives you a safety net if you leave the legs on the grill a minute too long.
Here’s a simple brine recipe to get you started: For every gallon of water, dissolve ¾ cup of kosher salt and ½ cup of sugar. Add aromatics like 2 tablespoons of black peppercorns, 4 crushed garlic cloves, a sprig of rosemary, and the peel of one orange. Submerge the chicken legs in the brine, ensuring they’re fully covered.
Brine time depends on the size of the legs. Smaller legs (under 8 ounces) need about 4-6 hours, while larger ones can go for up to 8-12 hours. A common concern is overly salty chicken. To avoid this, don’t over-brine and always rinse the legs thoroughly under cold water before seasoning. I find a quick soak in cold water after rinsing helps, too.
I’ve experimented with different brines over the years, and this basic formula consistently delivers fantastic results. It's a step that really sets the stage for incredible flavor and texture. Don't skip it – your taste buds will thank you.
building a better dry rub
Don’t fall into the trap of thinking a simple salt and pepper rub is enough. A well-crafted dry rub is where you build layers of flavor. It’s not just about taste; the ingredients also contribute to the texture of the skin. Paprika, for example, adds color and a subtle sweetness, while garlic powder provides a savory base.
Mix two tablespoons of paprika with one tablespoon each of garlic powder, onion powder, and brown sugar. Add a teaspoon of cayenne, black pepper, and salt. The sugar is the most important part here because it melts into a dark, sticky crust that salt alone can't produce.
Apply the rub generously and evenly to all sides of the chicken legs. Let the legs sit, refrigerated, for at least 30 minutes, but preferably overnight. This allows the flavors to penetrate the meat. The longer it sits, the more flavorful the chicken will be. Don’t be shy with the rub – we want a good coating.
Experimentation is key. Try adding different spices like cumin, chili powder, or smoked paprika. Adjust the amount of cayenne pepper to control the heat. The goal is to create a rub that complements your preferred BBQ sauce or glaze.
- Paprika for deep color and a hint of sweetness.
- Garlic Powder: Provides a savory base.
- Cayenne Pepper: Adds heat (adjust to preference).
- Brown sugar to get that charred, sticky exterior.
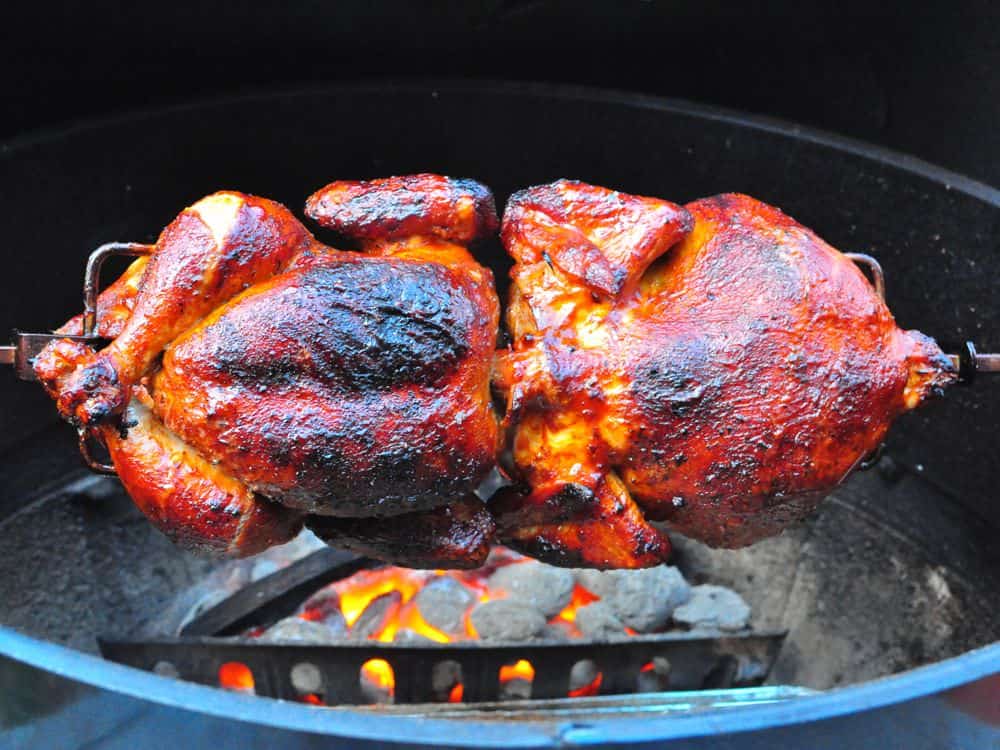
two-zone grilling
This is where a lot of people go wrong. Trying to cook chicken legs entirely over high heat will result in burnt skin and undercooked meat. The secret is two-zone grilling: creating a hot side for searing and a cool side for gentle cooking. Think of it as having two grills in one.
To set up a two-zone grill, arrange your charcoal or burners so that one side is very hot (around 450-500°F) and the other side is cooler (around 250-300°F). On a gas grill, this means turning off one or more burners. On a charcoal grill, bank the coals to one side. America’s Test Kitchen consistently recommends this technique for poultry.
Start by searing the chicken legs over the hot side, skin-side down, for 2-3 minutes per side. This creates that beautiful, crispy skin. Then, move the legs to the cool side and close the grill lid. Continue cooking for another 20-30 minutes, or until the internal temperature reaches 175-180°F.
Using a meat thermometer is crucial to ensure the chicken is cooked through. Don’t rely on visual cues alone. The two-zone method allows you to control the cooking process, ensuring juicy, tender meat with perfectly crispy skin. It takes a little practice, but the results are well worth the effort.
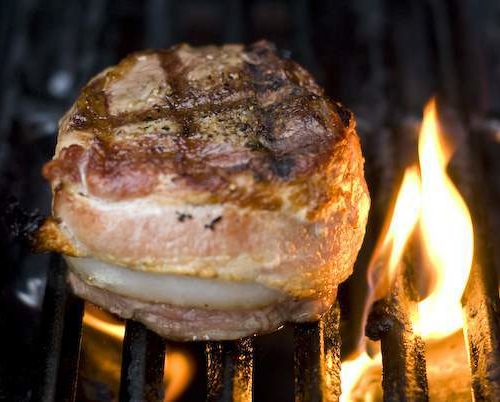
flipping and resting
Resist the urge to constantly flip the chicken legs. Frequent flipping disrupts the cooking process and prevents the skin from getting truly crispy. Instead, advocate for fewer, more deliberate flips. I’ve found that flipping only twice – once halfway through the searing phase, and once when moving to the cool zone – yields the best results.
This technique promotes even cooking and allows the skin to develop a beautiful, golden-brown color. The heat from the grill will evenly distribute, ensuring the chicken is cooked through without burning. It’s a simple change that makes a big difference.
However, the real secret is the rest. Once the chicken legs are cooked through, remove them from the grill and let them rest for 5-10 minutes before serving. This allows the juices to redistribute throughout the meat, resulting in a significantly more tender and flavorful final product. I've seen too many dry chicken legs because people skip this step.
Covering the legs loosely with foil during the resting period can help retain some heat. Don't skip the rest – it's the final touch that elevates your chicken legs from good to great.
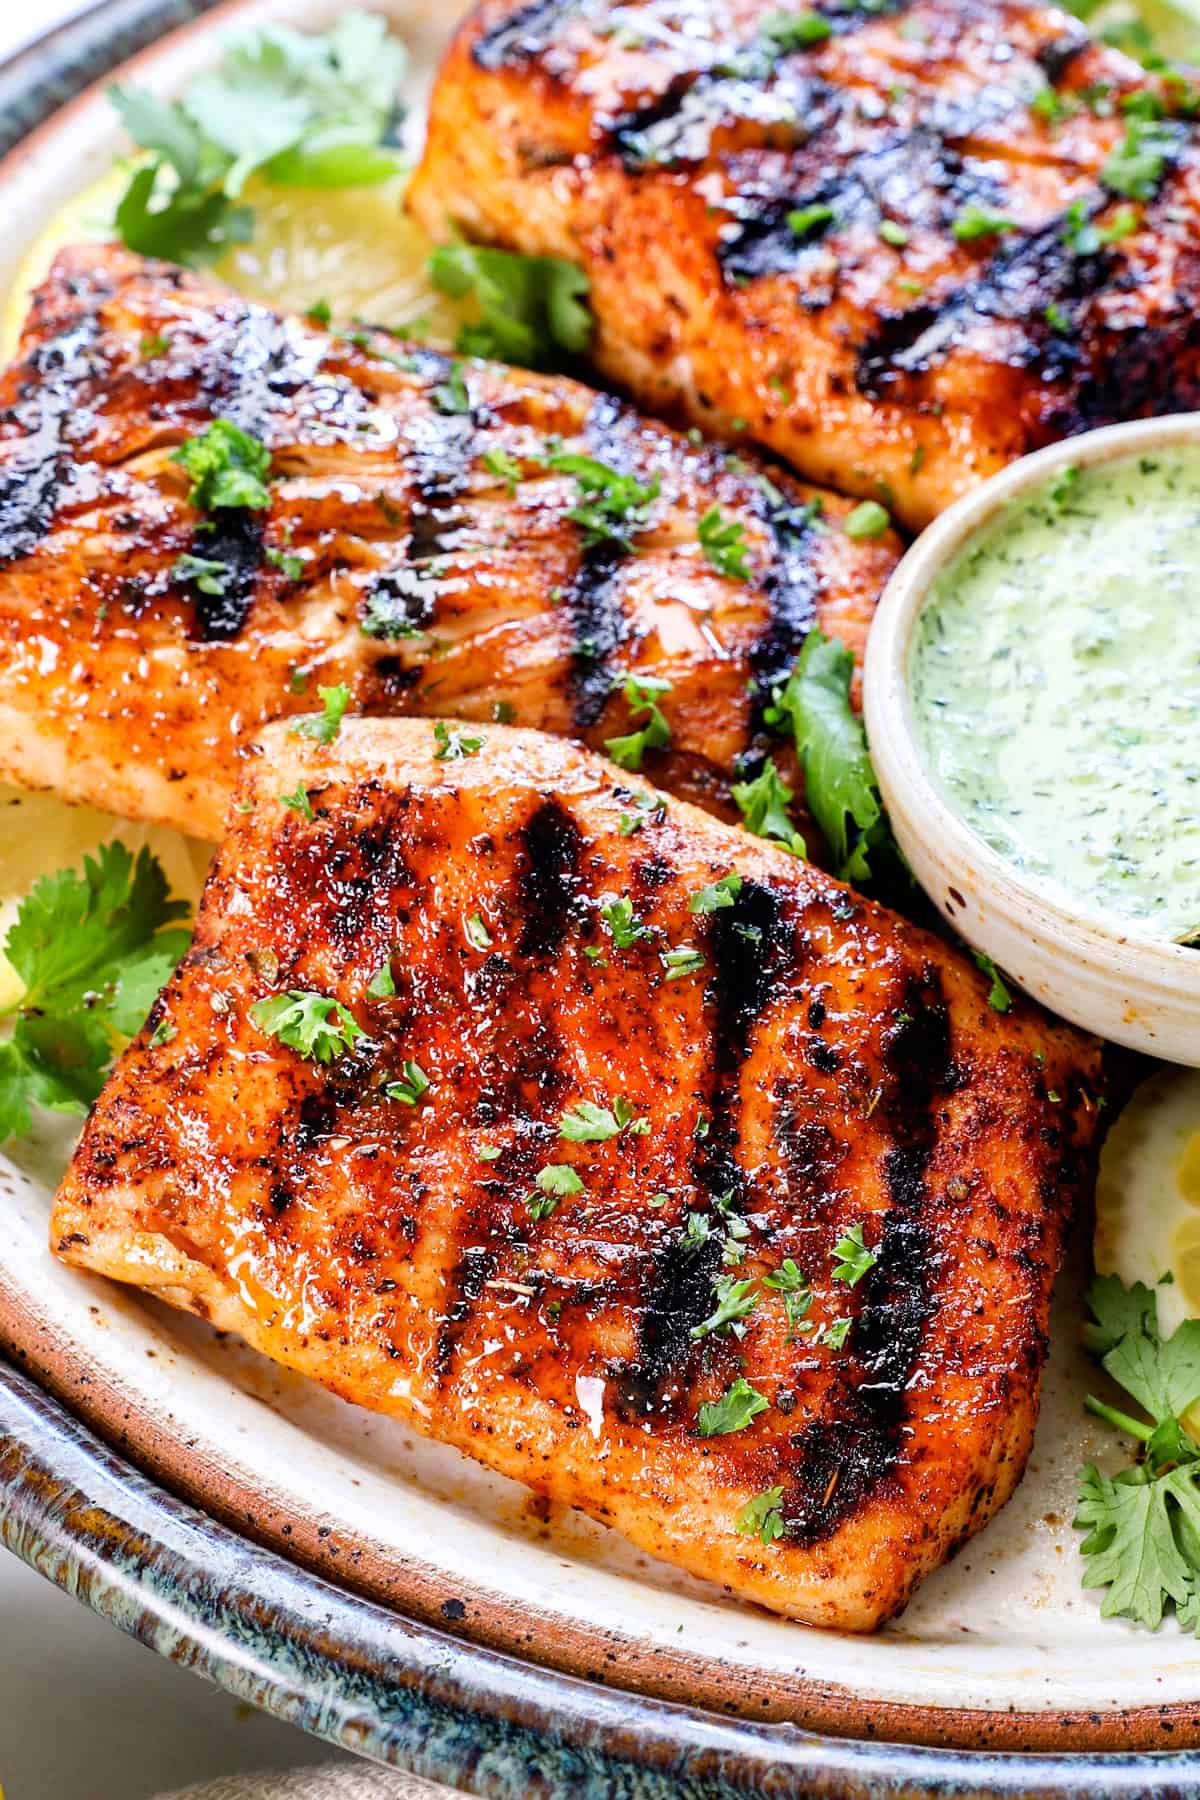
finishing with a glaze
A glaze is the perfect finishing touch, adding a layer of flavor and visual appeal. Apply the glaze during the last 5-10 minutes of grilling, brushing it on sparingly. The sugar in the glaze will caramelize, creating a sticky, delicious coating.
There are endless glaze options. A classic honey-mustard glaze (equal parts honey and Dijon mustard) is always a winner. A simple BBQ glaze (your favorite BBQ sauce thinned with a little water) is another great choice. I’m partial to a maple-bourbon glaze – a mix of maple syrup, bourbon, and a touch of Dijon mustard.
Be careful not to apply the glaze too early or too thickly, as it can burn. Brush it on in thin, even coats, and keep a close eye on the chicken legs. The goal is to create a beautiful, glossy coating without burning the sugar.
A glaze isn’t essential, but it adds a professional touch and elevates the overall flavor profile. It’s a great way to customize your chicken legs and make them truly your own.
No comments yet. Be the first to share your thoughts!