
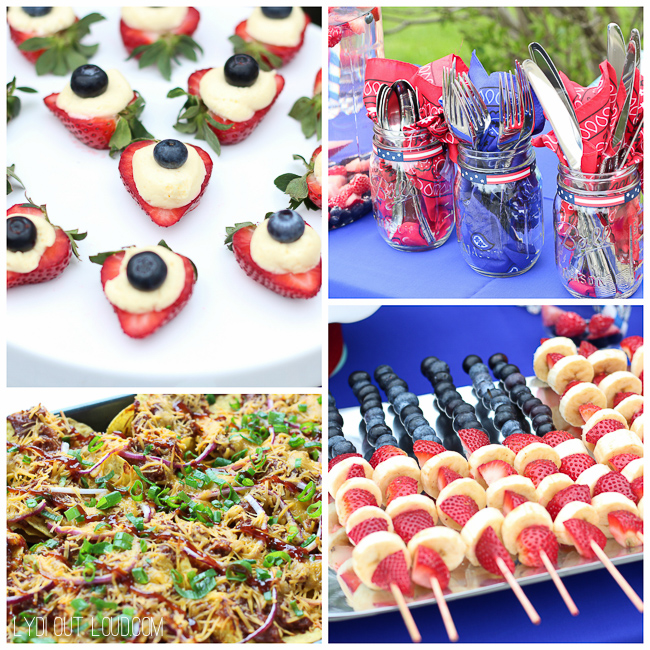
Memorial Day 2026 kickoff
Memorial Day 2026 is the unofficial start of summer, which usually means one thing: firing up the grill. Whether you're hosting the whole neighborhood or just a few friends, getting the meat right is the difference between a great afternoon and a stressful one.
With so many grills going at once, it’s a particularly important time to brush up on food safety. The USDA’s Food Safety and Inspection Service (FSIS) always emphasizes safe handling practices during peak grilling seasons, and we’ll cover those essentials later. But first, let’s get to the good stuff: the grilling itself.
I've focused this guide on three staples: filet mignon, burgers, and whole chicken. Most people overcook these, so we'll look at temperature control and resting periods to avoid dry meat.
Filet mignon: the reverse sear
Filet mignon is expensive, so the pressure is on not to ruin it. The main challenge is getting a dark crust without turning the inside into gray rubber.
The cut itself matters. Look for filets that are at least 1.5 inches thick – thinner cuts are much harder to cook evenly. Marbling, while not as prominent as in a ribeye, still contributes to flavor and moisture. A little bit of fat is your friend. I’ve found that a filet between 1.75 and 2 inches thick gives you the most leeway.
Two main approaches dominate filet mignon grilling: reverse searing and direct searing. Direct searing involves cooking the steak over high heat for a short period to develop a crust, then finishing it to temperature. Reverse searing, on the other hand, starts with low-temperature cooking (often in the oven or on the cool side of the grill) and ends with a quick sear. I personally prefer reverse searing for filets; it allows for more even cooking and a perfectly pink center.
Reverse searing requires patience. Preheat your oven to 275°F (or the lowest setting on your grill with indirect heat). Cook the filet until it reaches about 115°F for rare, 125°F for medium-rare, or 135°F for medium. Then, crank up the heat and sear for 60-90 seconds per side. A cast iron skillet on the grill works wonderfully for this.
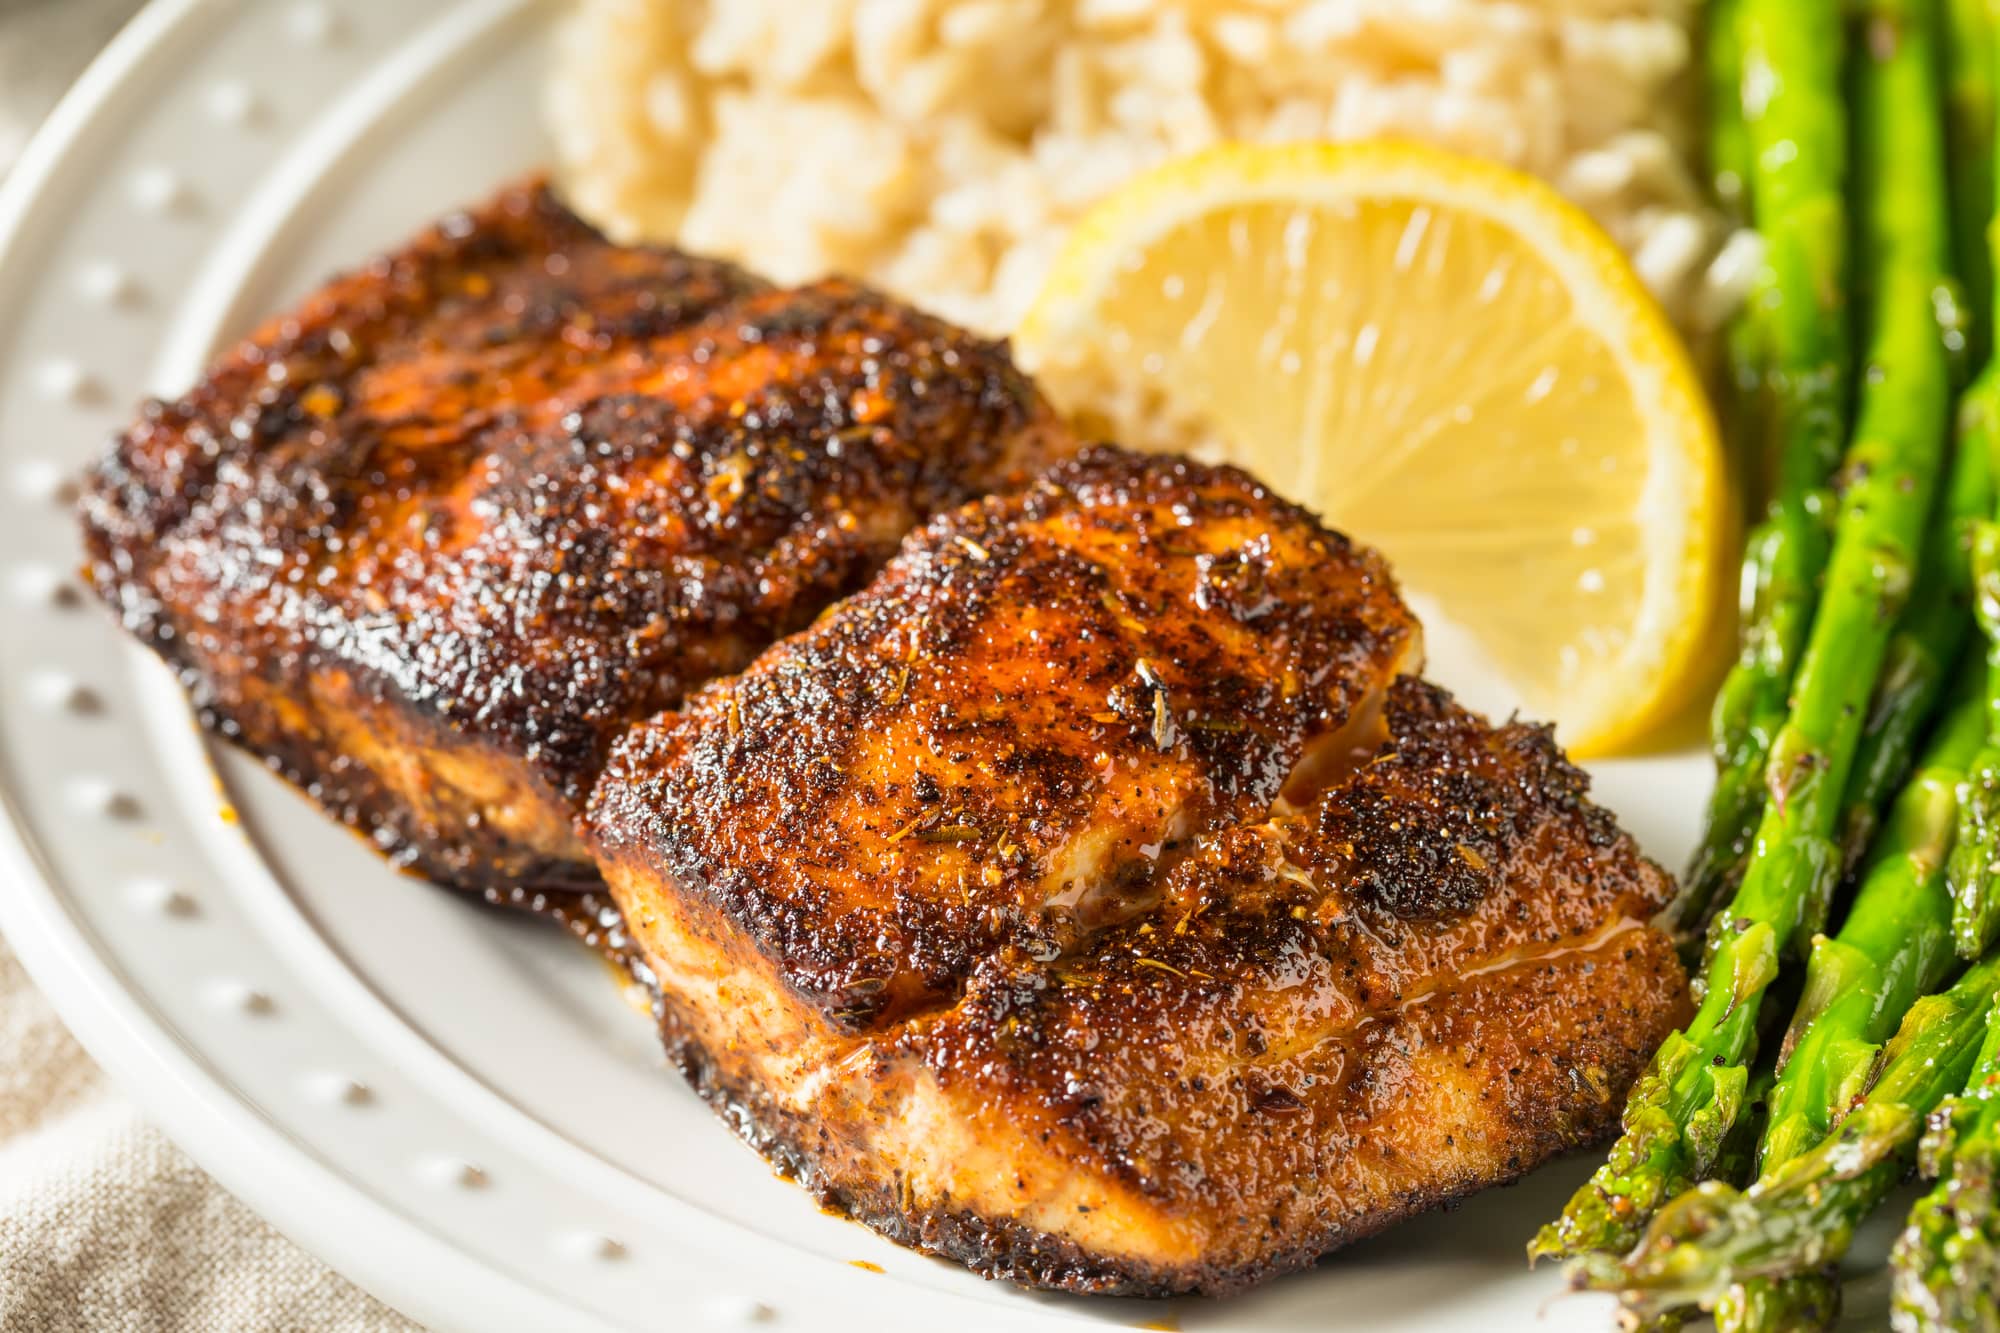
Internal temperature is paramount. Use an instant-read thermometer to ensure accuracy. Here’s a guideline: Rare (125-130°F), Medium-Rare (130-140°F), Medium (140-150°F), Medium-Well (150-160°F), Well-Done (160°F+). Remember, the temperature will continue to rise a few degrees during resting.
Common mistakes include overcooking (resulting in a dry, chewy steak) and uneven cooking (often due to inconsistent heat). Season generously with salt and pepper before grilling, and let the steak rest for at least 10 minutes after cooking. Resting allows the juices to redistribute, resulting in a more tender and flavorful steak. Don't skip this step!
- Rare: 125-130°F
- Medium-Rare: 130-140°F
- Medium: 140-150°F
- Medium-Well: 150-160°F
- Well-Done: 160°F+
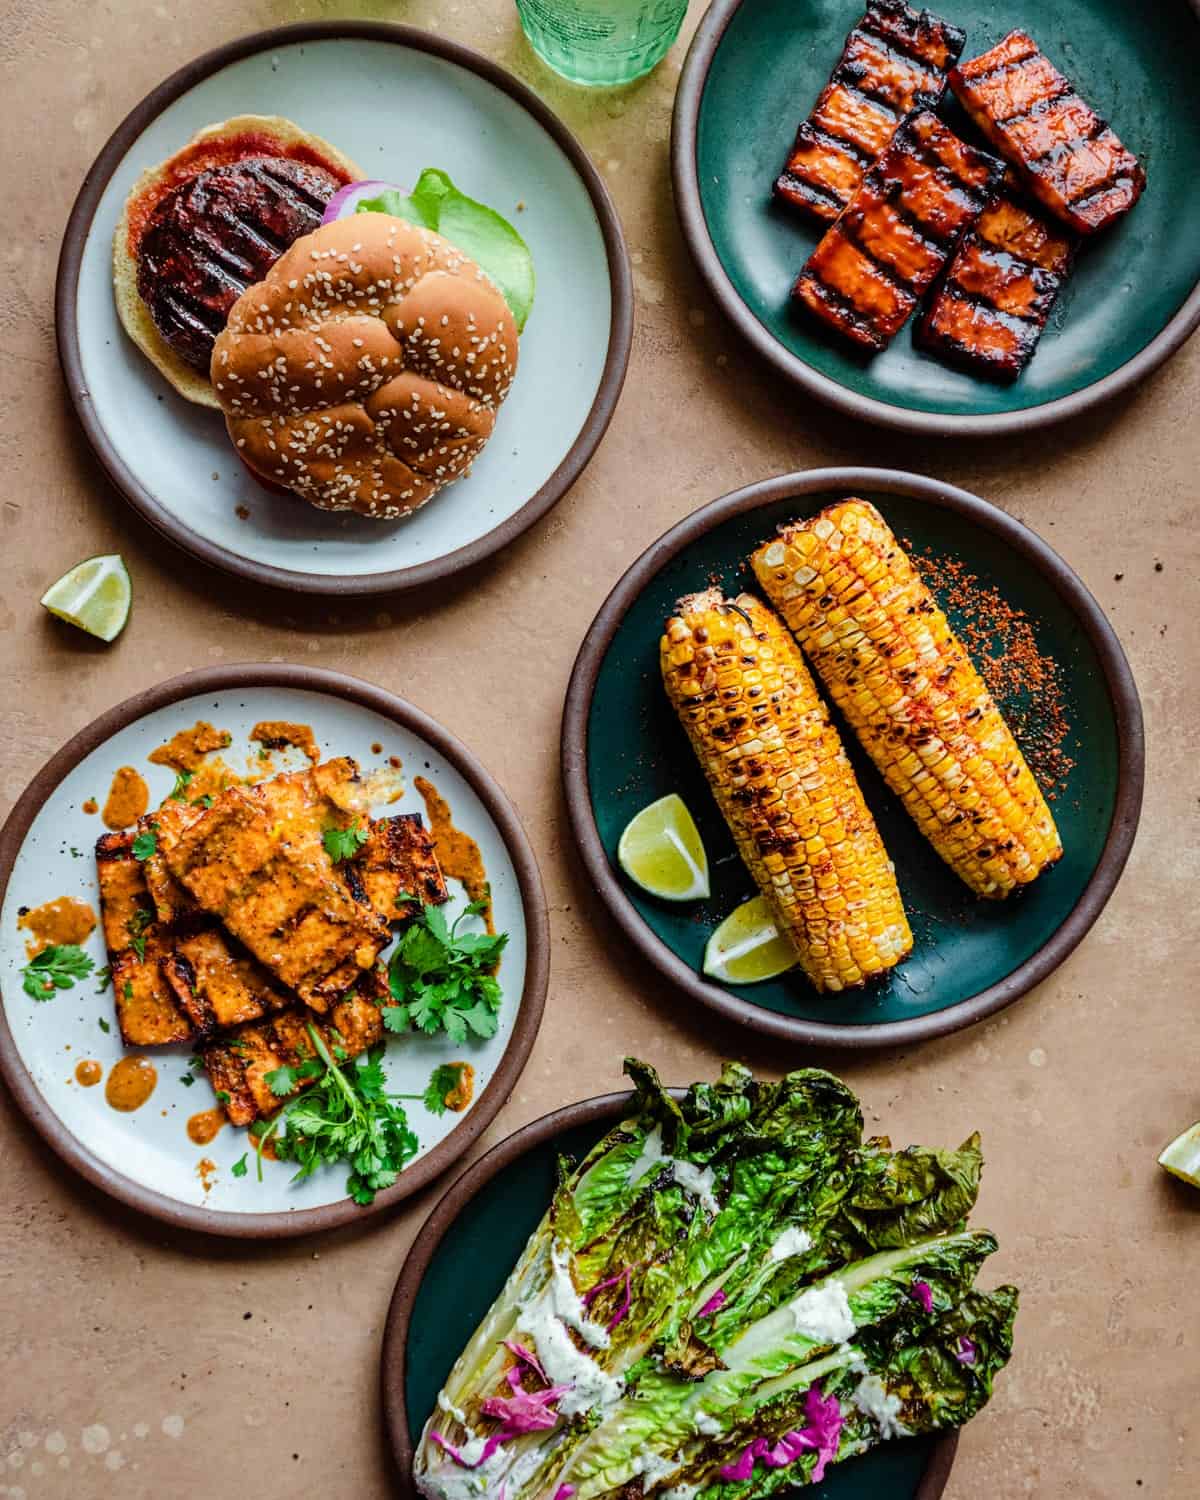
Better burgers
Burgers are the quintessential Memorial Day grilling food. But a truly great burger isn’t just about slapping some ground beef on a bun. It’s about understanding the nuances of the meat, the importance of proper patty formation, and the art of seasoning.
Ground beef blend is key. An 80/20 blend (80% lean, 20% fat) is my go-to. The fat content is crucial for flavor and juiciness. 90/10 is acceptable if you prefer a leaner burger, but be careful not to overcook it. I’ve experimented with chuck, brisket, and short rib blends, and they all deliver fantastic results, but 80/20 is a reliable starting point.
Patty formation is often overlooked. Gently form the patties – don’t overwork the meat, or they’ll become tough. Aim for patties that are about ¾ inch thick and slightly wider than the buns, as they’ll shrink during cooking. Press a small dimple into the center of each patty; this prevents them from bulging up in the middle.
Seasoning is simple: salt and pepper. Add them generously, after forming the patties. Some people like to add garlic powder, onion powder, or Worcestershire sauce, but I prefer to let the flavor of the beef shine through. Don’t be afraid to be bold with the seasoning.
Grilling time depends on patty thickness and desired doneness. For ¾-inch patties, cook for about 3-4 minutes per side for medium-rare, 4-5 minutes per side for medium, and 5-6 minutes per side for medium-well. Use a meat thermometer to ensure accuracy. The USDA recommends an internal temperature of 160°F for ground beef.
Common burger problems include dryness (caused by overcooking) and falling apart (caused by insufficient binding or overhandling). Use a good spatula to flip the burgers gently, and avoid pressing down on them while they’re cooking. Let them rest for a few minutes before serving.
Let's talk buns. Brioche buns are a favorite of mine – they’re soft, buttery, and hold up well to juicy burgers. Potato rolls are another good option. Toasted buns are essential! And don’t skimp on the toppings: lettuce, tomato, onion, pickles, cheese, bacon… the possibilities are endless. I've been experimenting with smash burgers lately, and they are a game changer. Pressing a ball of ground beef very thin onto a hot griddle creates an incredible crust.
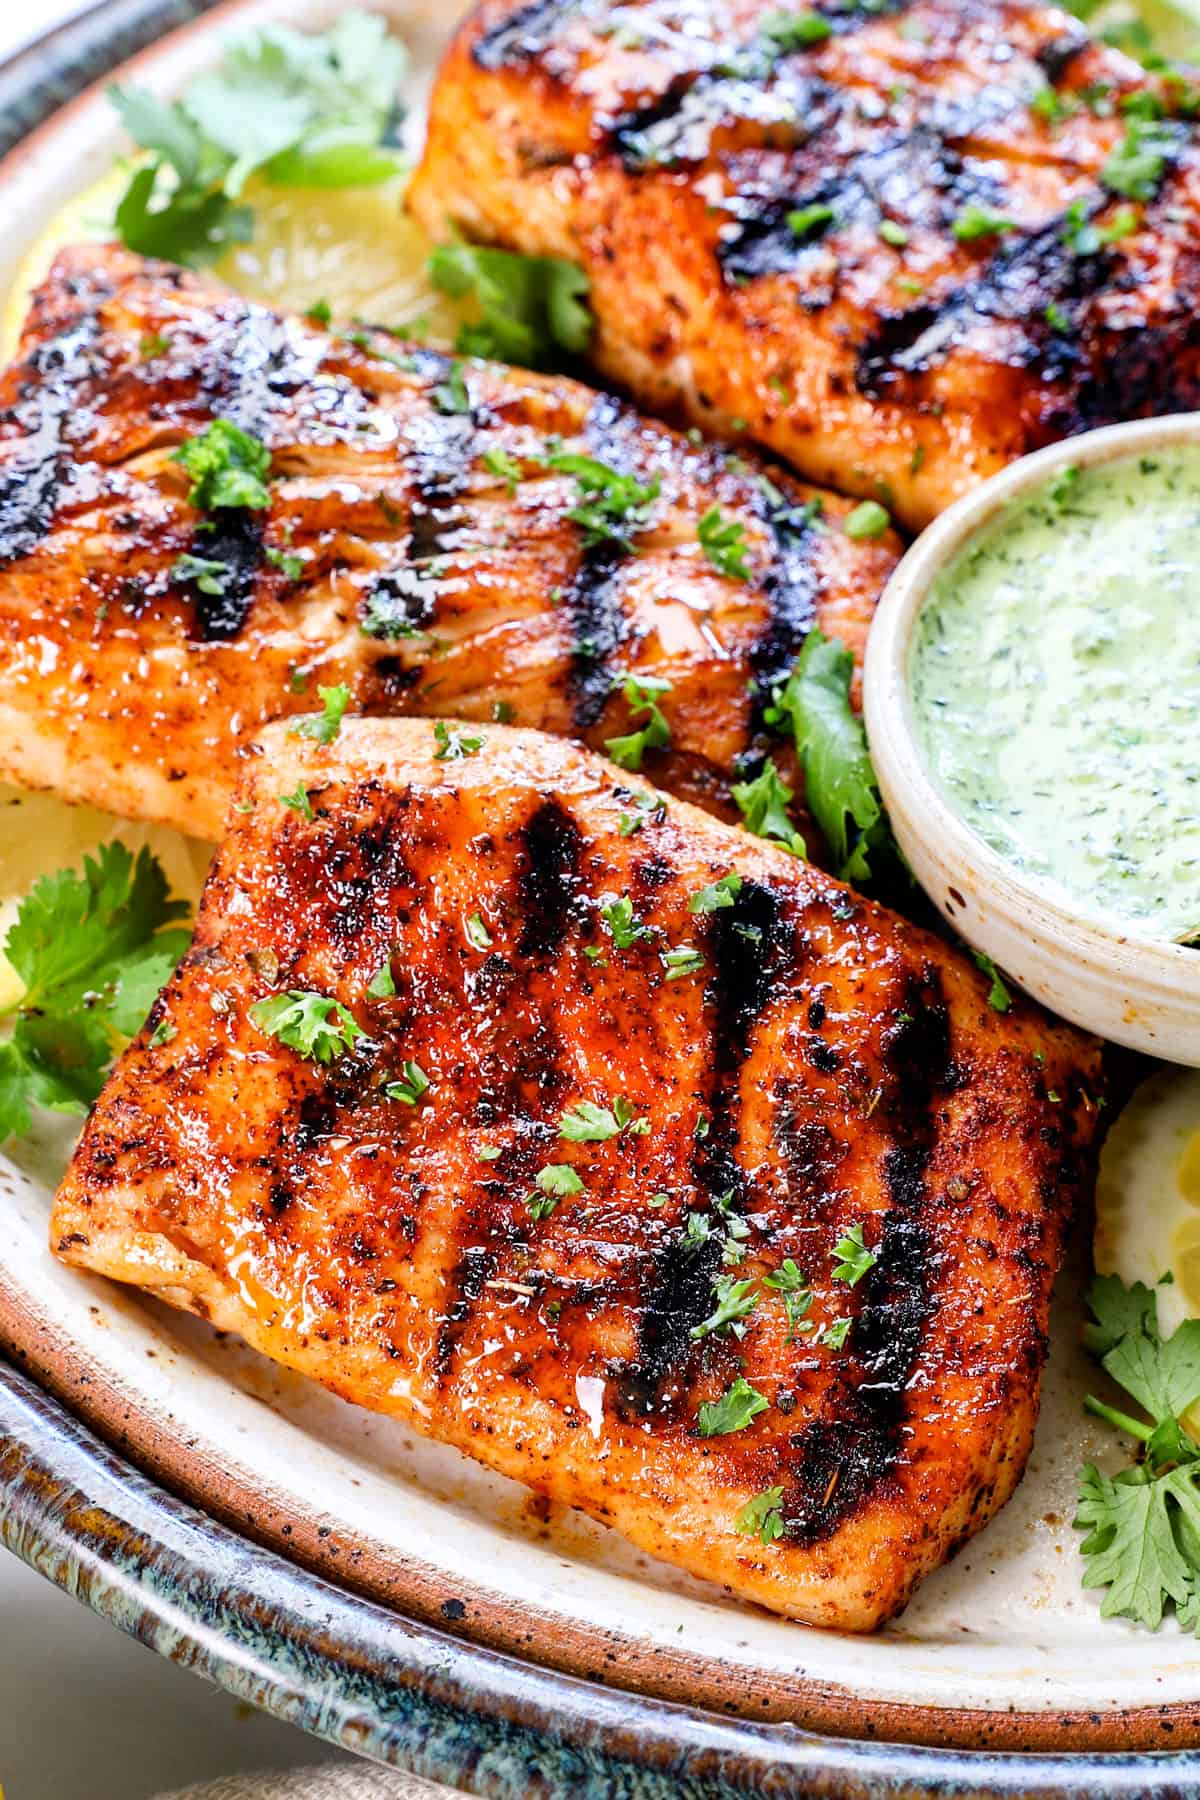
Grilling a whole chicken
Grilling a whole chicken can seem daunting, but it’s surprisingly easy with the right technique. The key is to achieve crispy skin and juicy meat, and that requires understanding how heat works on the grill.
Several methods work well. Spatchcocking (butterflying) the chicken – removing the backbone and flattening it – is my preferred method. It allows for even cooking and crispy skin all over. Beer can chicken is another popular option, but I find it doesn’t consistently produce the best results. Traditional roasting, with the chicken upright, is also viable, but requires more attention to prevent burning.
Brining or dry-brining is highly recommended. Brining involves submerging the chicken in a saltwater solution for several hours, while dry-brining involves rubbing the chicken with salt and letting it sit in the refrigerator overnight. Both methods help to keep the chicken moist and flavorful. I prefer dry brining for ease.
Indirect heat is essential for cooking a whole chicken. Set up your grill for two-zone cooking – one side with direct heat, and one side with indirect heat. Start by searing the chicken over direct heat for a few minutes per side to develop color, then move it to the indirect heat side to finish cooking.
Internal temperature is crucial. The chicken is done when the thickest part of the thigh reaches 165°F. Use a meat thermometer to check. Achieving crispy skin requires basting the chicken with melted butter or oil during the last 30 minutes of cooking. Trussing the chicken (tying the legs together) isn’t necessary if you’ve spatchcocked it, but it can help maintain its shape if you’re roasting it upright.
Don’t be afraid to experiment with different rubs and marinades. A simple combination of paprika, garlic powder, onion powder, and herbs works wonders. Remember to let the chicken rest for at least 15 minutes before carving.
Food Safety First: Memorial Day Essentials
With a lot of grilling happening at once on Memorial Day, food safety is more important than ever. Following guidelines from the FSIS (fsis.usda.gov) is crucial to prevent foodborne illness. Proper handling of raw meat is the first line of defense.
Never wash raw chicken or meat. This actually spreads bacteria around your kitchen. Instead, use separate cutting boards and utensils for raw and cooked foods. Prevent cross-contamination by keeping raw meat separate from other foods in your cooler and on your grill.
Always use a meat thermometer to ensure that your food reaches a safe internal temperature. As mentioned previously, ground beef should reach 160°F, chicken should reach 165°F, and steaks can be cooked to your desired doneness (but no lower than 145°F).
Clean your grill thoroughly before and after each use. This removes any lingering bacteria and prevents flare-ups. Store leftovers properly in the refrigerator within two hours of cooking. Don't leave food at room temperature for extended periods.
Safe Minimum Internal Temperatures for Grilling
| Meat Type | Doneness Level | Minimum Internal Temperature (°F) | Notes |
|---|---|---|---|
| Beef (Filet Mignon, Steak) | Rare | 145°F | Allow to rest for at least 3 minutes after removal from grill. |
| Beef (Burgers) | Medium-Rare | 145°F | Ground beef should reach 160°F for safety, but 145°F is acceptable for preference with a good source. |
| Beef (Burgers) | Medium | 160°F | Ensures ground beef is safely cooked. |
| Pork (Brats, Pork Steaks) | Medium | 145°F | Allow to rest for at least 3 minutes after removal from grill. |
| Poultry (Chicken, Whole Chicken, Drumsticks, Thighs) | Well-Done | 165°F | Essential for food safety; check temperature in thickest part of the thigh. |
| Turkey (Turkey Burgers) | Well-Done | 165°F | Essential for food safety; check temperature in thickest part of the burger. |
| Fish (Mahi Mahi) | Cooked | 145°F | Fish should flake easily with a fork. |
| Sausage (Italian Sausage) | Well-Done | 160°F | Check temperature in the center of the sausage. |
Illustrative comparison based on the article research brief. Verify current pricing, limits, and product details in the official docs before relying on it.
Grilling Gear: Up Your Game
Having the right tools can make a big difference in your grilling experience. The type of grill you use is a personal preference. Gas grills are convenient and easy to control, while charcoal grills offer a more authentic smoky flavor. Pellet grills provide a good balance of both.
Essential tools include a good pair of tongs (long-handled for safety), a sturdy spatula, and an instant-read meat thermometer. A grill brush is essential for cleaning, and a basting brush is helpful for applying marinades and sauces.
Useful accessories include grill baskets (for vegetables and smaller items), cedar planks (for adding smoky flavor to fish), and smoker boxes (for adding wood chips to gas grills). Good grilling gloves and aprons are also a must for protecting yourself from heat and splatters.
While fancy gadgets can be tempting, remember that the most important thing is to master the basics. A well-maintained grill and a few essential tools are all you really need to create delicious grilled food.
Grilling Must-Haves
- Instant-Read Thermometer - Ensures perfectly cooked meat every time by accurately measuring internal temperature. Crucial for filet mignon and whole chicken.
- Heavy-Duty Tongs - Essential for flipping burgers, maneuvering chicken, and safely handling hot food on the grill. Look for stainless steel.
- Grill Brush - Maintaining a clean grill grate is vital for preventing sticking and ensuring even cooking. Choose a brush with durable bristles.
- Meat Claws - Ideal for shredding pulled chicken or pork, and for carving larger cuts like whole chicken with ease. Provides a secure grip.
- Basting Brush - Perfect for applying marinades or sauces to burgers, chicken, or filet mignon, adding flavor and moisture during grilling.
- Grill Basket - Prevents smaller items, like vegetables accompanying your burgers, from falling through the grates. Useful for peppers and zucchini.
- Grilling Gloves - Heat resistant gloves provide a safe and secure grip when handling hot grill items, protecting hands from burns.
No comments yet. Be the first to share your thoughts!