
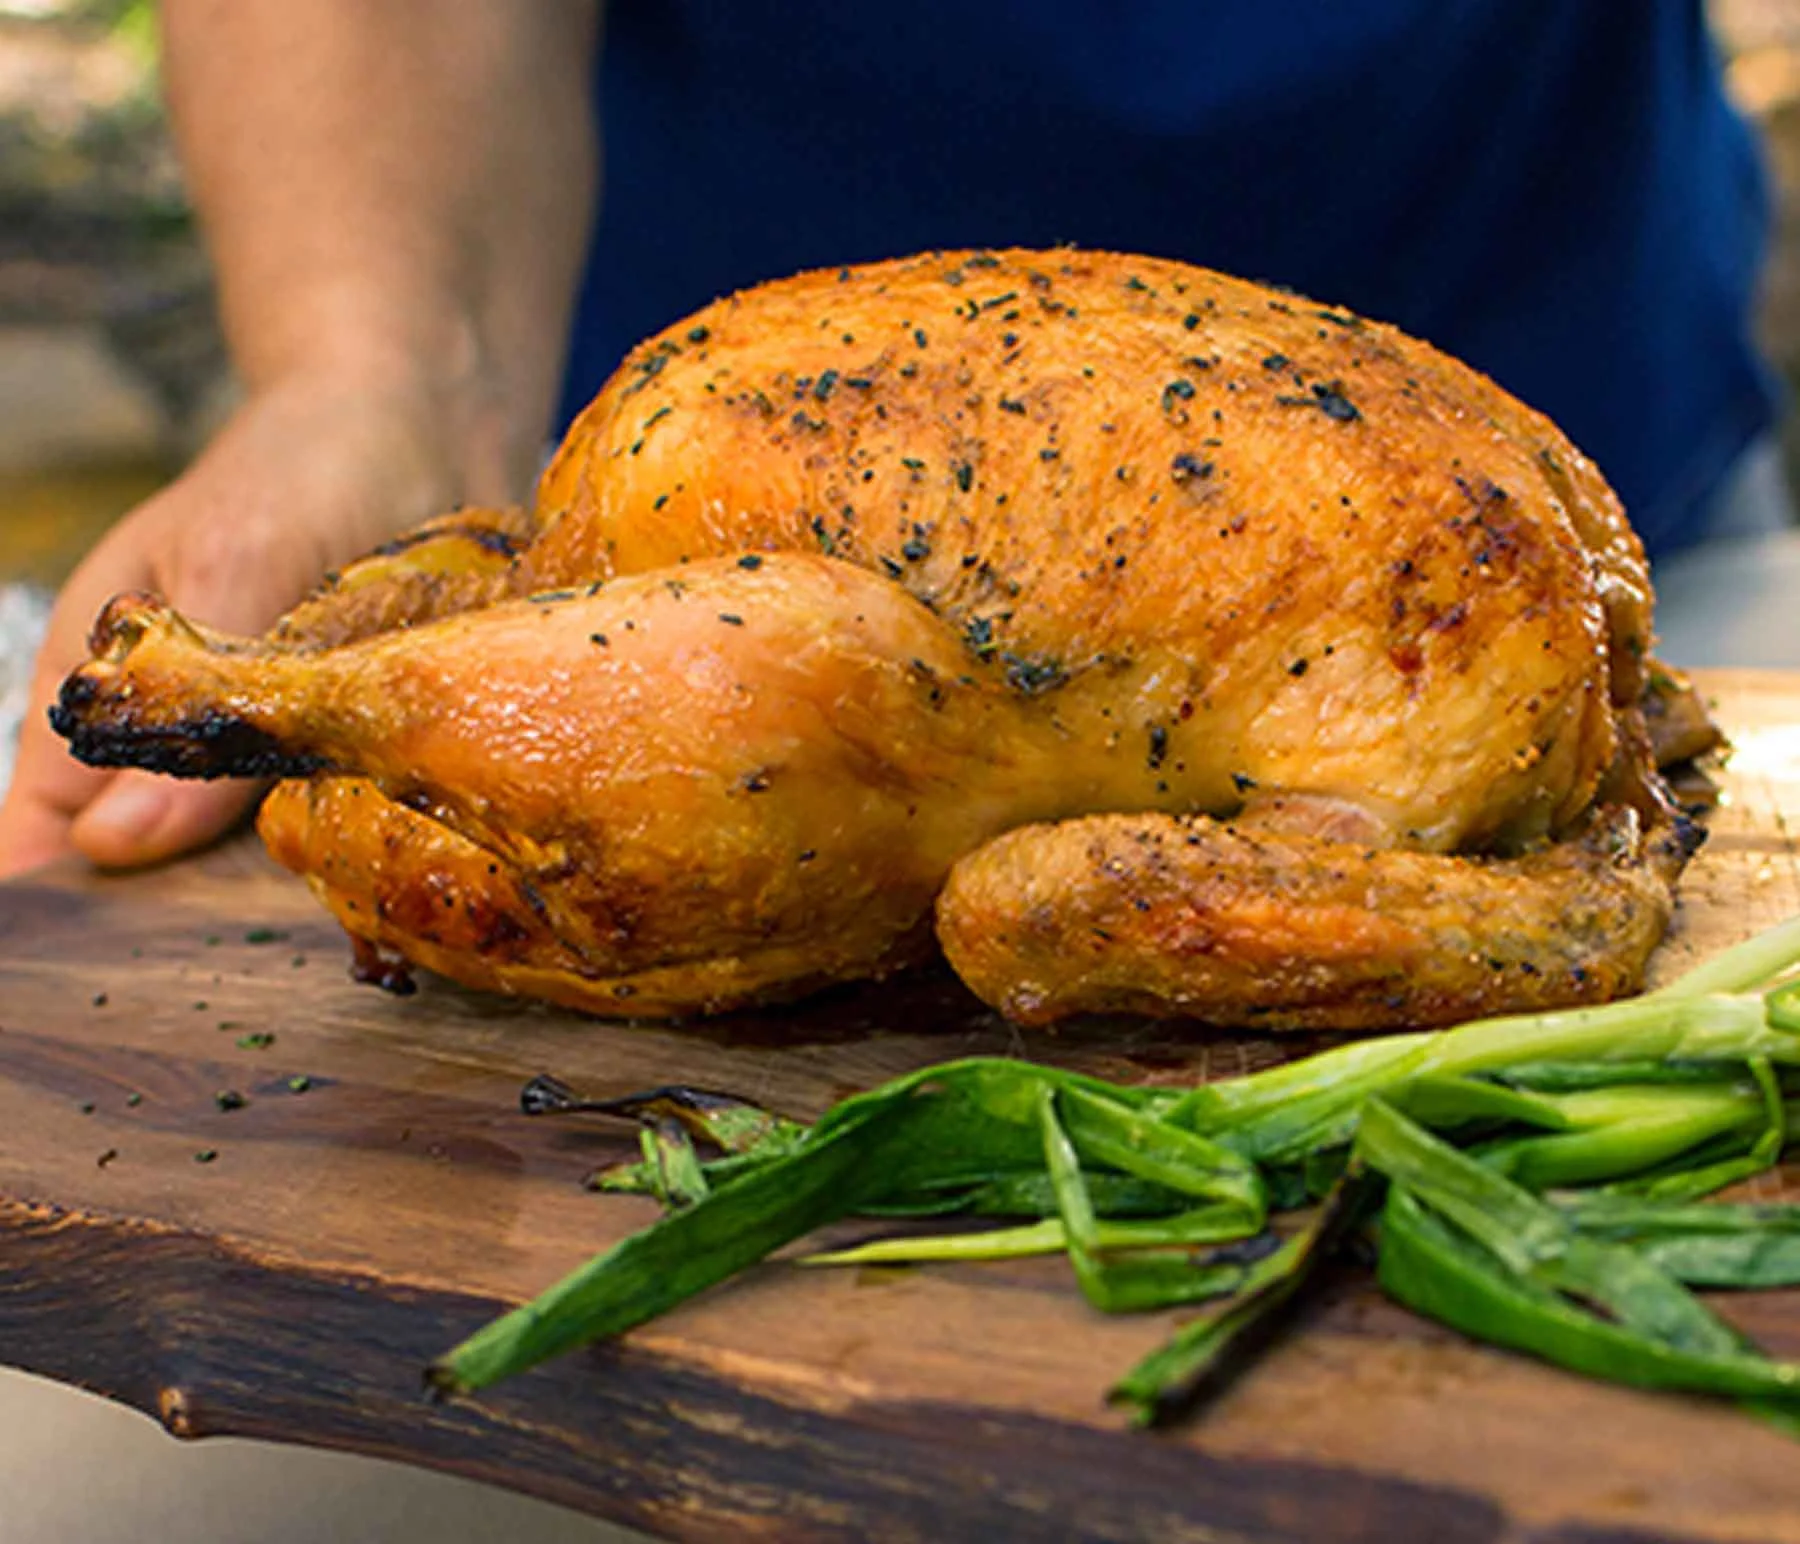
The appeal of a whole bird
There's something deeply satisfying about serving a perfectly grilled whole chicken. It’s a showstopper presentation, feeds a crowd, and frankly, tastes incredible. The crispy skin, the juicy meat… it’s a classic for a reason. Plus, compared to buying pre-cut pieces, grilling a whole chicken is surprisingly cost-effective.
Cooking a whole bird is harder than parts. You have to balance a cooked-through thigh with a breast that isn't sawdust. I used to struggle with rubbery skin until I changed how I prepped the surface. Here is how to get it right without the guesswork.
I lean toward Mediterranean flavors. I usually check The Mediterranean Dish for seasoning ideas, specifically their use of heavy garlic and lemon zest which holds up well against charcoal smoke.
Handling and safety
Thaw the bird in the fridge. It takes about 24 hours for every 5 pounds. Don't leave it on the counter; the outside gets warm enough for bacteria to grow long before the inside is ready to cook.
Preventing cross-contamination is also key. Always use separate cutting boards and utensils for raw chicken and other foods. Wash your hands thoroughly with soap and water after handling raw chicken. Clean and sanitize all surfaces that have come into contact with the raw poultry. These steps seem basic, but they're incredibly important.
The most reliable way to determine doneness isn’t by appearance; it’s with a meat thermometer. Chicken is safe to eat when it reaches an internal temperature of 165°F (74°C). Insert the thermometer into the thickest part of the thigh, avoiding the bone. Don’t rely on checking the juices – they can appear clear even when the chicken isn’t fully cooked. A good instant-read thermometer is an investment worth making.
Wet vs. dry brining
Brining is a technique used to enhance both the flavor and moisture of chicken. There are two main approaches: wet brining and dry brining. Wet brining involves submerging the chicken in a saltwater solution, often with sugar and aromatics. This works through osmosis – water moves into the meat, plumping it up and seasoning it from the inside out. Typical wet brining times range from 4-12 hours, depending on the chicken's size.
Dry brining, on the other hand, skips the water bath. Instead, you rub the chicken directly with salt and your desired seasonings. The salt draws out moisture initially, which then dissolves the salt and is reabsorbed into the meat, carrying the flavors with it. This process also denatures proteins, leading to a more tender result, and crucially, it promotes incredibly crispy skin. I’ve found dry brining to be much easier and, in my opinion, yields superior results.
For a 3-4 pound chicken, a dry brine of 1 tablespoon of kosher salt per 5 pounds of chicken is a good starting point. Apply the salt evenly, including under the skin. Let it sit uncovered in the refrigerator for at least 8 hours, and up to 24 hours. Wet brines usually call for about ½ cup of salt per gallon of water, along with ½ cup of sugar. Regardless of which method you choose, remember to rinse and pat the chicken dry before grilling after brining.
Salt changes the protein structure so the meat holds onto its own juices. I prefer dry brining because it doesn't involve lugging a bucket of raw chicken water around the kitchen, and the skin stays much drier for better browning.
- Wet brining: Submerge the bird in a saltwater solution for 4 to 12 hours.
- Dry brining: Rub salt and seasonings directly onto the skin and let it sit for up to 24 hours.
- Rinse & Dry: Essential step after either method
Heat control
The type of grill you use will influence the grilling process, but the principle of heat control remains the same. Charcoal grills offer a smoky flavor, but require more attention to temperature regulation. Gas grills provide consistent heat and are easier to manage. Pellet grills combine the convenience of gas with the flavor of wood pellets.
Two-zone grilling is essential for a whole chicken. Create a hot zone for searing, and a cooler zone for indirect cooking. On a charcoal grill, pile the coals on one side. On a gas grill, turn off one or more burners. This allows you to sear the skin for color and crispness, then move the chicken to the cooler side to finish cooking without burning.
Adding wood chips or chunks can enhance the smoky flavor. Soak wood chips in water for at least 30 minutes before adding them to the coals or smoker box. Hickory, applewood, and mesquite are popular choices, each imparting a distinct flavor profile. Experiment to find your favorites.
Rotisserie, spatchcock, or traditional
There are three primary ways to grill a whole chicken: rotisserie, spatchcocking (butterflying), and the traditional method. The rotisserie is arguably the most hands-off, providing even cooking and self-basting as the chicken rotates. However, it requires a rotisserie attachment for your grill. Expect about 1.5-2 hours for a 3-4 pound chicken.
Spatchcocking, or butterflying, involves removing the backbone and flattening the chicken. This significantly reduces cooking time – often to around 45-60 minutes – and results in incredibly crispy skin. It requires a bit of butchering skill, but it’s well worth the effort. It also allows for a more even distribution of seasoning.
The traditional method is the simplest: placing the whole chicken directly on the grill. It takes the longest – typically 75-90 minutes for a 3-4 pound chicken – and requires careful monitoring to prevent burning. It’s also the most prone to uneven cooking. Frequent flipping is necessary.
Here’s a rough guide to cooking times: Rotisserie: 1.5-2 hours; Spatchcock: 45-60 minutes; Traditional: 75-90 minutes. These times are estimates and will vary depending on grill temperature and chicken size. Always use a meat thermometer to confirm doneness.
Rubs and marinades
Flavoring the chicken is where you can really get creative. Dry rubs are simple to make – just combine your favorite spices. Marinades are liquid-based and typically include an acid (like lemon juice or vinegar) and oil. Injections involve using a syringe to inject flavor deep into the meat.
I'm a big fan of a lemon-herb marinade. Combine the juice of two lemons, ¼ cup of olive oil, 2 tablespoons of chopped fresh herbs (rosemary, thyme, oregano), 2 cloves of minced garlic, salt, and pepper. Marinate the chicken for at least 4 hours, or overnight. Dry rubs could include paprika, garlic powder, onion powder, cayenne pepper, and brown sugar.
The amount of sugar in a rub or marinade will impact caramelization. Sugar helps the skin brown and become crispy, but too much can burn. Be mindful of the sugar content, especially when grilling over high heat. Different flavors complement chicken beautifully: smoky paprika, spicy chili powder, bright citrus zest, and earthy herbs.
Fixing common mistakes
Dry chicken is a common problem. Brining, as we discussed, helps prevent this. Also, avoid overcooking! Use a meat thermometer and pull the chicken off the grill when it reaches 165°F (74°C). Burnt skin is another frequent issue. Moving the chicken to the cooler zone of the grill, or lowering the heat, can prevent burning. A light coating of oil can also help.
Uneven cooking can be addressed by spatchcocking the chicken, ensuring it cooks faster and more evenly. If you’re using the traditional method, rotate the chicken frequently. If the chicken is cooking too quickly, move it to the cooler zone or reduce the heat. If it’s cooking too slowly, increase the heat or move it closer to the heat source.
Resting the chicken after grilling is crucial. Let it rest for 10-15 minutes before carving. This allows the juices to redistribute, resulting in a more tender and flavorful bird. Flare-ups can be managed by moving the chicken to a different part of the grill, or by closing the lid briefly to reduce oxygen.
No comments yet. Be the first to share your thoughts!