

Prep your grill and tools
Start by scrubbing the grates with a stiff wire brush to remove charred residue. For charcoal grills, ensure the ash catcher is empty and vents are clear. Preheat the grill on high for 10–15 minutes; a hot grate creates an immediate sear that prevents sticking.
Use a stiff wire brush to remove all charred residue from the previous cook. For charcoal grills, ensure the ash catcher is empty and vents are clear.
Turn all gas burners to high or spread charcoal evenly. Close the lid and let the grill heat for 10–15 minutes until the grates are very hot.
Fold a paper towel, dip it in oil, and use tongs to rub the grates. This creates a non-stick surface without causing dangerous flare-ups from excess dripping oil.
Place tongs, a spatula, a meat thermometer, and a clean platter within arm's reach. Having everything ready prevents you from leaving the grill unattended or searching for tools while food cooks.
Grill the filet mignon
Thick-cut steaks demand high heat and patience. Sear first, finish with indirect heat if needed, and rest thoroughly.
Clean the grates and oil them lightly. Light both burners (or pile charcoal to one side) and let the grill hit medium-high to high heat. You want visible flames when the steak touches the grate. A hot surface prevents sticking and starts the Maillard reaction immediately.
Place the filet mignon on the hottest part of the grill. Do not touch it for two minutes. Let the crust form. Flip and sear the other side for another two minutes. Then, stand the steak on its edge to render the fat cap. This creates the signature cross-hatch marks and seals in juices.
Move the steak to a cooler zone or remove it entirely when the internal temperature hits 120°F (49°C) for medium-rare. The carryover cooking will raise the temp by 5-10 degrees. Tent loosely with foil and let it rest for at least five minutes before slicing. This redistributes the juices so they don’t run out on the plate.
Grill the burgers
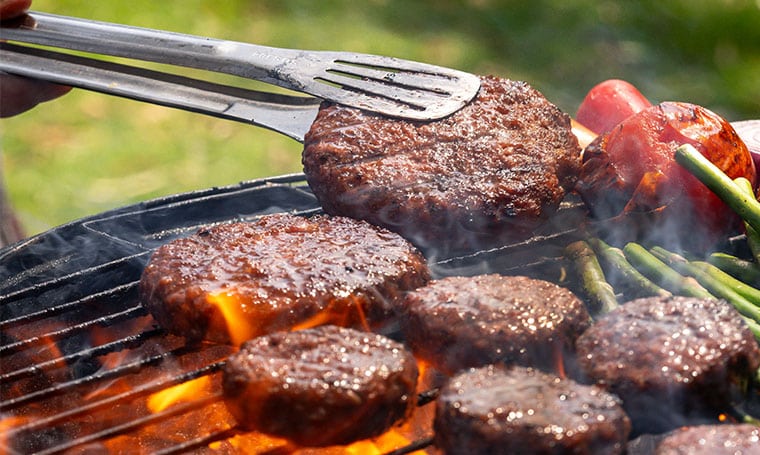
Start with a two-zone fire. Pile your coals on one side of the grill or turn one set of burners to high and leave the others off. This creates a hot side for searing and a cooler side for finishing. Burgers have a higher fat content than steaks, and that fat needs room to render without causing flare-ups that char the outside before the inside is done.
Form your patties slightly wider than your buns, as they will shrink. Press a shallow thumbprint into the center of each patty. This small indent acts as a counterweight to the meat swelling up in the middle during cooking. Without it, your burgers will puff into little meatballs rather than staying flat and juicy.
Grill the whole chicken
Cooking a whole bird on the grill requires a shift in strategy. Direct heat works for thin cuts, but a whole chicken needs indirect heat to cook evenly without drying out the breast or burning the skin. The goal is to roast the bird inside the grill, using the coals or burners as an oven rather than a sear.
Prepare the bird for the grill
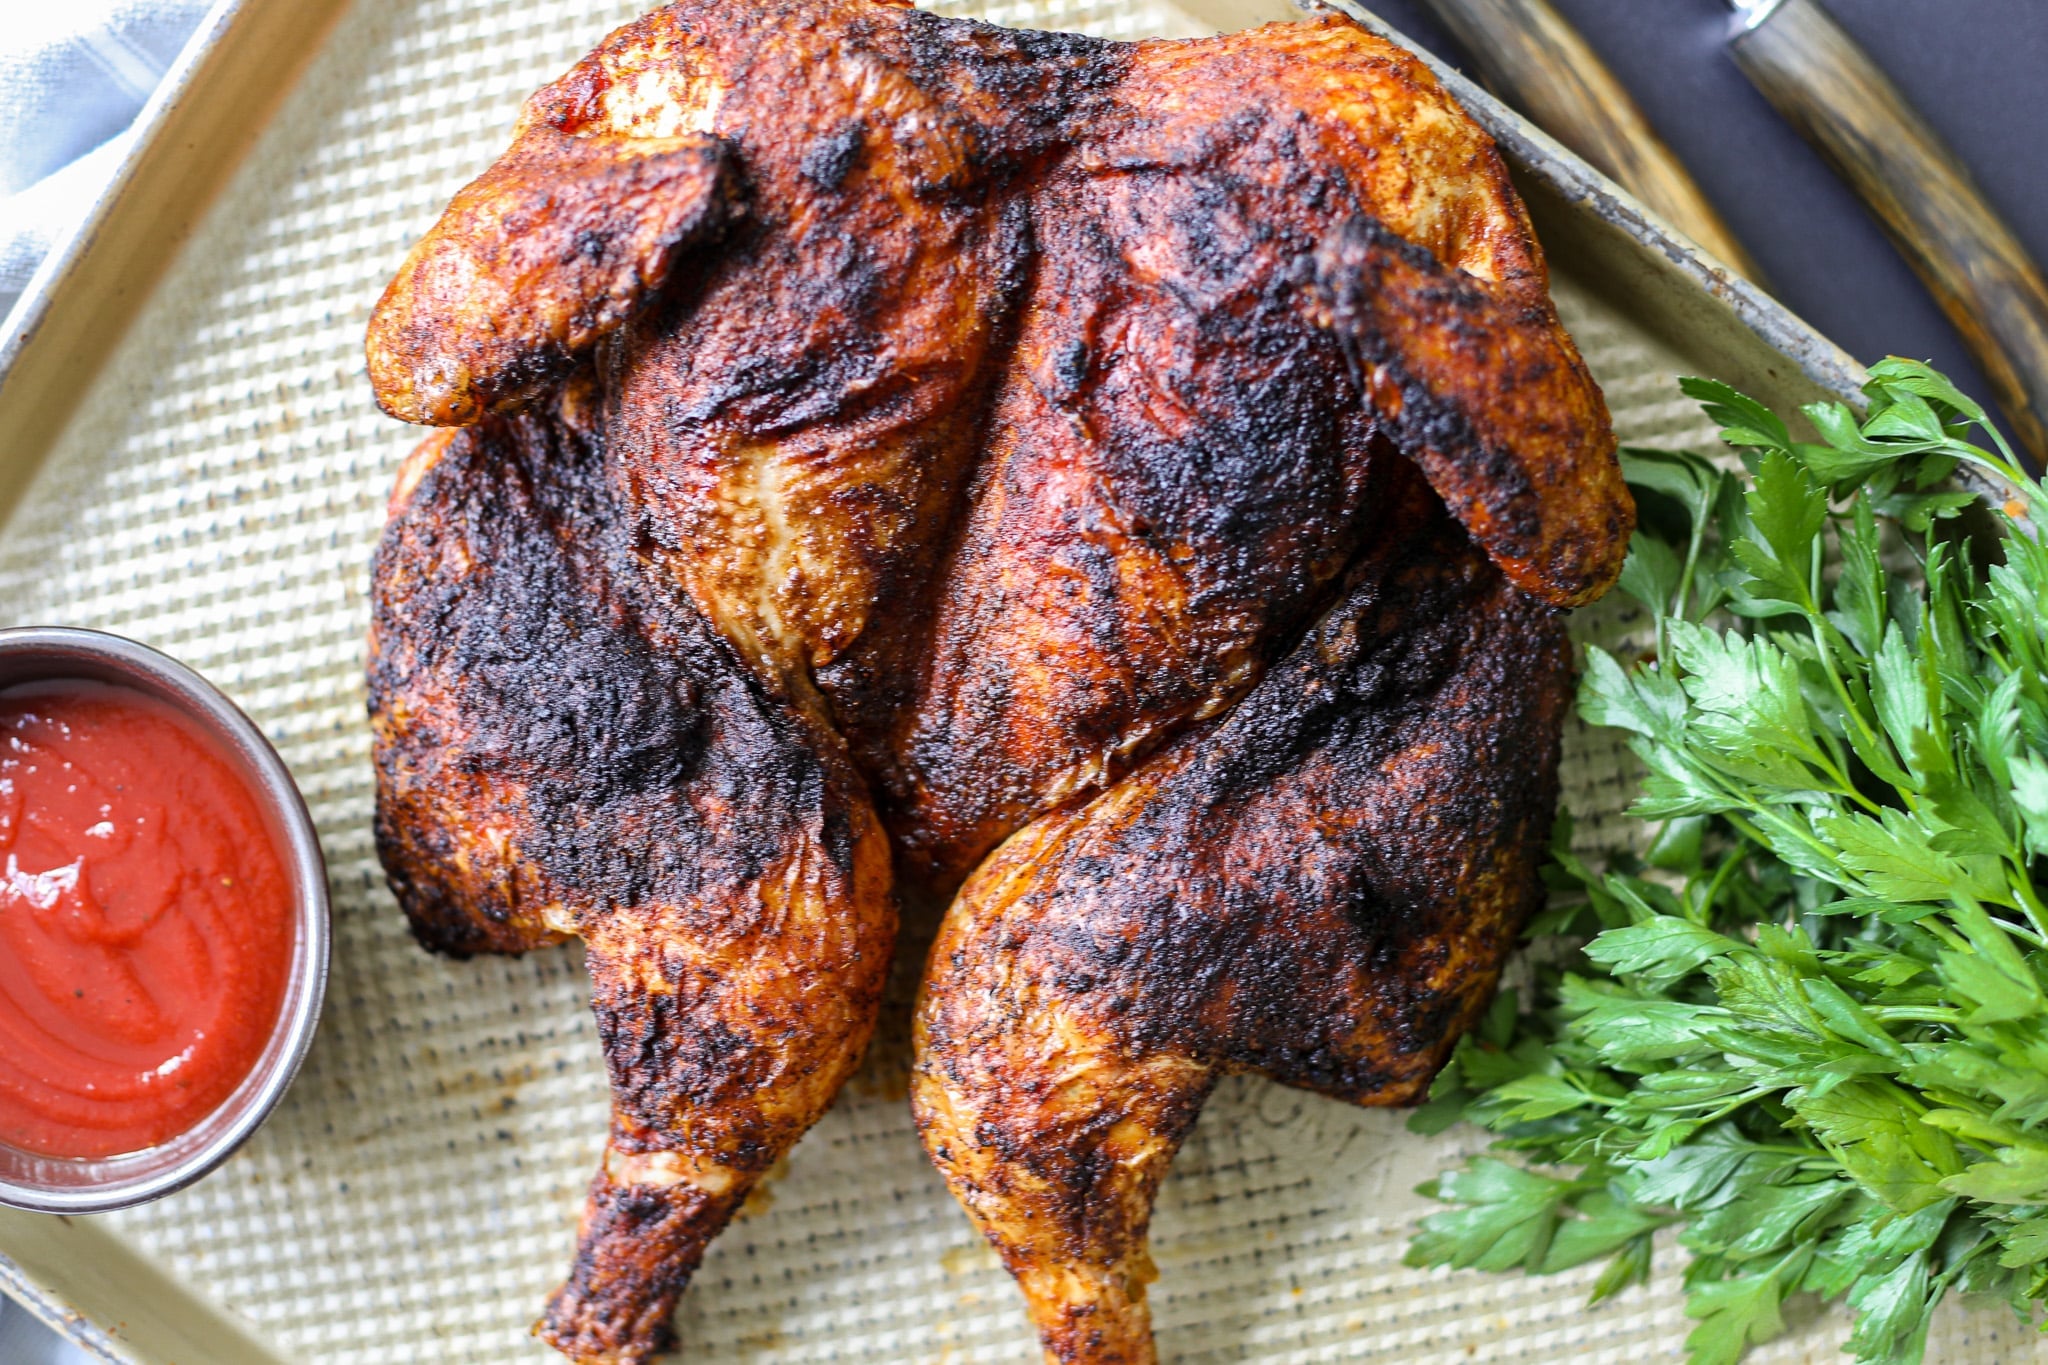
Start with a spatchcocked chicken. Cut along both sides of the backbone and press the breast flat. This creates an even thickness, allowing the thighs and breast to finish cooking at the same time. Rub the bird with oil, salt, and your preferred spices. Let it sit at room temperature for 30 minutes before grilling. This step ensures the meat cooks more uniformly once it hits the grate.
Set up two-zone heat
For charcoal grills, pile the lit coals on one side only. For gas grills, light only the burners on one side. You need a hot zone for searing and a cool zone for roasting. Place a drip pan filled with a little water or broth on the unlit side. This catches falling fat and adds humidity to the grill chamber, keeping the breast meat from turning into leather.
Roast using indirect heat
Place the chicken on the grate over the unlit side, skin-side up. Close the lid. The grill acts like a convection oven. Maintain a temperature between 350°F and 375°F (175°C–190°C). Depending on the size of your bird, this will take 45 to 60 minutes. Do not open the lid frequently. Every time you lift the lid, you lose heat and extend the cooking time.
Check temperature and rest
Insert an instant-read thermometer into the thickest part of the thigh, avoiding the bone. The chicken is safe to eat when the thigh reads 165°F (74°C). The breast should read 155°F–160°F (68°C–71°C); carryover heat will raise the temperature as it rests. If the skin is not browned enough, move the chicken over the hot zone for 2–3 minutes per side. Watch closely to prevent burning.
Remove the chicken from the grill and tent it loosely with foil. Let it rest for 15 minutes before carving. This allows the juices to redistribute. If you cut into it immediately, the juices will run out, leaving the meat dry.
Fix common grilling mistakes
Even experienced grillers hit snags. The difference between a tough steak and a tender one often comes down to how you handle the heat and the grate. Here is how to troubleshoot the three most frequent errors.
Prevent flare-ups
Grease dripping onto hot coals or burners causes sudden flames that char the outside before the inside cooks. This is especially common with fatty cuts like burgers or chicken thighs. Keep your grill lid closed as much as possible to starve the fire of oxygen. If a flare-up starts, move the food to a cooler zone of the grill until the flames die down. Don’t spray water on it; that spreads grease and creates smoke.
Stop meat from sticking
Food sticks when the proteins bond to the metal grate before a crust can form. The fix is patience. Place the meat on the hot, oiled grate and leave it alone. You will know it is ready to flip when it releases easily. If you have to force it, it needs more time. For chicken, ensure the skin is dry before it hits the grill to encourage better browning and release.
Avoid undercooking
Relying on time alone is a recipe for disaster. Every grill runs differently. Use an instant-read thermometer to check the internal temperature of your meat. For poultry, aim for 165°F (74°C) at the thickest part. For steaks and burgers, pull them off the heat a few degrees below your target, as the temperature will continue to rise while they rest.
Grilling Prep Checklist
Before you light the grill, gather your tools and ingredients. This prep checklist ensures you handle filet mignon, burgers, and whole chicken safely and efficiently.
- Grill Tools: Charcoal, lighter fluid, chimney starter, heat-resistant gloves, tongs, spatula, and a meat thermometer.
- Meat Prep: Pat proteins dry. Season filet mignon and burgers with salt and pepper. Oil and season the whole chicken.
- Sides & Sauces: Prepare vegetables, buns, and condiments. Have a clean plate ready for cooked meat.
No comments yet. Be the first to share your thoughts!