
Prep your grill and tools
Before you fire up the burners or light the charcoal, you need a plan for heat zones and a clear workspace. Grilling is not a one-zone party; it is a two-zone operation. You need a direct heat zone for searing and an indirect zone for finishing. Without this setup, your steaks will char on the outside while staying raw inside, or your chicken will dry out trying to cook through.
Start by arranging your coals or turning your burners. For charcoal, pile the coals on one side of the grill, leaving the other side empty. This creates your indirect heat zone. For gas grills, turn on only the burners on one side. If you have a multi-burner grill, the center burners off creates a perfect indirect zone for larger cuts like chicken breasts or whole fish.
Next, check your tools. You need a long-handled grill brush, heavy-duty tongs, and an instant-read thermometer. Keep these within arm’s reach on a clean plate or tray. Do not place raw meat on the same plate that held cooked food. This cross-contamination risk is the most common mistake in home grilling.
Pile charcoal to one side or turn off center burners on a gas grill. This gives you a searing zone and a gentle cooking zone. You need both to handle thick steaks and delicate fish properly.
Use a stiff grill brush to scrub the grates while they are hot. Remove any leftover char or debris from previous cooks. A clean surface prevents sticking and ensures even heat transfer to your food.
Fold a paper towel, dip it in oil, and use tongs to wipe the hot grates. This creates a non-stick surface without causing flare-ups from dripping oil. Do this right before you place your food on the grill.
Grill steaks and burgers
High-heat proteins like steaks and burgers require a different approach than slower-cooking meats. The goal is a crisp, caramelized crust on the outside while keeping the interior juicy and at the correct temperature. Use a meat thermometer to verify doneness, as visual cues alone can be misleading.
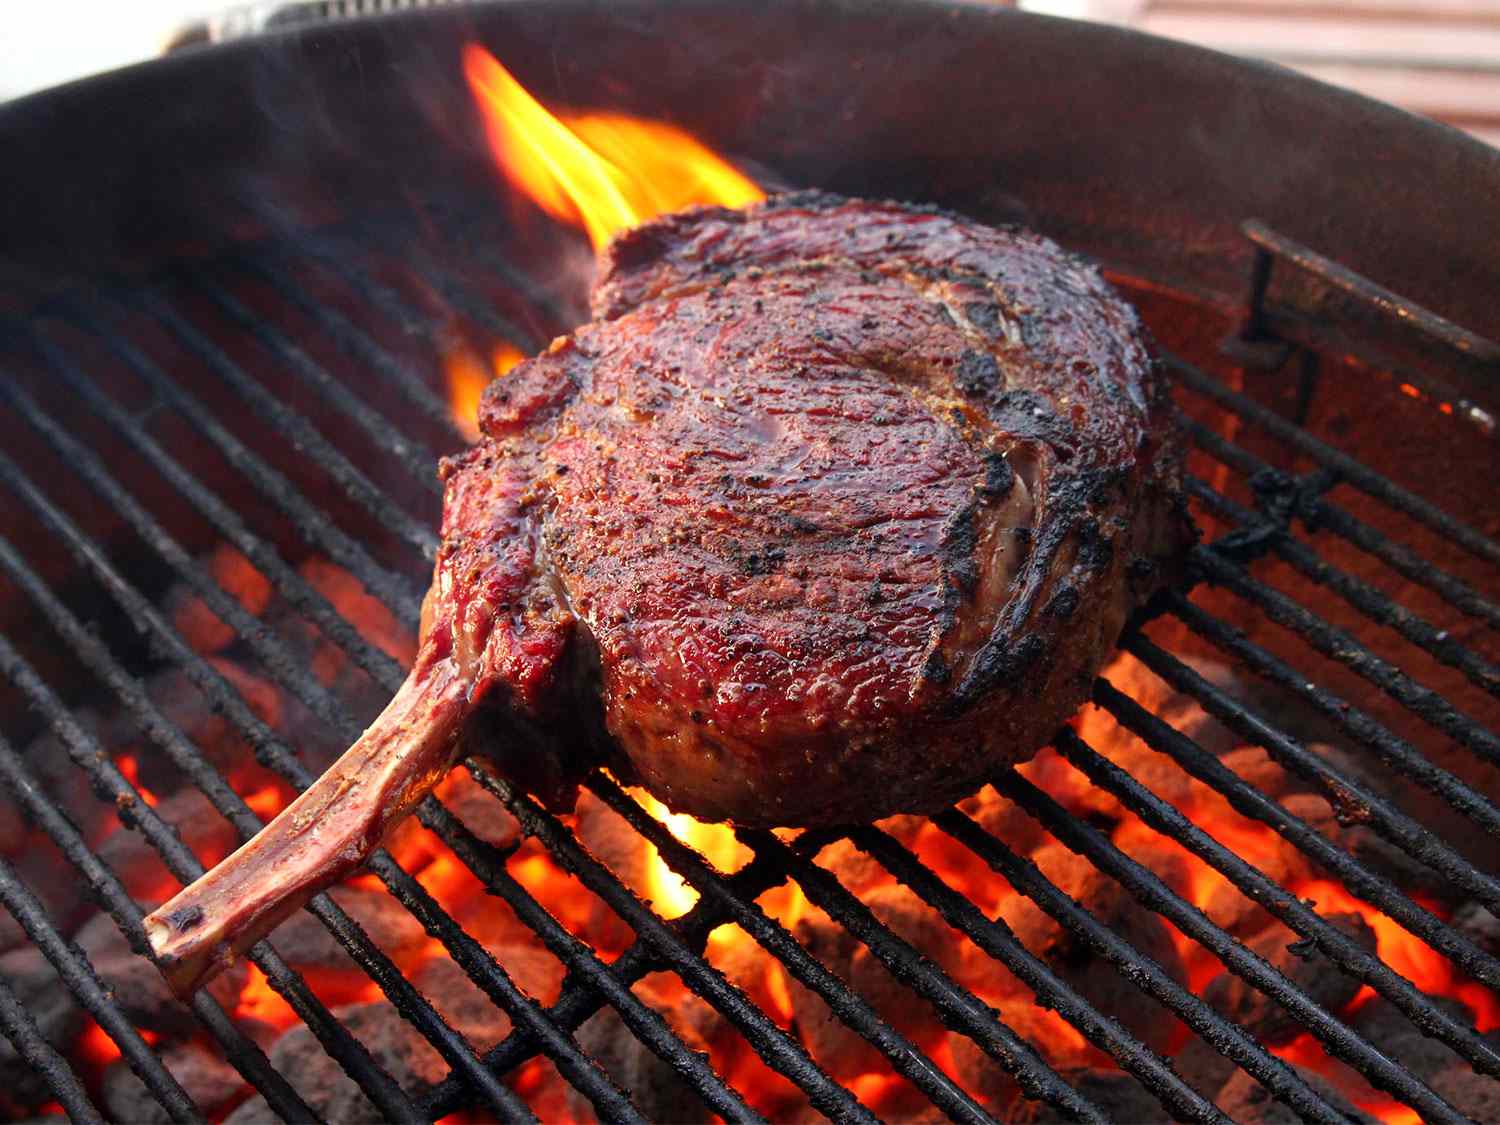
Sear the steaks
Pat your steaks dry and season them generously with salt and pepper just before they hit the grill. Place them directly over the hottest part of the grate. Let them sear undisturbed for about 4-5 minutes to develop a deep brown crust. Flip only once to ensure even cooking.
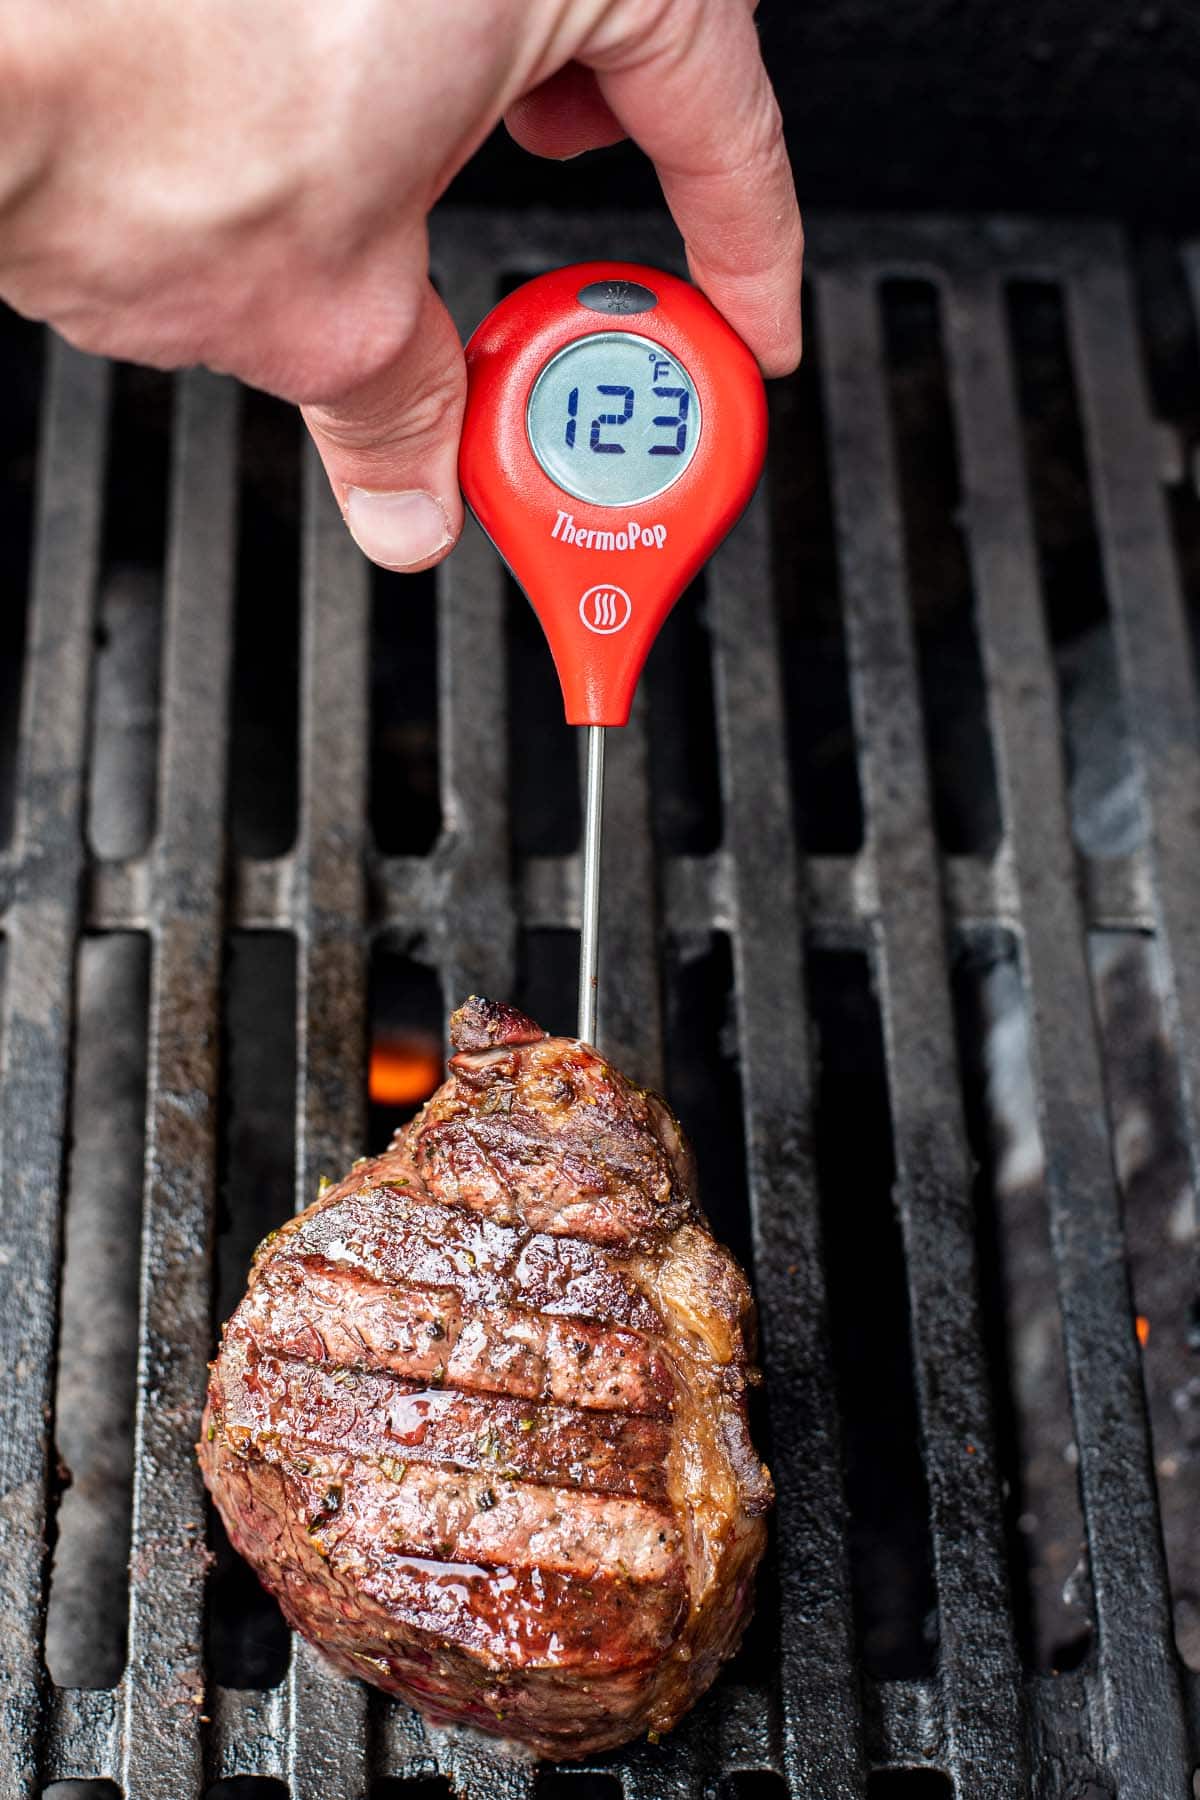
Place the steak over direct high heat. Do not move it for the first few minutes to allow the Maillard reaction to create a flavorful crust. Flip only once.
Insert an instant-read thermometer into the thickest part of the meat. Remove the steak from the grill when it reaches 140°F for medium-rare or 155°F for medium doneness.
Transfer the steak to a cutting board or plate and let it rest for at least 5 minutes. This allows the juices to redistribute, ensuring every bite is moist.
Cook the burgers
Burgers need to reach a safe internal temperature to kill bacteria. Unlike steaks, which can be served rare, ground beef should be cooked thoroughly. Form your patties slightly wider than your buns, as they will shrink during cooking. Create a small indent in the center of each patty to prevent it from puffing up into a ball.
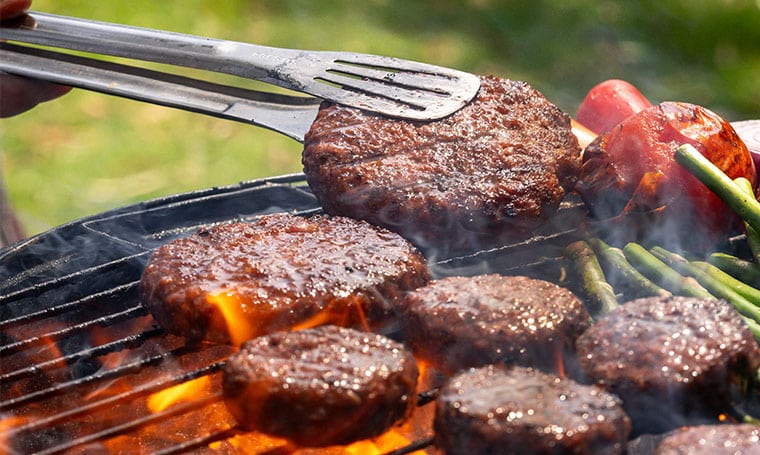
Place the patties over direct heat. Cook for 4-5 minutes per side. Avoid pressing down on the burgers with your spatula, as this squeezes out the flavorful juices.
Check the internal temperature with a thermometer. Ground beef must reach 160°F to be considered safe to eat. If you are adding cheese, place it on the patty during the last minute of cooking to melt.
Remove the burgers from the grill and serve on toasted buns with your preferred toppings. Do not let them sit for long, as the crust will soften and the heat will dissipate.
Cook chicken and brats
Chicken and bratwurst have different safety requirements than steak. Chicken needs to reach a higher internal temperature to kill bacteria, while brats require gentle heat to keep the casings intact and the fat from bursting. Treat these proteins with a slower, more controlled approach than you would a quick-sear steak.
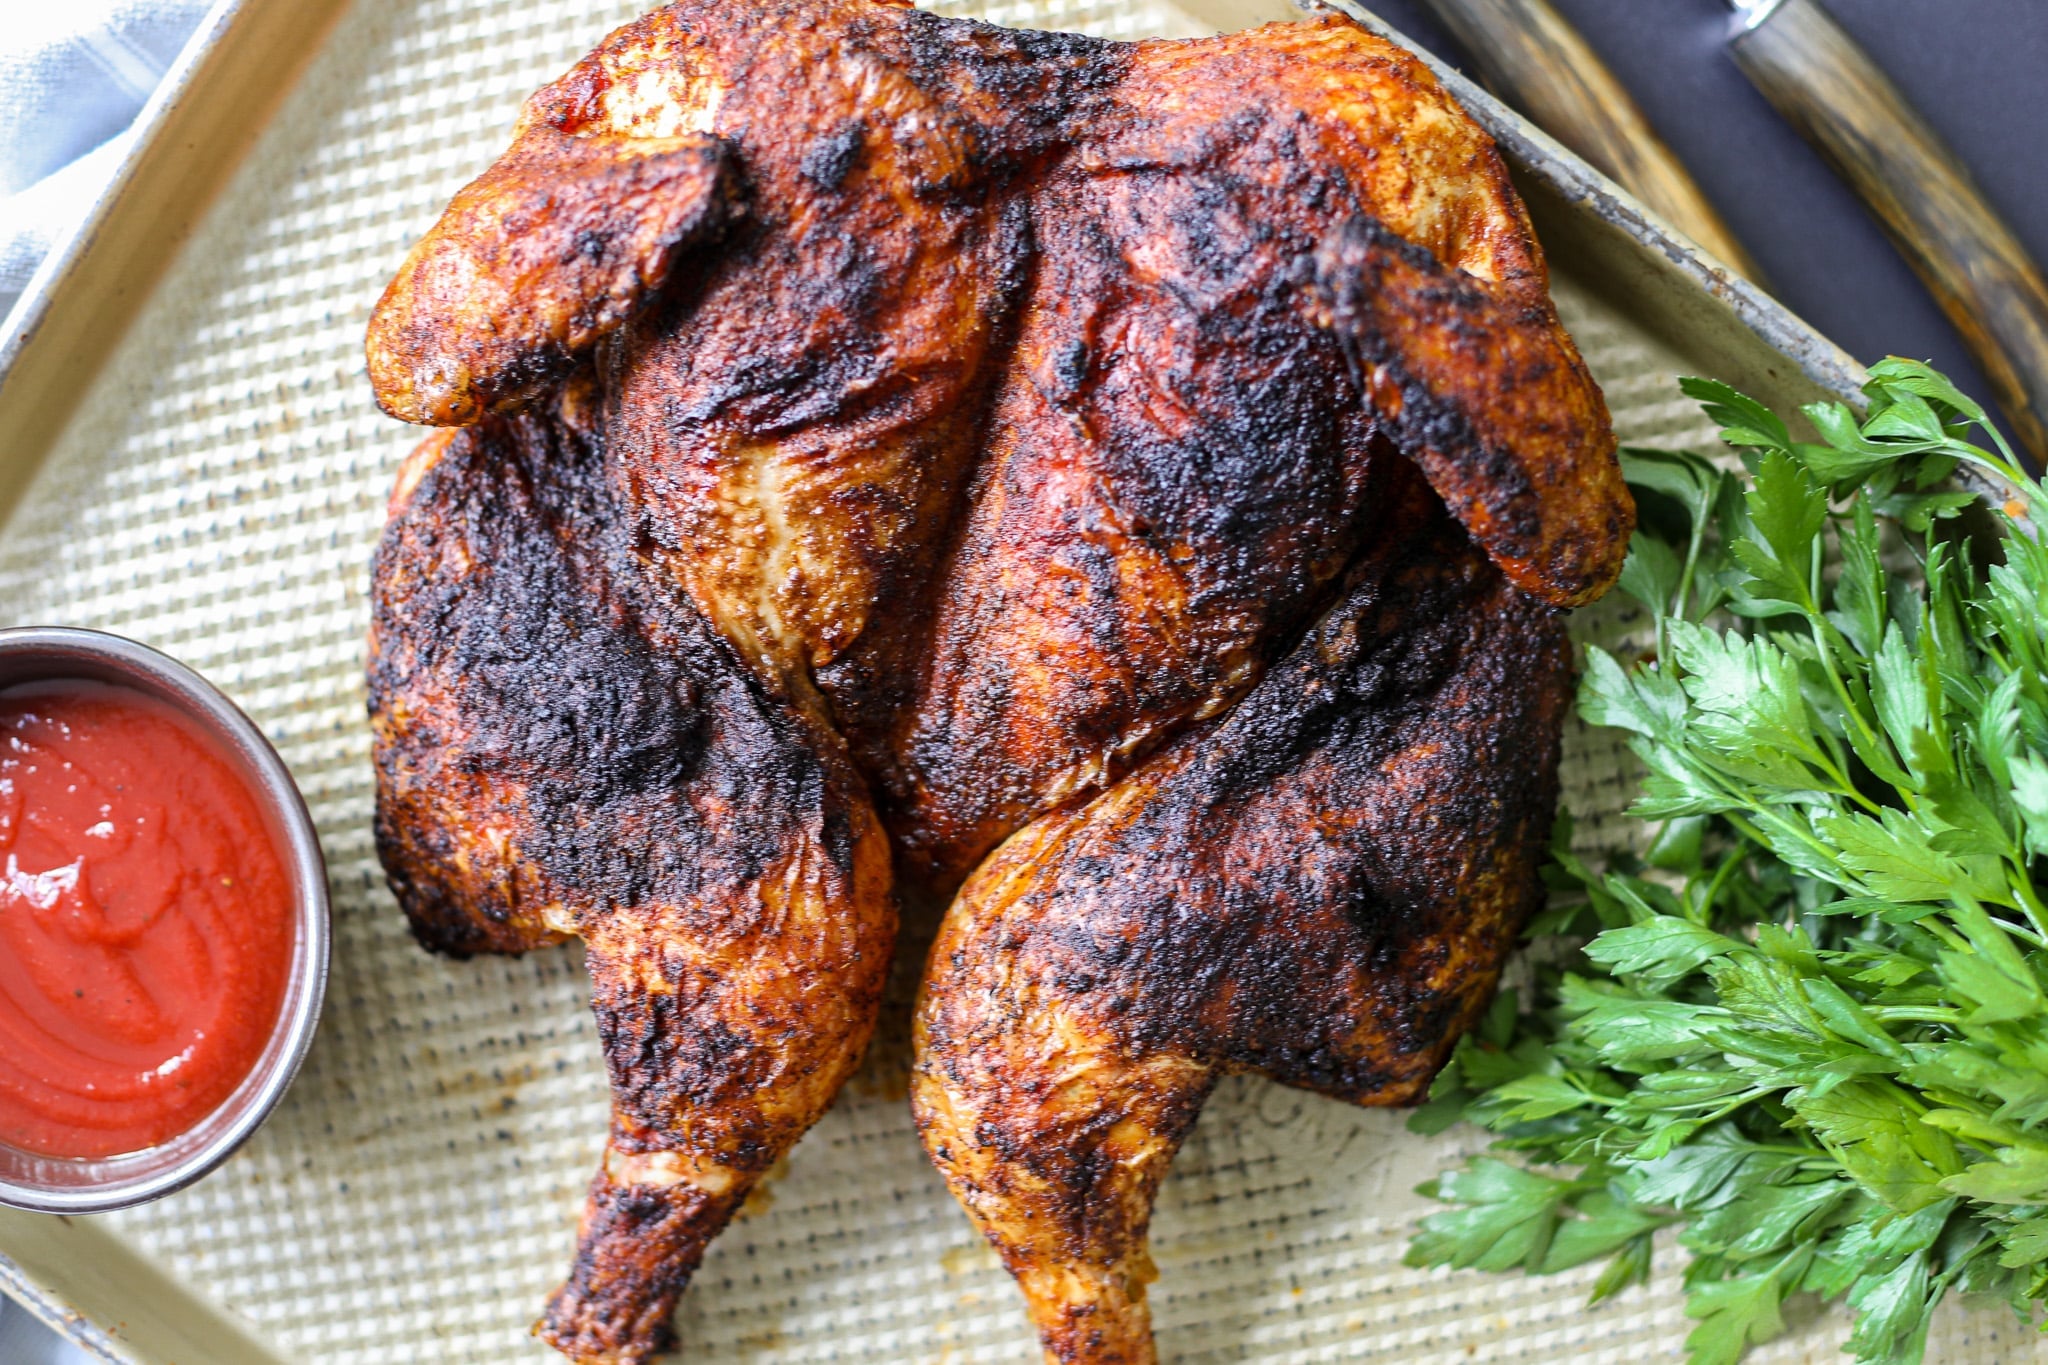
Whole chicken
Spatchcocking a whole chicken flattens it so the breast and thighs cook at the same rate. This technique reduces grilling time and prevents the breast from drying out before the legs are done. Place the bird directly over the heat source. Flip it once when the skin is golden and the juices run clear.
Chicken drumsticks
Drumsticks are forgiving but prone to burning on the outside before the meat near the bone is safe to eat. Start them over indirect heat to render the fat and cook the interior. Move them to direct heat only at the end to crisp the skin. Check the internal temperature with a thermometer; it must hit 165°F (74°C).
Bratwurst
Brats contain a high fat content that can cause casings to split if exposed to high flame. Parboil or simmer them in beer and onions for 10 minutes before grilling. This cooks the inside gently. Finish them on the grill over medium heat, turning frequently to avoid blistering the casing. They are done when the internal temperature reaches 160°F (71°C) and the skin is browned.
Grill fish and seafood
Fish like mahi mahi, salmon, and swordfish cook quickly and break apart easily if handled roughly. The goal is a firm exterior and moist interior without the flesh sticking to the grate. Follow this sequence to keep your seafood intact.
Pat the fish fillets dry with paper towels. Moisture creates steam, which prevents browning and causes sticking. Season lightly with salt and pepper just before grilling. Ensure your grill grates are clean and free of old residue from previous meats.
Dip a folded paper towel in high-smoke-point oil like canola or grapeseed. Use tongs to wipe the oil directly onto the hot grates. This creates a non-stick barrier. Avoid oiling the fish directly, as excess oil can drip and cause flare-ups that char the delicate flesh.
Lay the fillets perpendicular to the grate bars. This placement allows the grill marks to cross the flesh, making it easier to lift with a spatula later. Do not move the fish immediately. Let it sear for 60-90 seconds until it releases naturally from the metal.
Wait until the flesh turns opaque about halfway up the side of the fillet. Use a thin, flexible spatula to slide under the entire piece. Flip gently in one motion. Cook for another 1-2 minutes depending on thickness. Overcooking dries out fish instantly.
Remove the fish from the grill immediately once it flakes easily with a fork. Let it rest for two minutes on a warm plate. This allows the juices to redistribute. Serve with lemon wedges or a light sauce to complement the smoky flavor.
Check doneness and rest
Grilling works best as a clear sequence: define the constraint, compare the realistic options, test the tradeoff, and choose the path with the fewest hidden costs. That order keeps the advice usable instead of decorative. After each step, pause long enough to check whether the recommendation still fits the reader's actual situation. If it depends on perfect timing, unusual access, or a best-case budget, include a simpler fallback.
The simplest way to use this section is to write down the real constraint first, compare each option against it, and choose the path that still works outside ideal conditions.
Common grilling mistakes
Even experienced cooks hit snags when the grill is hot and the clock is ticking. The most frequent errors usually come down to impatience or misunderstanding how heat moves through different proteins. Fixing these habits makes the difference between a dry, stuck mess and a clean, flavorful meal.
Pressing down on burgers
Pressing a burger patty with a spatula squeezes out the juices that keep the meat tender. Those juices are flavor, and once they hit the coals, they just create smoke and flare-ups. Leave the patty alone. Let the fat render and the crust form naturally. If you need to check doneness, use an instant-read thermometer instead of squishing the meat.
Moving fish too early
Fish sticks to the grate if you try to flip it before the proteins have set. This usually happens when the grill isn’t hot enough or the grates aren’t oiled properly. If the fish resists, it’s not ready. Wait another minute. A clean release means the sear has formed and the flesh is opaque enough to handle without breaking apart.
Ignoring resting time
Taking meat straight off the grill and slicing it immediately causes all the internal juices to run out onto the cutting board. This is especially true for thick steaks and chicken breasts. Let the meat rest for five to ten minutes after removing it from the heat. This allows the muscle fibers to relax and reabsorb the moisture, ensuring every bite is juicy.
Grilling guide FAQs
Here are quick answers to common questions about grilling times, safety, and technique for steaks, chicken, and fish.
How long do I grill different meats?
Grilling times depend on thickness and heat. A 1-inch steak needs 4–5 minutes per side for medium-rare. Chicken thighs take 6–8 minutes per side until the internal temperature hits 165°F. Thin fish fillets cook in 3–4 minutes per side. Always use a meat thermometer to check doneness, as visual cues can be misleading.
Should I bring meat to room temperature before grilling?
Yes, for most cuts. Letting steaks and chicken rest at room temperature for 30 minutes helps them cook more evenly. However, fish and ground meats like burgers should go straight from the fridge to the grill to maintain food safety and texture.
How do I prevent fish from sticking to the grill?
Preheat your grill grates thoroughly and oil them generously before adding the fish. Place the fillets skin-side down first and do not move them until they release naturally. This usually takes about 80% of the total cooking time. For extra insurance, use a fish basket or grill planks.
No comments yet. Be the first to share your thoughts!