

Set up two-zone heat
Split your cooking surface into a hot side for searing and a cool side for indirect cooking. This setup gives you control over every protein, from delicate whole chicken to thick filet mignon.
Arrange coals or burners
Charcoal: Pile lit coals on one side, leaving the other empty. This creates a direct heat zone over the coals and an indirect zone above the empty grate.
Gas: Light only the burners on one side. The lit side provides high heat for browning; the unlit side stays cooler for finishing meat without burning.
Place a drip pan
Fat drippings cause flare-ups if they hit the fire. Place a disposable aluminum drip pan on the grate over the indirect zone to catch juices, preventing smoke and keeping the grill clean.
Preheat and test
Close the lid and heat for 10–15 minutes. The direct zone should sizzle water instantly. The indirect zone should be warm. Test with your hand: 4–5 seconds over indirect heat means it’s ready for slower cooking; 2–3 seconds means it’s hot enough for searing.
Adjust vents
Open vents wide to increase heat for searing; close them partially to lower temperature for indirect cooking. On charcoal, bottom vents control fire intensity, while the top vent regulates smoke flow. Keep the top vent open to prevent stale smoke.
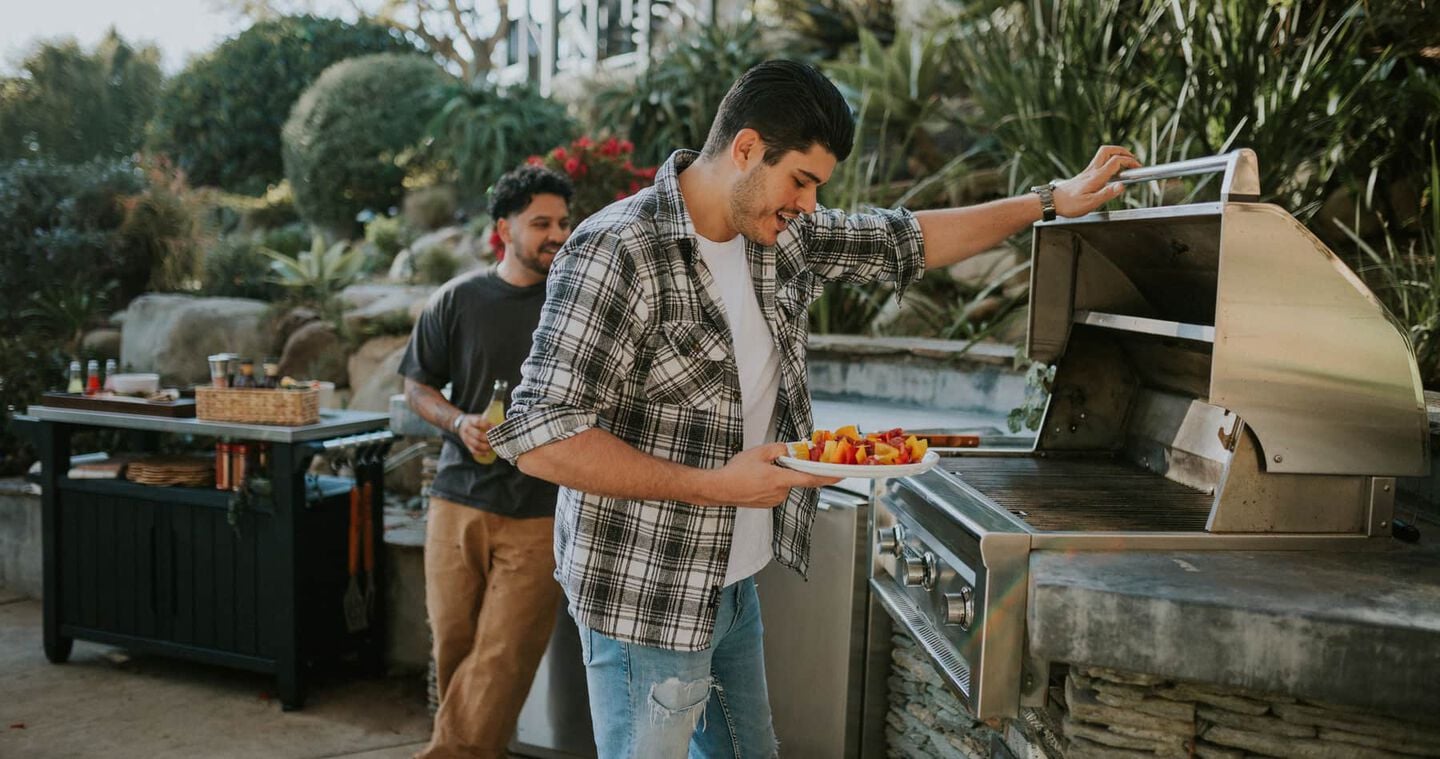
Pile coals on one side or light only half the burners. This splits the grill into direct and indirect zones.
Place an aluminum drip pan on the indirect side to catch fat and prevent flare-ups during long cooks.
Close the lid and heat for 10–15 minutes. Test the temperature with your hand to ensure the zones are ready.
Open vents for high heat, close them to lower temperature. Keep the top vent open for proper smoke flow.
Grill filet mignon for a crust
Filet mignon is tender but lean, lacking the intramuscular fat that protects thicker cuts. High-heat searing is essential to build a deep, mahogany crust quickly before the interior overcooks. The goal is a distinct contrast between a crispy exterior and a pink, juicy center.
Pat steaks completely dry with paper towels; moisture steams meat instead of browning it. Season generously with coarse kosher salt and freshly cracked black pepper. Let steaks sit at room temperature for 30 minutes while you prepare the grill.
Clean and oil grates lightly. Create two heat zones: one side blazing hot (direct) for searing, the other with no flames (indirect) for gentle cooking. The direct zone should be at least 450°F to ensure a proper crust forms immediately.
Place filets directly over the hottest part. Sear for 2–3 minutes per side without moving them. Rotate 90 degrees halfway through each side for cross-hatch marks. This rapid browning creates flavor through the Maillard reaction.
Once deeply browned, move steaks to the cooler, indirect side. Close the lid to trap heat, allowing the interior to cook evenly without burning the outside. For medium-rare, this takes 3–5 minutes depending on thickness.
Use an instant-read thermometer. Remove steaks when 5°F below desired doneness (e.g., 125°F for medium-rare). Transfer to a board and tent loosely with foil. Rest for 5–10 minutes to redistribute juices.
Patience is key. Do not rush the sear or skip the rest. A properly rested filet mignon is uniformly pink, tender, and richly flavored.
Grill burgers without drying out
Burgers are ground meat with fragile structure. Overhandling or pressing down squeezes out juices. The goal is a crisp crust and juicy interior, achieved by minimal handling and specific shaping.
Form patties with a thumbprint
Divide 80/20 lean-to-fat ground beef into equal portions. Shape discs slightly wider than your bun, as meat shrinks during cooking. Pack loosely to keep texture tender. Press a shallow indentation into the center with your thumb. This counteracts the meat’s tendency to puff up in the middle, preventing a "meatball" shape and dry edges.
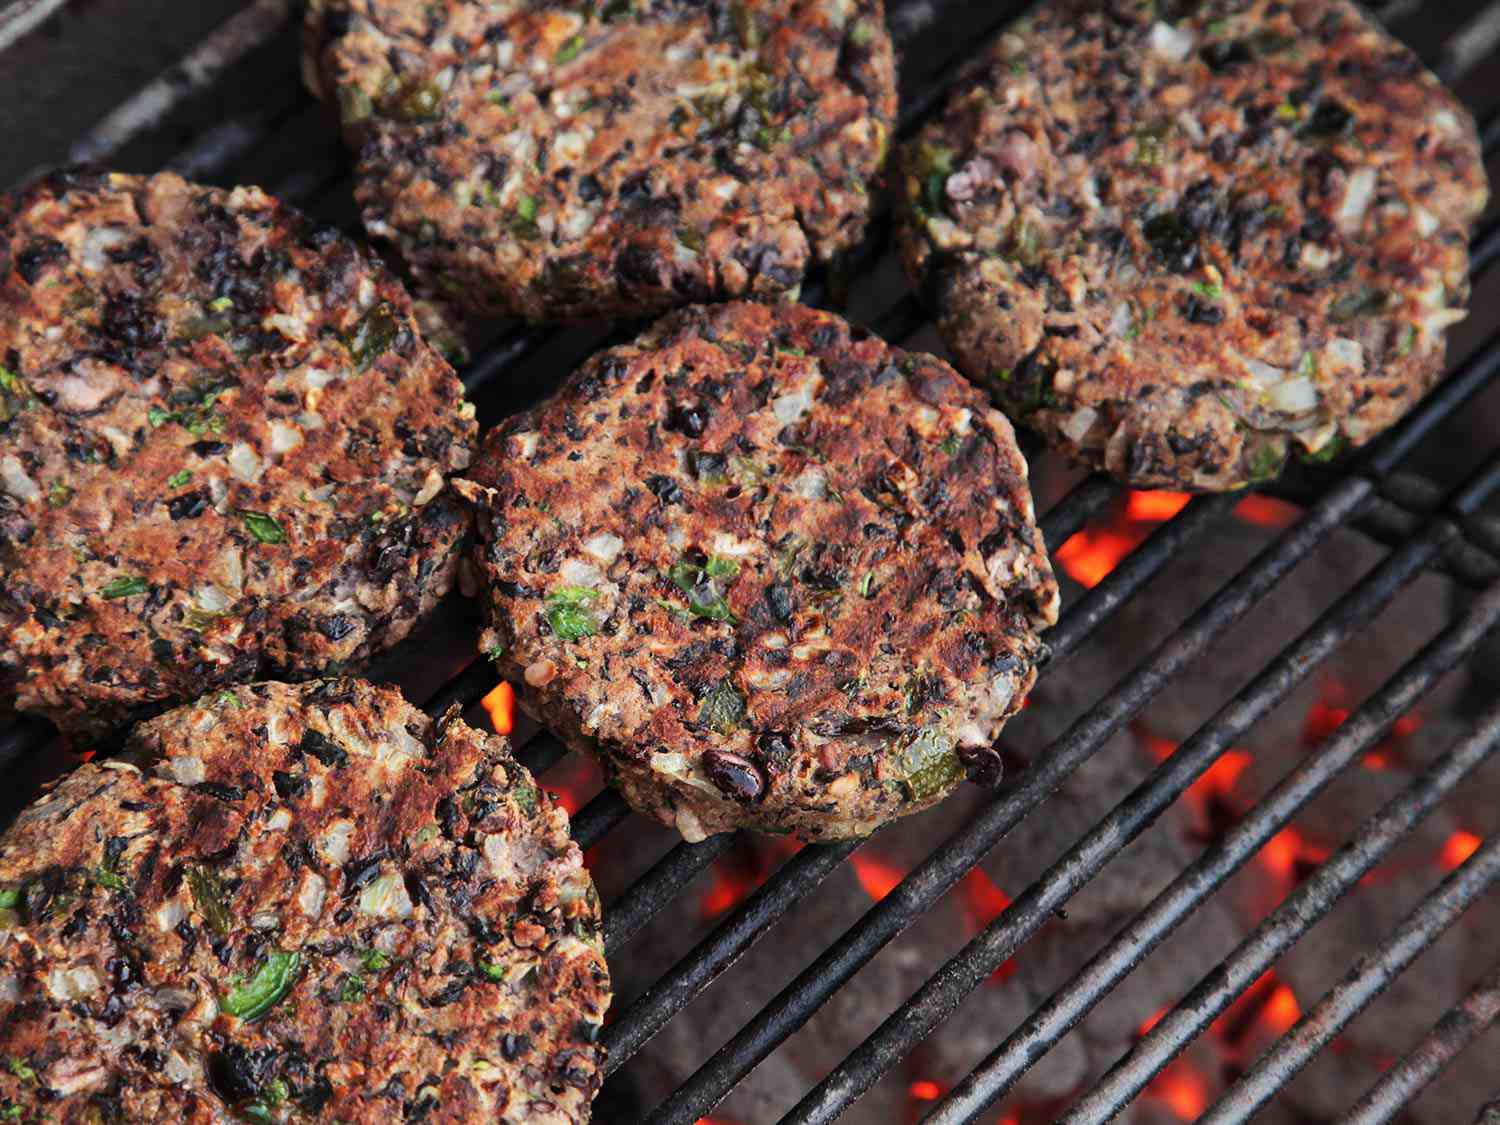
Clean grates thoroughly and oil lightly. Heat to high (450°F–500°F) to create a searing surface. Hot grates sizzle immediately, locking in flavor and preventing sticking.
Place patties on the grill and do not touch them. Sear undisturbed for 2–3 minutes. Juices will pool on top and edges will turn gray. This patience allows a deep crust to form.
Flip only once. Cook the second side for 2–4 minutes. Insert an instant-read thermometer into the side of the patty. Aim for 160°F (71°C) for medium doneness. Remove immediately once target temperature is reached.
Avoid the press-down trap
Never press down on burgers with a spatula. This forces flavorful fat and juices onto the fire, causing flare-ups that char the outside before the inside cooks. Form flat patties during prep; do not compress them during the cook.
Rest before serving
Let burgers sit for 3–5 minutes after grilling. This allows muscle fibers to relax and reabsorb juices. Assembling immediately causes juices to run onto the bun, making it soggy and the meat dry.
Roast whole chicken indirectly
Grilling a whole chicken requires a two-zone fire. Direct heat chars skin before the meat near the bone is safe. Indirect roasting circulates heat, cooking the bird evenly while keeping it juicy.
Truss the chicken
Tie legs together and tuck wing tips under the body. This compact shape ensures even heat distribution and prevents thin parts from burning. Use kitchen twine to create a neat package that sits flat on the grate.
Place on the indirect zone
Create a hot zone on one side and a cooler zone on the other. Place the chicken breast-side up on the cooler side, away from direct flame. Close the lid to trap heat, turning the grill into an oven.
Monitor the temperature
Use a meat thermometer in the thickest part of the thigh, avoiding bone. The USDA recommends 165°F (74°C). If skin browns too quickly, move the chicken further from heat or tent loosely with foil.
Rest before carving
Remove chicken and rest on a cutting board for 10–15 minutes. This redistributes juices, ensuring moist bites. Carve only when cool enough to handle.
Check doneness with a thermometer
A meat thermometer is the only reliable way to ensure safety without overcooking. Guessing by touch or color often leads to dry steak or undercooked poultry. Insert the probe into the thickest part, avoiding bone or fat.
Remove meat from the grill 5°F below the target, as residual heat continues cooking during rest.
| Protein | Target Temp | Rest Time | Note |
|---|---|---|---|
| Filet Mignon | 130-135°F (Medium-Rare) | 3-5 minutes | Best at medium-rare to keep tender |
| Burgers | 160°F | None | Must reach 160°F for safety |
| Whole Chicken | 165°F | 10-20 minutes | Check thigh, not breast |
Rest meat before serving
Removing meat from the grill is only half the battle. When meat hits high heat, muscle fibers contract and squeeze juices toward the center. Cutting immediately causes these juices to spill out, leaving dry, flavorless bites. Resting allows fibers to relax and reabsorb moisture.
How long to rest each cut
Timing depends on size and type. A thick filet mignon needs 5–10 minutes. Burgers, being thinner, need 3–5 minutes. Whole chicken, being larger and denser, requires 15–20 minutes to ensure juices near the bone redistribute evenly.
Tent with foil, don't wrap
Move meat to a warm plate or board. Loosely tent with aluminum foil. This traps residual heat while letting steam escape. Tight wrapping traps steam, making crusts soggy. You want a warm, juicy interior with a crisp exterior.
-
Remove meat from grill and place on a warm plate.
-
Loosely tent with aluminum foil to retain heat.
-
Wait 5-10 minutes for steaks/burgers, 15-20 for chicken.
-
Slice against the grain and serve immediately.
This patience pays off. The difference between a dry meal and a tender one often comes down to these few minutes of waiting.
Grilling questions answered
Does filet mignon need to be room temperature?
Yes. Removing steak from the refrigerator 30–45 minutes before cooking allows even cooking. If the center is too cold, the outside overcooks before the inside reaches doneness. Burgers and fish are exceptions; keep them cold until grilling.
How long to grill a whole chicken?
Time depends on weight and heat, but a general rule is 13–15 minutes per pound at 375°F (190°C). The only reliable check is a meat thermometer in the thickest part of the thigh, avoiding bone. Safe to eat at 165°F (74°C).
Can I grill frozen burgers?
No. Frozen patties cook unevenly, risking unsafe undercooked centers. Always thaw in the refrigerator first. If forgotten, switch to a skillet or oven to ensure safe cooking.
No comments yet. Be the first to share your thoughts!