

Prep the grill and tools
Before you season any meat, you need to set up the grill itself. A clean, properly heated, and oiled grate is the difference between food sticking and releasing easily with a nice sear. Follow this sequence to get the surface ready.
Scrape and brush
Start with a cold grill. Use a grill brush to scrape off any leftover char or debris from your last cook. If the grates are especially dirty, you might need to soak them or use a grill stone for stubborn residue. A clean surface prevents cross-contamination of flavors and ensures even heat transfer.
Heat it up
Turn all burners to high (or open all vents on a charcoal grill) and close the lid. Let the grill preheat for 10–15 minutes. This high heat burns off any remaining organic matter and brings the metal to the optimal temperature for searing. You’ll know it’s ready when the metal glows red or the heat is intense enough to keep your hand away for only a few seconds.
Oil the grates
Once the grill is hot, turn off one or more burners to create a medium zone, or wait for the coals to ash over. Dip a folded paper towel in vegetable or canola oil, hold it with long tongs, and rub it across the grates. This creates a thin, non-stick layer. Do not use cooking spray, as the propellants can damage the finish and cause flare-ups.
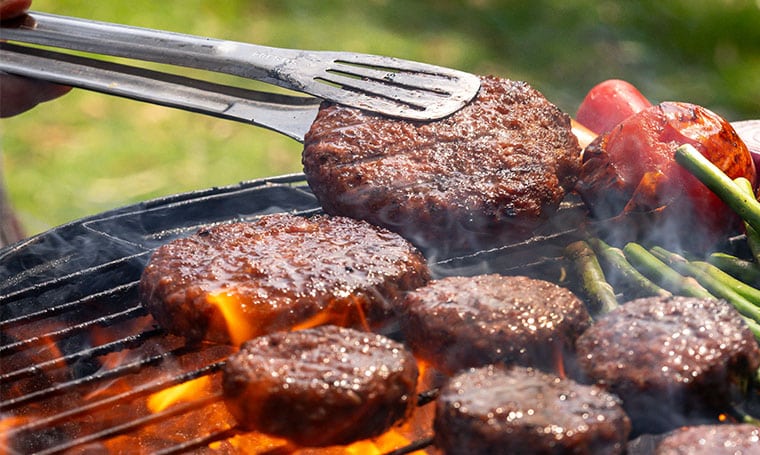
Grill filets and burgers
Thin, tender cuts like filet mignon and ground meat burgers demand high heat and speed. Unlike tough cuts that need slow cooking, these rely on a fast sear to lock in juices and develop a crust. The goal is a dark, flavorful exterior while keeping the interior pink and juicy.
1. Preheat for High Heat
Get your grill screaming hot before the meat touches the grates. For filets and burgers, you want direct high heat, ideally between 450°F and 500°F. If you’re using charcoal, let the coals turn white and ash over. For gas, turn all burners to high for at least 15 minutes. Clean the grates thoroughly and oil them lightly to prevent sticking.
2. Sear the Filets
Place chilled filets directly over the hottest part of the grill. Do not move them for the first two minutes; let the crust form. Flip once, then move to a slightly cooler zone if needed to finish cooking without burning. Filets are lean, so they cook quickly—typically 3-4 minutes per side for medium-rare. Use tongs to sear the edges too, holding each side for 15 seconds to render the fat cap.
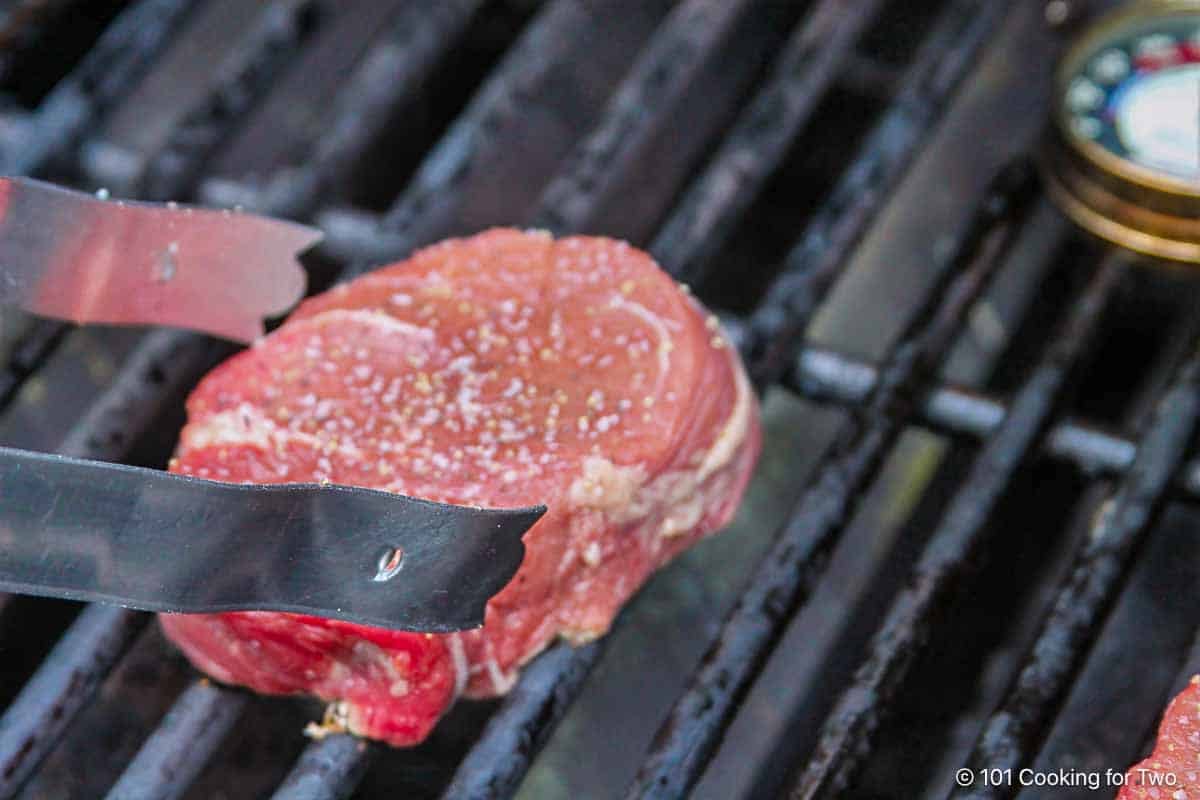
Place chilled filets directly over the hottest part of the grill. Do not move them for the first two minutes to allow a deep crust to form. Flip once and sear the edges by holding each side for 15 seconds.
Place patties on the grill and press down gently with a spatula to ensure even contact. Flip only once when juices rise to the top. Cook until the internal temperature reaches 160°F for safety.
3. Flip Burgers Once
Burgers are forgiving but easily dry out if handled too much. Place patties on the grill and let them sear undisturbed for 3-4 minutes. You’ll know they’re ready to flip when juices pool on the top surface. Flip only once. Pressing down on burgers squeezes out flavorful fat, so avoid the temptation to squish them. Cook until the internal temperature reaches 160°F.
4. Check Temperature
Use an instant-read thermometer to check doneness. For filets, aim for 130°F (medium-rare) or 140°F (medium). For burgers, 160°F is the safe minimum. Remove the meat from the grill 5 degrees before your target, as carryover cooking will raise the temperature while resting. Let filets rest for 5 minutes and burgers for 3 minutes before serving.
Roast Whole Chicken and Legs
Grilling a whole chicken requires shifting from direct searing to indirect heat. Direct flame will char the skin before the thickest part of the thigh reaches a safe temperature. Indirect roasting wraps the bird in ambient heat, cooking it through evenly while keeping the meat juicy.
Push all lit coals to one side of the grill, or turn off the center burners on a gas grill. You now have a hot direct zone for searing and a cooler indirect zone for roasting. The bird will spend most of its time over the empty side.
Pat the chicken completely dry with paper towels. Moisture prevents the skin from crisping. Rub it with oil and your preferred seasoning blend. If using a whole bird, consider spatchcocking it to flatten the shape, which helps it cook faster and more evenly.
Place the chicken skin-side up over the indirect zone, away from the heat source. Close the lid. This turns your grill into an oven. The trapped heat circulates around the bird, roasting it gently. Avoid lifting the lid frequently, as this releases the heat you are trying to build.
Insert a meat thermometer into the thickest part of the thigh, avoiding the bone. The chicken is done when it reaches 165°F (74°C). Remove it from the grill and let it rest on a cutting board for 10-15 minutes. This allows the juices to redistribute so they don't run out when you carve.
-
Set up two-zone heat with coals on one side
-
Pat chicken dry and season with oil and spices
-
Place bird over indirect heat, skin-side up
-
Close lid and roast until internal temp hits 165°F
-
Rest chicken for 10 minutes before carving
Avoid common grilling mistakes
Even experienced grillers hit snags. The difference between a ruined dinner and a great one is usually how you handle three specific problems: food sticking to the grate, flare-ups singeing the outside, and overcooking the interior. Fix these, and your steaks, burgers, and chicken will turn out consistently better.
Prevent sticking
Food sticks when proteins bond with cold or dirty metal. Before you place anything on the grill, clean the grates thoroughly with a wire brush and oil them generously. Use a paper towel dipped in high-smoke-point oil (like canola or vegetable) held with tongs. This creates a non-stick barrier.
Don’t panic if a burger or steak resists when you try to flip it. If it’s not ready, it will tear. Wait until a crust forms; the meat will release itself naturally when the proteins have seared properly.
Control flare-ups
Fat dripping onto hot coals or burners causes sudden flames that char food before the inside cooks. Instead of spraying water—which creates dangerous steam and ash—move the food to a cooler zone on the grill immediately. Close the lid to starve the fire of oxygen, or turn down the burners on a gas grill. Once the flames die down, return the food to the heat.
Check for doneness, don’t guess
Overcooking is the most common error, especially with lean cuts like chicken breast or lean ground beef. The only reliable way to check doneness is a meat thermometer.
- Steaks: 130°F (54°C) for medium-rare, 140°F (60°C) for medium.
- Burgers: 160°F (71°C) throughout for safety.
- Chicken: 165°F (74°C) at the thickest part of the breast or thigh.
Remove the food from the grill 5 degrees before it hits the target temperature. The internal heat will continue to rise (carryover cooking) while it rests, ensuring juicy, safe results every time.
Clean the grates with a wire brush and oil them thoroughly with a tongs-held paper towel to prevent sticking.
Move food to a cooler zone if flames erupt. Close the lid to starve the fire of oxygen.
Use a meat thermometer to check for doneness. Remove food 5°F before the target temp to account for carryover cooking.
Grilling basics FAQ
Grilling is a popular method for preparing steak because it is well known for no-fuss clean-up and that smoky, grilled flavor no other cooking method can mimic [src-serp-1]. If you are new to the grill, here are the answers to the most common questions about technique, terminology, and beginner-friendly cuts.
No comments yet. Be the first to share your thoughts!