

Prep the grill and the meat
Start by ensuring your grill is clean and properly preheated. For direct high-heat searing, preheat your grill for at least 15 minutes until it reaches temperatures above 500°F (260°C). Clean the grates thoroughly and oil them well to prevent sticking. A hot, clean surface is the foundation of a good sear.
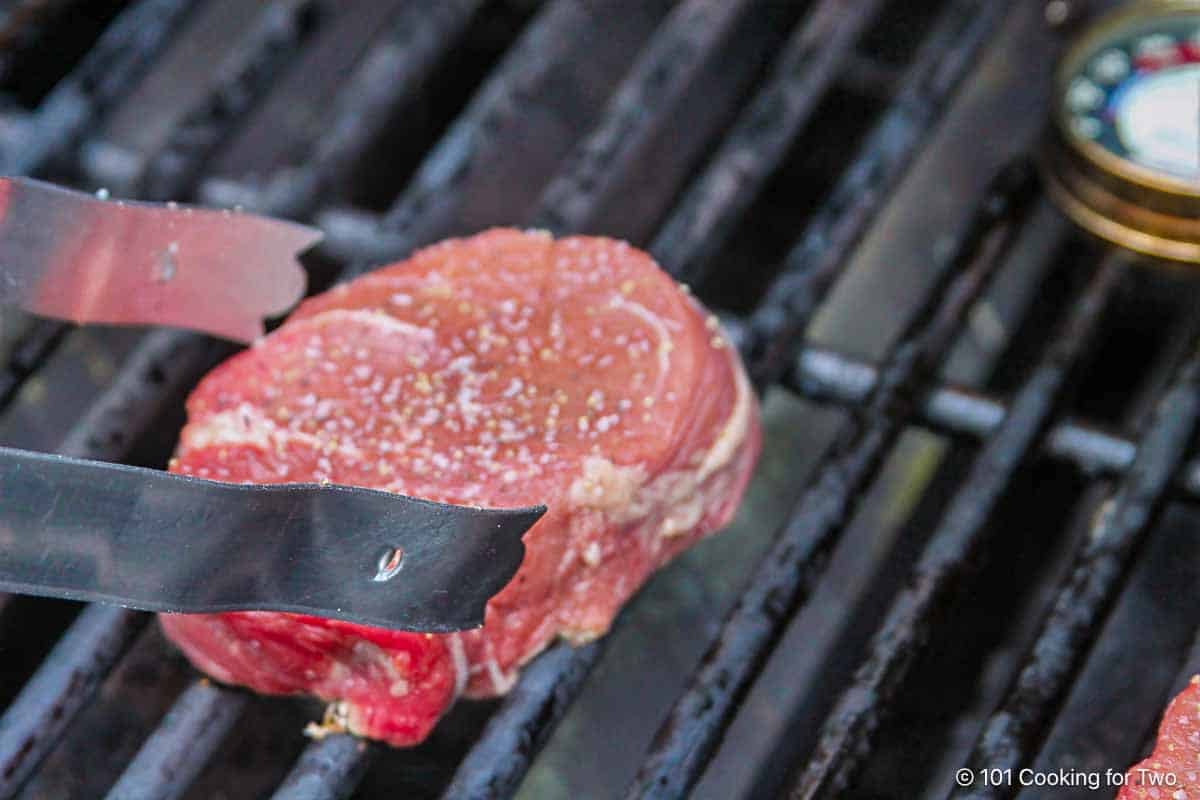
Grill filets, burgers, and skirt steak
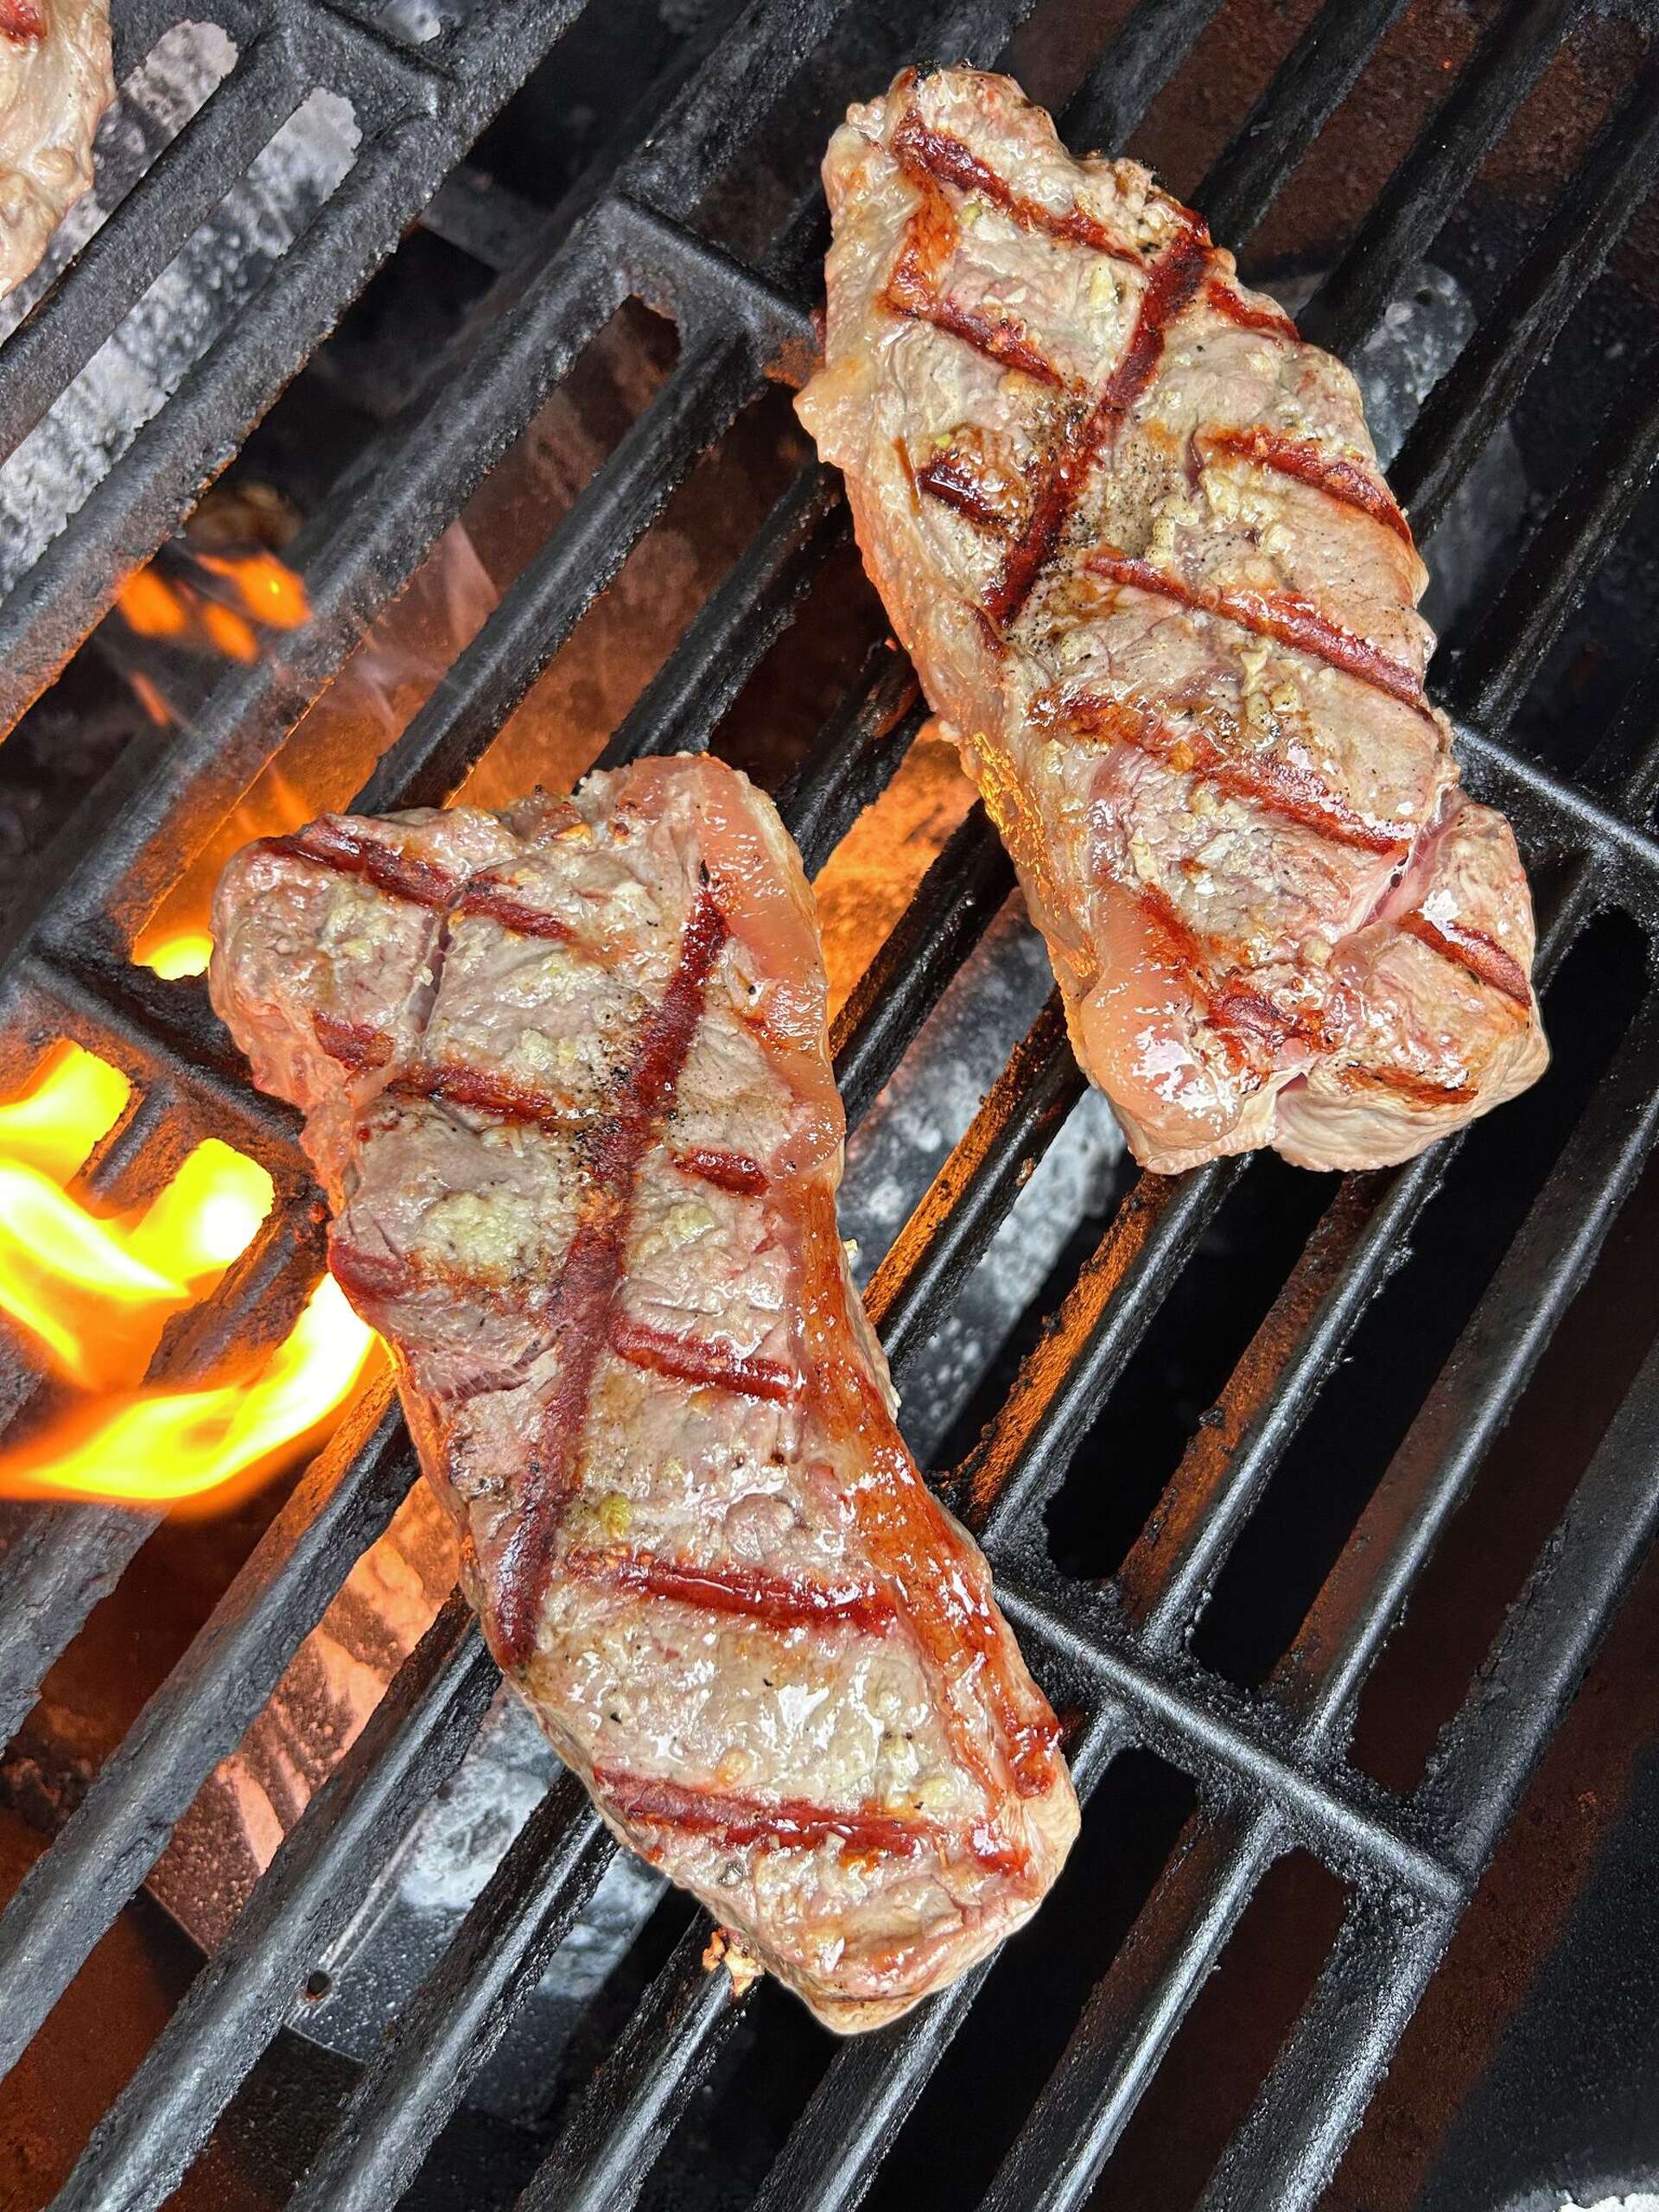
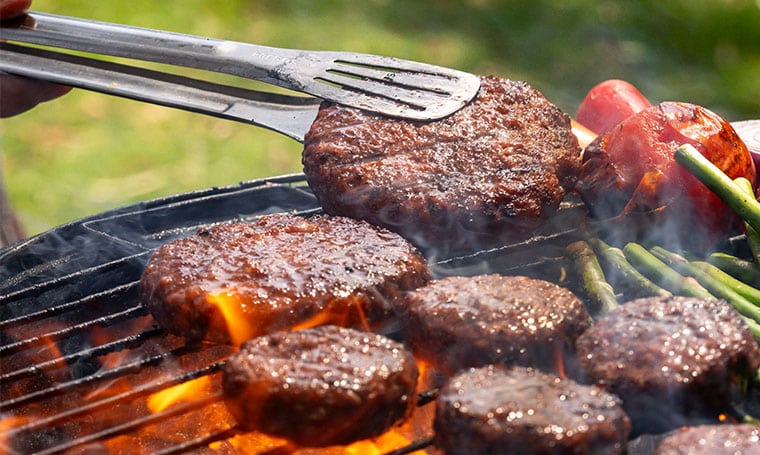
High-heat direct grilling is the standard for beef cuts that benefit from a hard sear. Whether you are cooking a delicate filet mignon, a juicy burger, or a thin skirt steak, the goal is the same: create a deep crust while keeping the interior juicy. This method works best on a grill that can reach temperatures above 500°F (260°C).
Place the beef on the hottest part of the grill. Do not move it for the first two to three minutes. You want a dark brown crust to form. If the meat sticks, it is not ready to flip. For burgers, press down gently only after the first flip to avoid squeezing out juices. For skirt steak, lay it flat and let the high heat char the edges quickly.
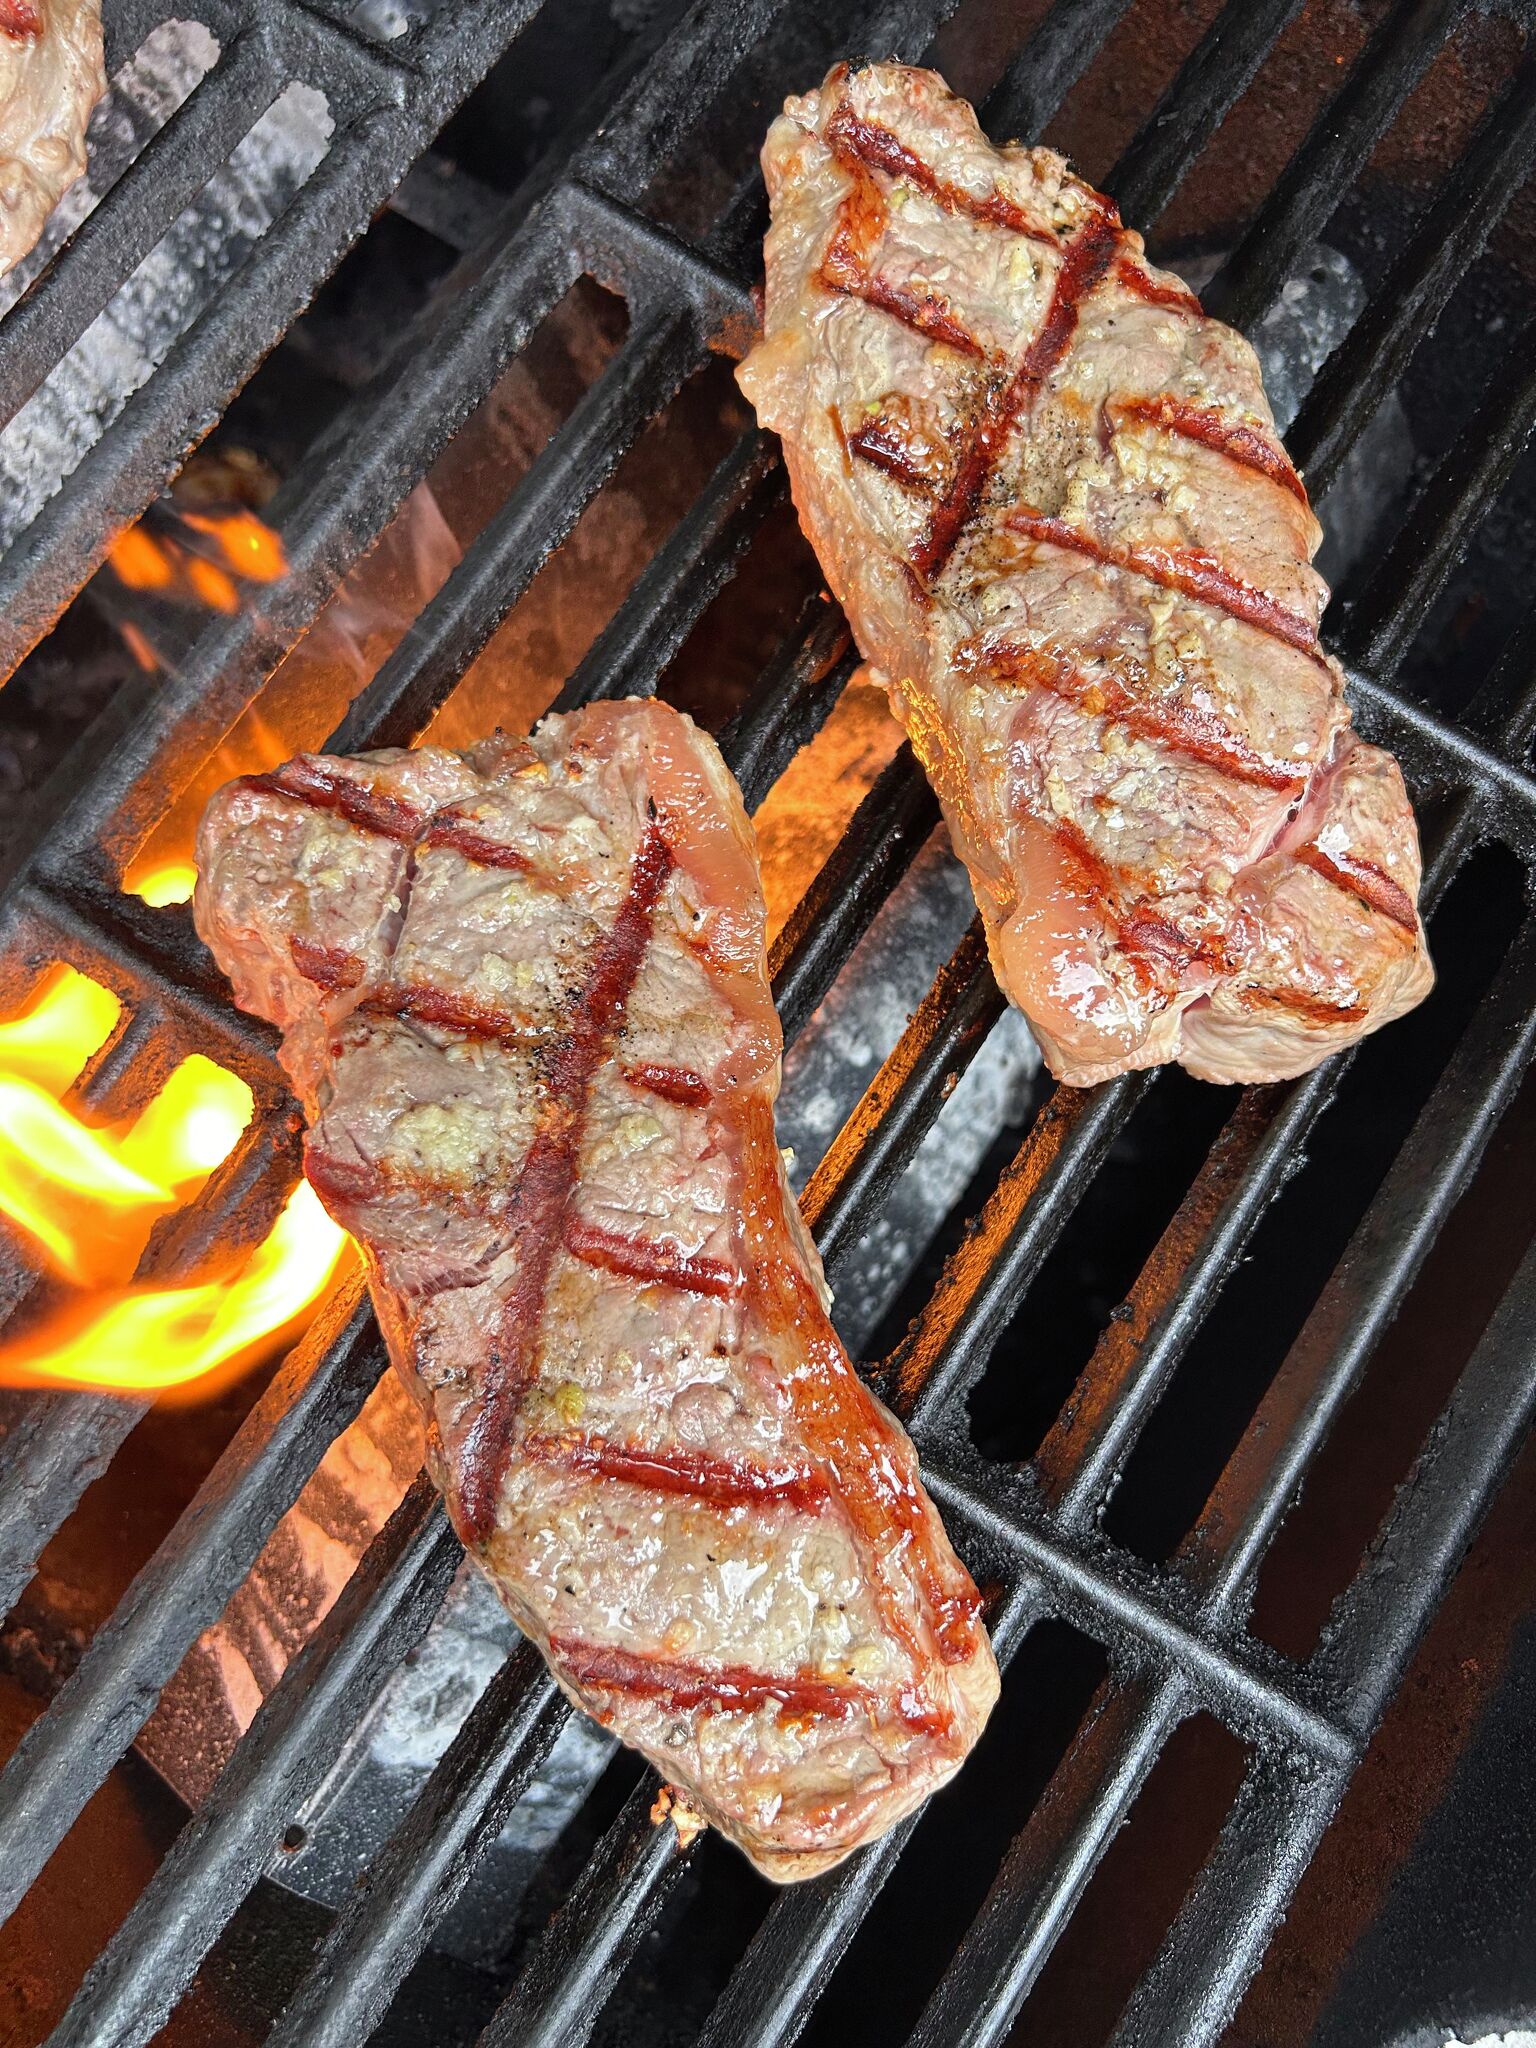
Flip the meat only once. Moving it too frequently prevents proper browning. Use tongs to turn the steaks or burgers; forks pierce the meat and release valuable juices. For a filet, you may also need to sear the edges by holding it vertically with tongs for a few seconds. For burgers, flip when juices pool on the top surface. For skirt steak, a quick 90-degree turn can create cross-hatch marks, but keep the total time short to avoid burning.
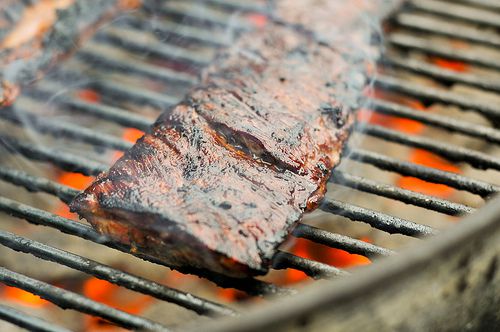
Remove the beef from the grill when it is a few degrees below your target doneness. Let it rest on a warm plate or cutting board for five to ten minutes. This allows the juices to redistribute throughout the meat. If you cut into it immediately, the juices will run out, leaving the meat dry. This step is critical for thick cuts like filets and burgers, but even thin skirt steak benefits from a brief rest to stay tender.
Use an instant-read thermometer to check doneness accurately. For filets and burgers, aim for 130°F (54°C) for medium-rare. Skirt steak is best served medium-rare to medium, as overcooking makes it tough. If the flame flares up too much, move the meat to a cooler part of the grill temporarily. Avoid spraying water on the flames, as this can extinguish the heat and create steam instead of a sear. Trust the thermometer, not just the clock, to ensure perfect results every time.
Cook chicken legs, drumsticks, and whole bird
Chicken is the trickiest protein on the grill because the skin burns long before the meat reaches a safe temperature. The two-zone fire solves this by giving you direct heat for crispy skin and indirect heat for gentle cooking. Set up your grill with hot coals or burners on one side and nothing on the other. This creates a searing zone and a finishing zone.
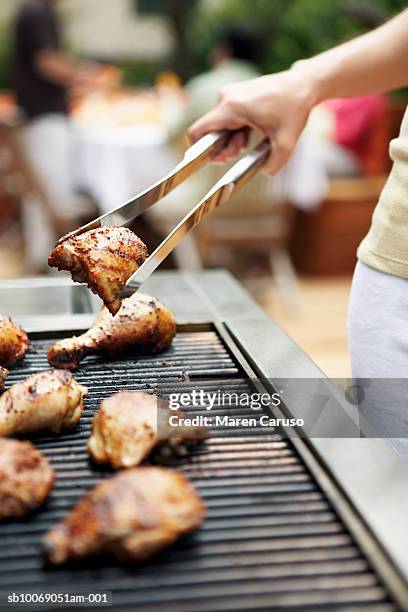
Place the chicken skin-side down over the direct heat zone. Let it sit undisturbed for five to seven minutes. The goal is to render the fat and crisp the skin without flipping it. If the skin starts to blacken, move it immediately. You want a deep golden brown, not a charred crust.
Once the skin is crisp, move the chicken to the cooler side of the grill. Close the lid to trap heat and create an oven-like environment. This allows the internal temperature to rise slowly without burning the exterior. Drumsticks and thighs take about 30 to 40 minutes, while a whole spatchcocked bird may take 45 to 60 minutes depending on size.
Insert an instant-read thermometer into the thickest part of the meat, avoiding the bone. For dark meat like legs and thighs, aim for 175°F (79°C) to break down collagen and make it tender. White meat like breast should hit 160°F (71°C). Pull the chicken off the grill when it is 5 degrees below your target; the residual heat will finish the job.
Let the chicken rest for ten minutes before carving or serving. This allows the juices to redistribute throughout the meat. Cutting too soon releases the moisture onto the board, leaving the meat dry. Keep the rested chicken loosely tented with foil to retain warmth without steaming the skin.
The two-zone method works because it separates the tasks of browning and cooking. Direct heat provides the Maillard reaction for flavor and texture, while indirect heat ensures the center cooks evenly. This approach prevents the common mistake of burnt skin and raw centers, giving you perfectly cooked poultry every time.
Grill brats and mahi mahi carefully
Delicate proteins like bratwursts and mahi mahi fillets behave differently than thick steaks. They have less structural integrity and lower fat content, making them prone to drying out or falling through the grates. The goal is to cook them through without breaking the exterior.
Manage heat zones
Start by creating a two-zone fire. Light the charcoal on one side or turn on only half the burners. You need a hot side for searing and a cooler side for finishing. This setup prevents the outside of brats from charring before the inside is cooked, and keeps mahi mahi from overcooking while the center remains raw.
Pre-cook brats to be safe
Boil or simmer brats in beer, onions, or water for 10–15 minutes before placing them on the grill. This step ensures the pork is fully cooked without exposing it to high heat that could cause the casings to split. Once pre-cooked, move them to the hot side of the grill just long enough to get a golden-brown, crispy skin. This method guarantees juiciness and safety.
Handle mahi mahi with care
Mahi mahi fillets are firm but flaky. Brush both sides with oil to prevent sticking and reduce the risk of the fish tearing when you flip it. Place the fillets on the cooler side of the grill first to cook through gently. Only move them to the hot side for the final 60 seconds to develop grill marks. Use a thin, flexible spatula to lift them cleanly.
Arrange charcoal or burners to create a hot side and a cooler side. This allows you to control the cooking speed for delicate items.
Simmer brats in liquid for 10 minutes. This cooks the interior without risking burst casings on the grill.
Move pre-cooked brats to the hot zone. Grill for 1–2 minutes per side until the casing is crisp and browned.
Oil the fish and place it on the cooler zone. Finish on the hot side for 60 seconds to set grill marks without drying out.
Check doneness with a thermometer
Guessing is the fastest way to ruin a good cut of meat. Whether you are cooking a thick ribeye, a whole chicken, or a delicate salmon fillet, visual cues like color or firmness are unreliable. The only way to know your steak is truly medium-rare or your chicken is safe to eat is with a digital meat thermometer.
Keep the probe clean and insert it into the thickest part of the protein, avoiding bone or fat, which can skew the reading. Wait a few seconds for the temperature to stabilize. For seafood, look for the center to become opaque. For poultry, ensure the thermometer reads high enough to kill bacteria.
Push the thermometer into the thickest part of the meat. Avoid touching bone, as it conducts heat differently and can give a false high reading.
Hold the thermometer steady. Digital probes usually take a few seconds to lock in the final temperature. Do not remove the meat until the number stops changing.
Compare your reading to the safe internal temperature guidelines. If it is not there yet, return the food to the grill for a few more minutes and check again.
Rest meat before serving
Take the steaks, chicken, and seafood off the grill and move them to a warm plate or cutting board. This pause is not optional; it is the final step that determines whether your meal is juicy or dry.
When meat cooks, the heat drives moisture toward the center. If you slice it immediately, those juices run out onto the board, leaving the meat tough and bland. Resting allows the muscle fibers to relax and reabsorb the liquid.
Let steaks rest for 5 to 10 minutes. Chicken thighs need at least 5 minutes, while whole chickens should rest for 15 to 20 minutes. Cover them loosely with foil to keep them warm without trapping steam, which can make the skin soggy.
This simple wait transforms the texture of your protein. It is the difference between a rushed meal and a restaurant-quality dinner.
No comments yet. Be the first to share your thoughts!