
Prep the grill and tools
A clean grate and proper heat zones are the difference between a stuck, charred mess and a clean sear. Start with a cold grill and a stiff wire brush. Scrub the grates until free of carbon, then light the burners or charcoal and preheat for 10–15 minutes to burn off debris. While the grill heats, assemble your tools: a long-handled spatula, tongs, and an instant-read thermometer. Keep a spray bottle of oil handy to mist the grates lightly before placing meat down. This prevents sticking without washing away seasoning.
Set up two heat zones if your grill allows. One side should be hot for searing steaks and burgers; the other cooler, acting as a resting area to finish cooking thicker cuts like filet mignon or whole chicken without burning the outside.
How to grill filet mignon to medium-rare
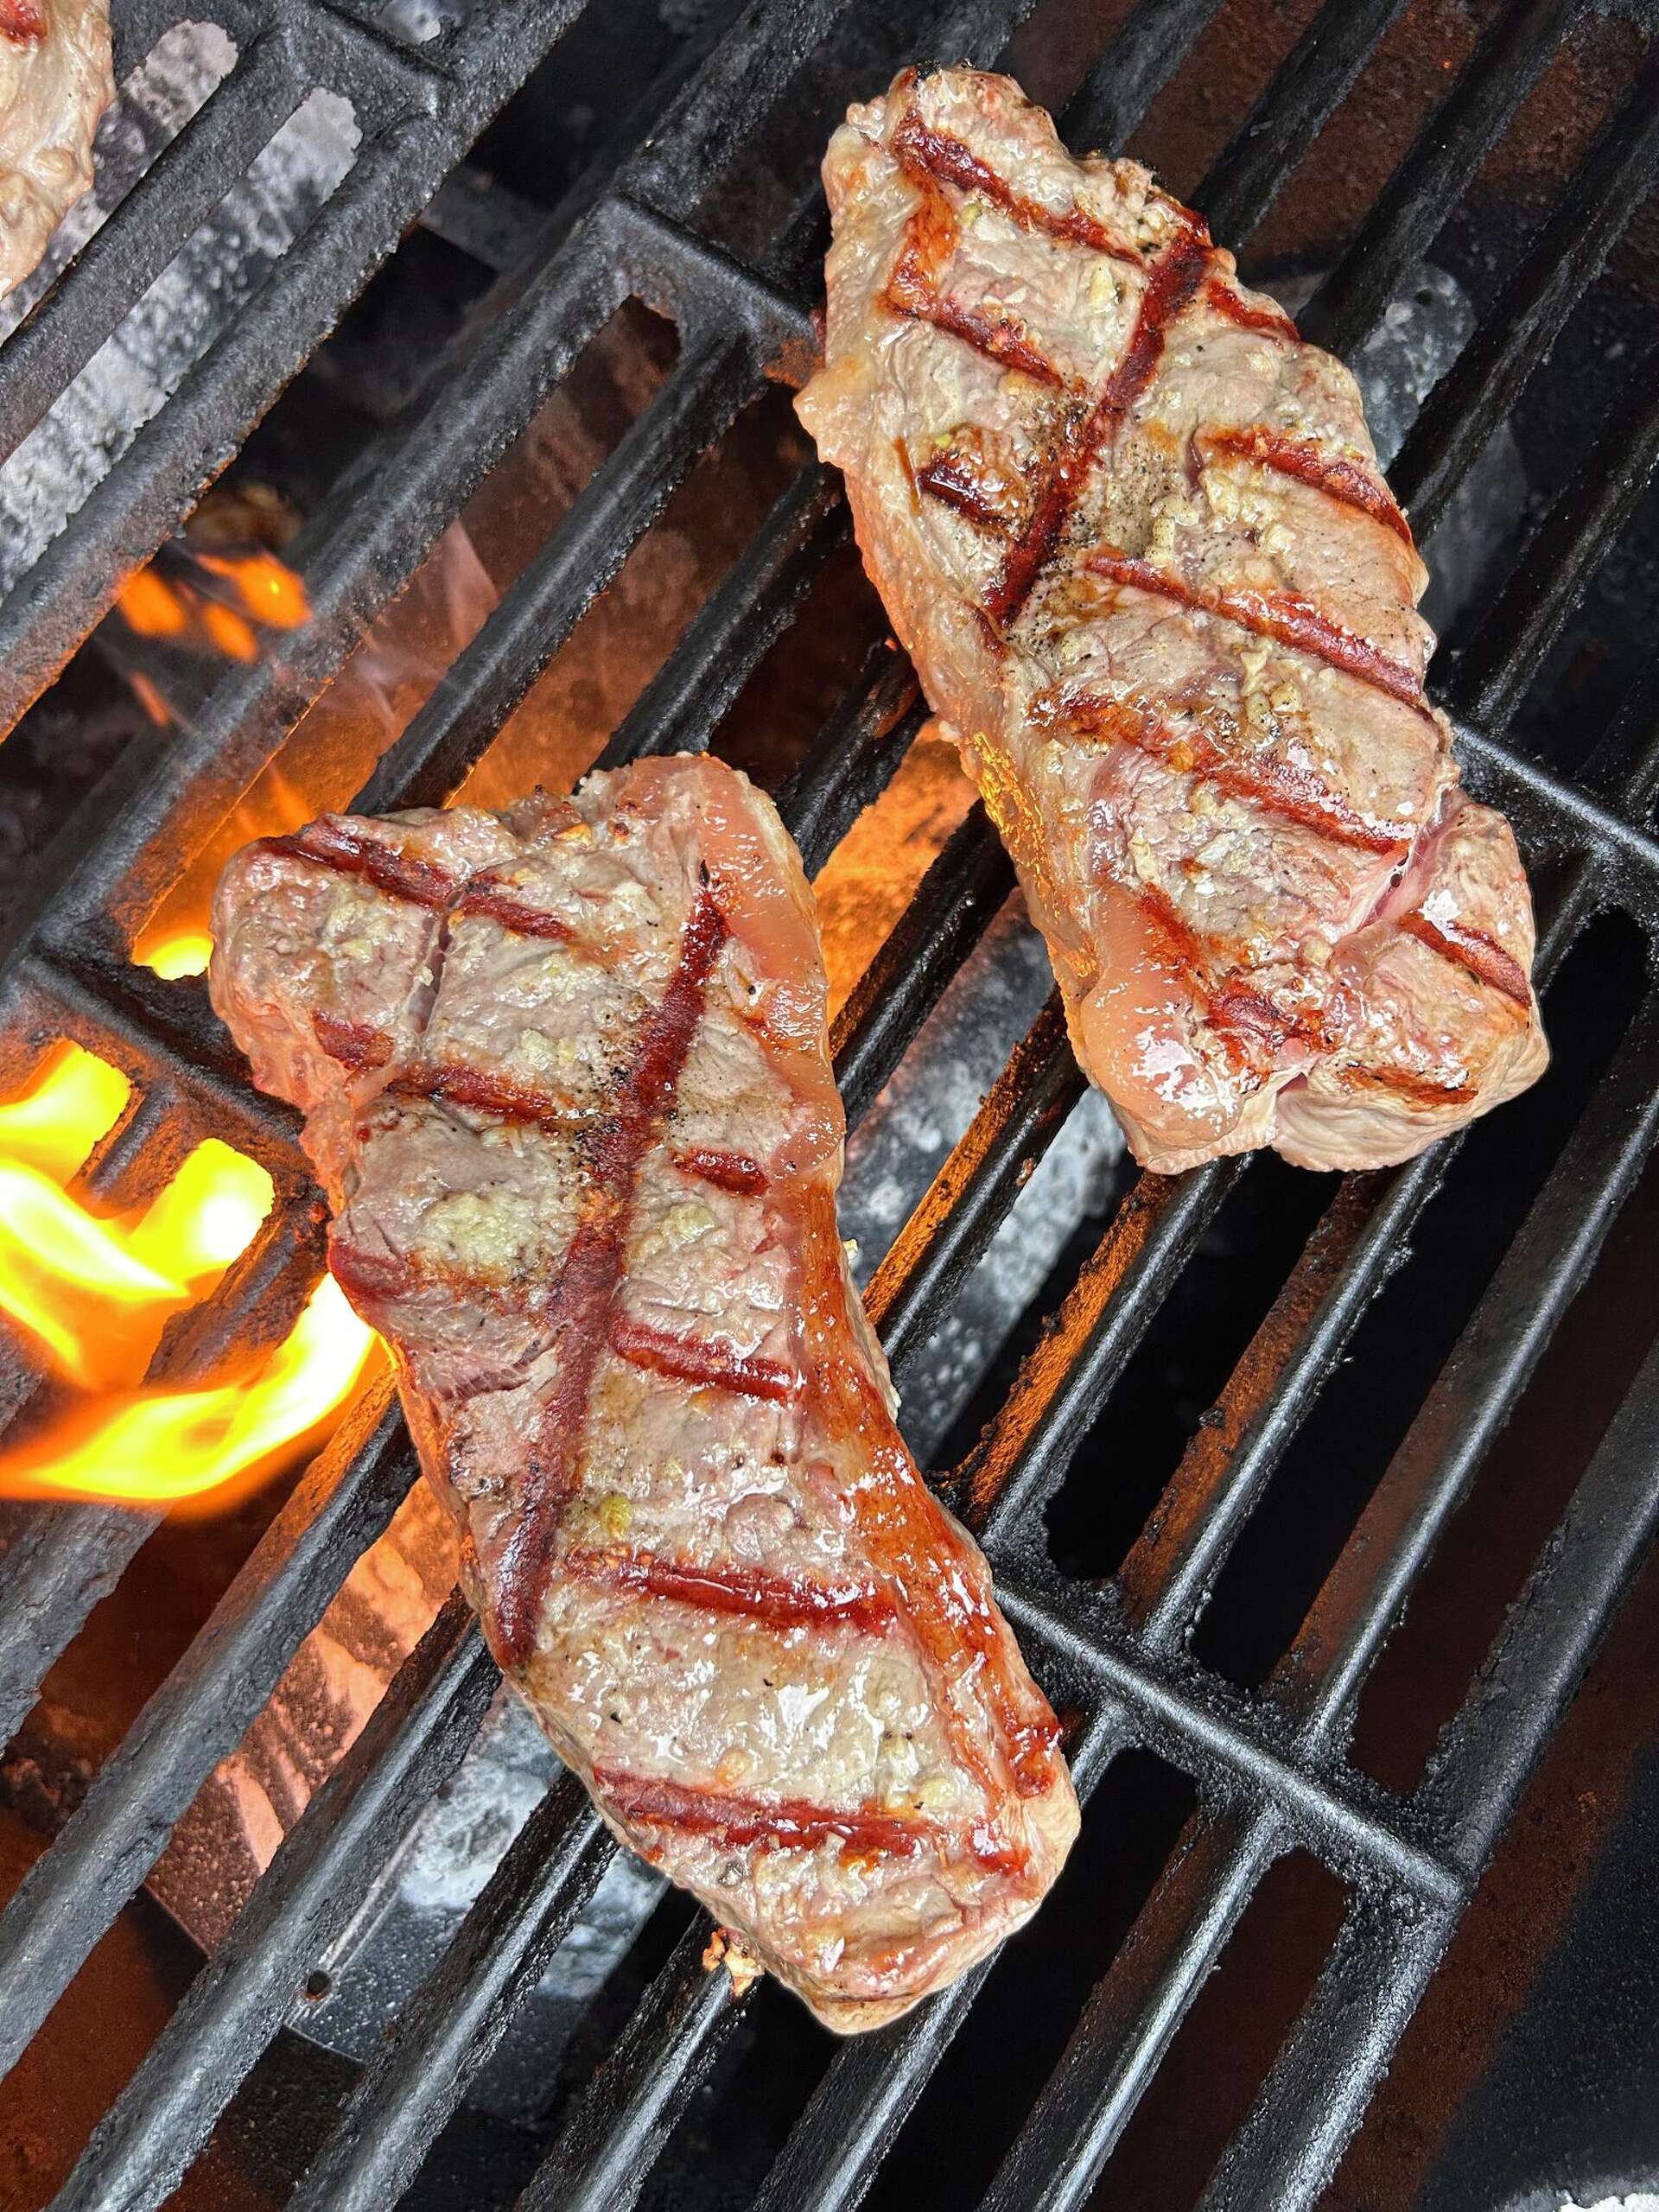
Grilling thick-cut filet mignon requires a two-zone fire to create a crust through direct searing, then finish the interior gently over indirect heat. The goal is a deep brown exterior and a warm, pink center.
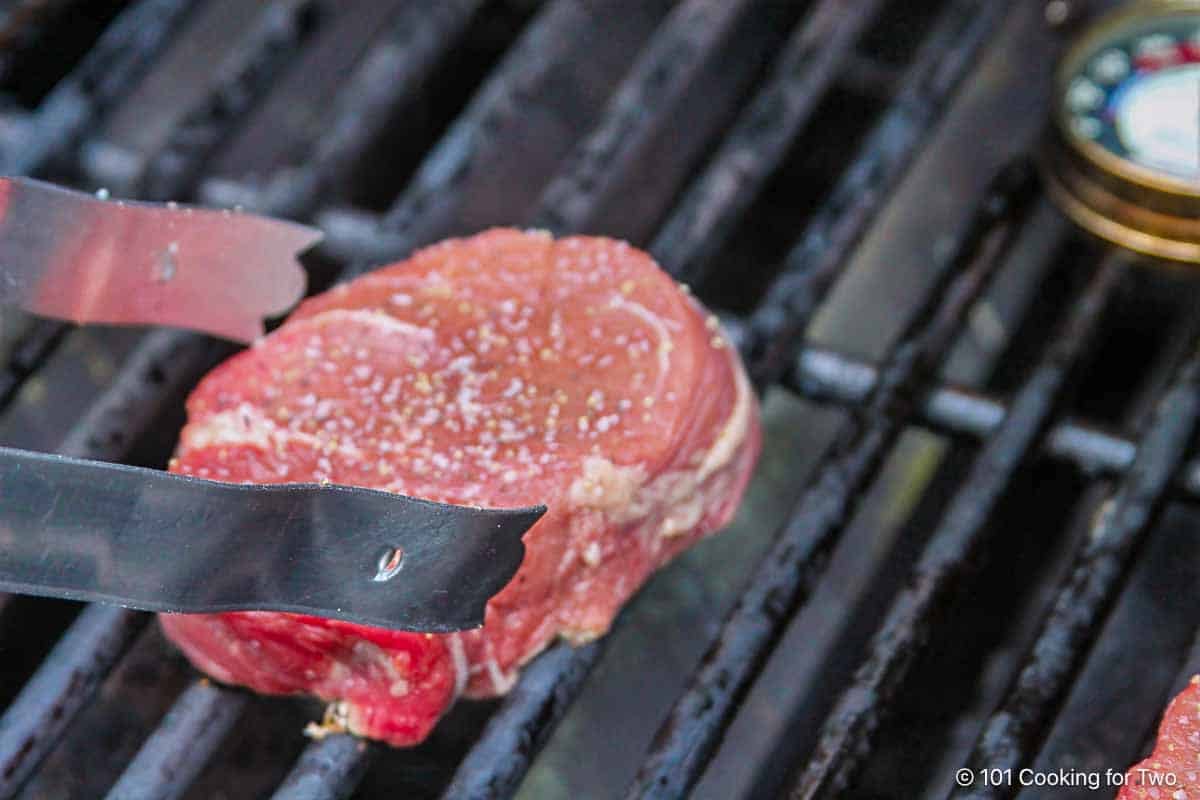
Filet mignon has very little fat, so moisture is the enemy of a good sear. Pat the steaks thoroughly dry with paper towels. Season heavily with kosher salt and coarse black pepper. Let them sit on the counter for 30 minutes while the grill heats. This brings the meat closer to room temperature, ensuring even cooking.
Light the grill for a two-zone fire. When the grate is hot, place the steaks directly over the heat source. Do not touch them for three minutes to allow a deep, dark crust to form. Flip the steaks and sear the other side for another three minutes. This high heat renders surface proteins quickly.
Move the steaks to the cooler side of the grill and close the lid. The trapped heat will cook the interior without burning the crust. Insert an instant-read thermometer into the thickest part of the steak. Cook until the internal temperature reaches 125°F (52°C). This usually takes 8–10 minutes. For medium-rare, this is the target. Do not guess; rely on the thermometer.
Remove the steaks from the grill and place them on a cutting board. Tent them loosely with foil and let them rest for 5–10 minutes. This allows the juices to redistribute throughout the meat. If you cut into them immediately, the juices will spill out, leaving the steak dry. Serve the grilled filet mignon whole or sliced.
The resting period is non-negotiable. It ensures the texture remains tender and the flavor stays concentrated.
Grill burgers without burning
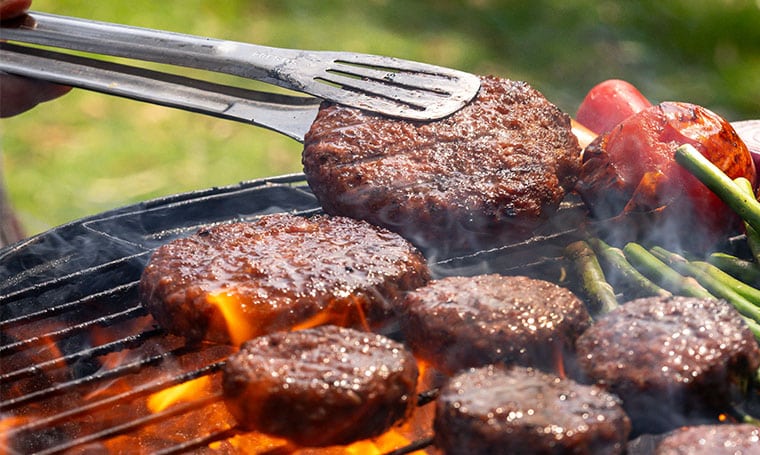
The biggest mistake with burgers is letting fat drippings hit the fire. Those flare-ups char the outside before the inside is cooked, leaving you with a smoky, bitter crust and a raw center. Keeping the grate clean and the patty intact is the only way to get a juicy, evenly cooked burger.
1. Make a thumbprint indent
Raw beef shrinks as it heats up. If you form a flat patty, the center will puff into a meatball shape, leading to uneven cooking. Press a shallow dimple into the center of each patty with your thumb before grilling. This counteracts the shrinkage, keeping the burger flat and ensuring heat distributes evenly across the surface.
2. Grill undisturbed for crust
Place the patties on the hot grate and leave them alone. Resist the urge to press down with your spatula, which squeezes out the juices you’re trying to keep. Let the meat sear for about four minutes. You will know it’s ready to flip when the edges turn opaque and the patty releases easily from the grates. If it sticks, it isn’t ready.
3. Flip once and check temp
Flip the burgers only once. Cooking them over medium-high heat without moving them creates a proper crust that seals in moisture. Insert an instant-read thermometer into the side of the patty to check the internal temperature. Aim for 160°F (71°C) for well-done beef, or 155°F (68°C) if you prefer medium. Remove them from the grill immediately once they hit the target temperature to prevent overcooking.
Roast a whole chicken on the grill
Grilling a whole bird requires patience and a specific heat setup. Unlike a steak that sears over direct flame, a whole chicken needs to cook through without burning the skin. We use the indirect heat method to achieve this. This technique circulates hot air around the bird, roasting it evenly like an oven while imparting a subtle smoky flavor.
The goal is crispy, golden skin and juicy meat that falls off the bone. To get there, you must manage the grill’s zones carefully. Direct heat is for searing; indirect heat is for cooking. By placing the chicken away from the coals or burners, you avoid the common pitfall of charred exteriors and raw interiors.
Prepare the bird for even cooking
Start by spatchcocking the chicken. Remove the backbone with kitchen shears and press the chest flat. This increases surface area for browning and ensures the thickest parts of the meat cook at the same rate. If you prefer a traditional shape, truss the legs tightly to keep the heat distribution consistent. Season generously with salt, pepper, and your preferred herbs. Let the bird sit at room temperature for 30 minutes before grilling to take the chill off.
Set up the grill for indirect heat
Arrange your charcoal or gas burners to create a hot zone and a cool zone. For charcoal, pile the lit coals on one side of the grill, leaving the other side empty. For gas, light only the burners on one side. Place a drip pan in the empty zone underneath where the chicken will sit. This catches fat and juices, preventing flare-ups that can burn the skin. Close the lid and let the grill preheat to 350–375°F (175–190°C). This stable temperature is critical for roasting.
Cook and monitor the internal temperature
Place the chicken skin-side up over the drip pan, away from the direct heat source. Close the lid immediately. Do not open the grill frequently, as this releases heat and extends cooking time. Depending on the size of the bird, this will take 60–90 minutes. Baste the chicken with melted butter or oil every 20 minutes to keep the skin moist and promote browning.
The chicken is done when a meat thermometer inserted into the thickest part of the thigh reads 165°F (74°C). The juices should run clear, not pink. If the skin is browning too quickly but the meat isn’t done, move the chicken slightly further away from the heat or tent it loosely with foil. Once cooked, transfer the bird to a cutting board and let it rest for 10–15 minutes. This allows the juices to redistribute, ensuring every bite is moist.
Grilling checklist for success
Before you light the fire, run through this quick prep list. Skipping these steps is the most common reason for stuck, uneven, or dried-out meat. Treat this like a pre-flight check; it takes two minutes and saves hours of disappointment.
Once your meat is on the grill, resist the urge to move it. Let the sear develop. Flip only once. When the internal temperature hits the target, move everything to the cool zone or the side of the grill to rest. Resting allows the juices to redistribute, ensuring every bite of your filet mignon stays tender.
Common grilling: what to check next
How long should I rest a filet mignon?
Resting is non-negotiable for a tender result. Let your filet mignon sit for 5 to 10 minutes after removing it from the heat. This allows the juices to redistribute throughout the meat rather than spilling out onto the plate when you cut it.
Do you flip burgers once or twice?
Flip burgers exactly once for the best crust. If you keep turning them, the meat loses contact with the hot grates, preventing the Maillard reaction from forming a flavorful sear. Cook each side for half the total time to ensure even cooking.
How do you know when whole chicken is done?
Never rely on color alone. Insert a meat thermometer into the thickest part of the thigh without touching the bone. When it reads 165°F (74°C), the chicken is safe to eat and fully cooked.
No comments yet. Be the first to share your thoughts!