

10 Essential Cuts for Perfect Results
Selecting the right meat is the foundation of a successful grill session, but pairing the cut with the correct technique matters just as much. This guide breaks down ten specific cuts—from ribeyes to brisket—detailing the optimal heat and timing for each to ensure consistent, juicy results.
-
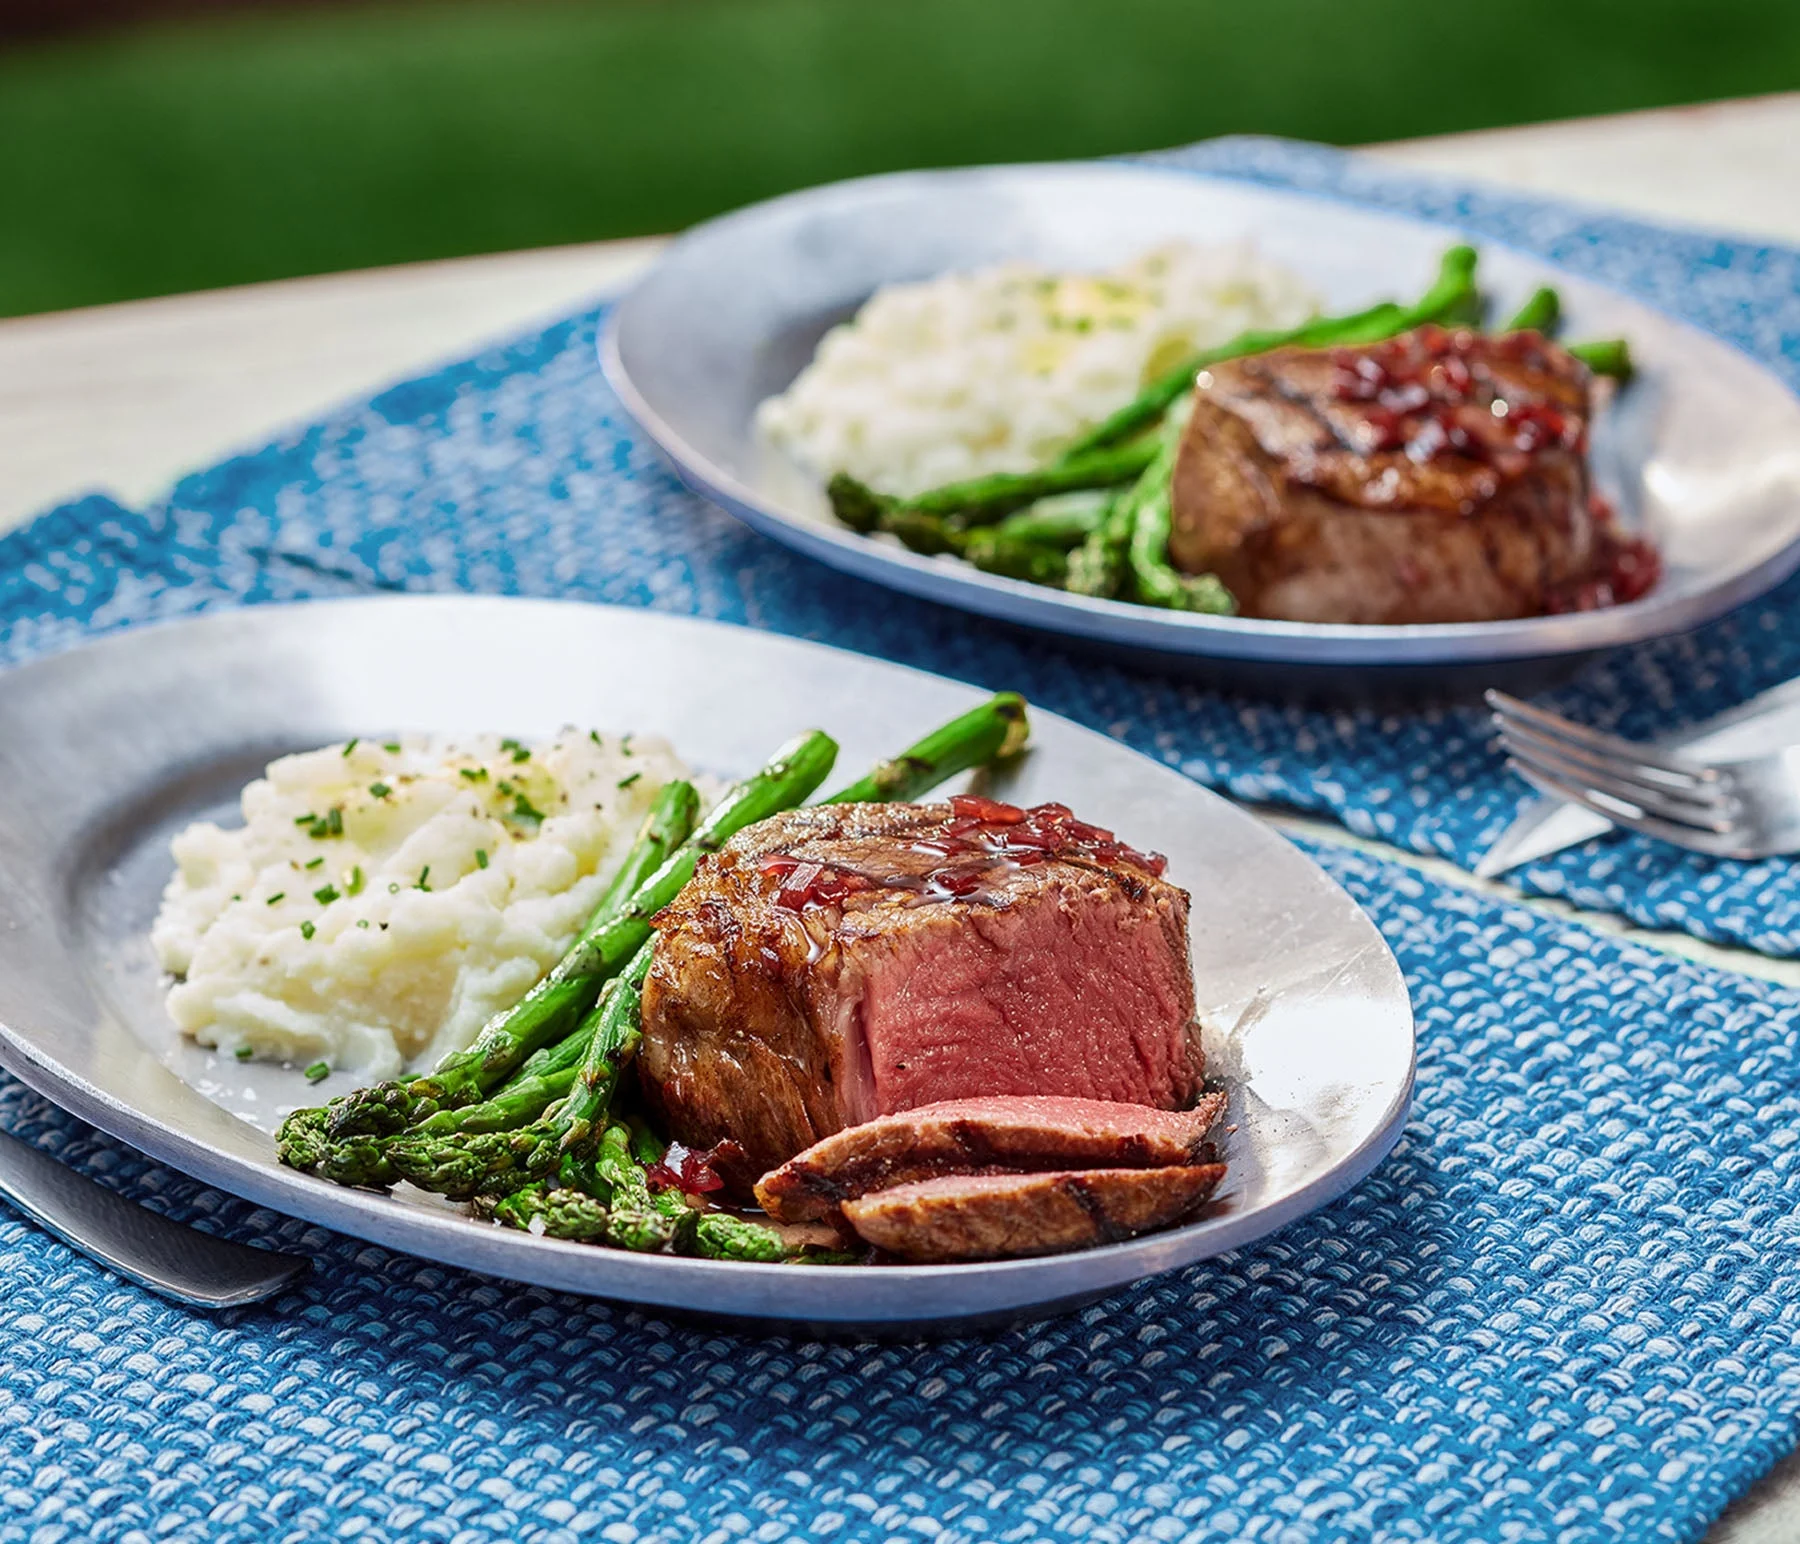
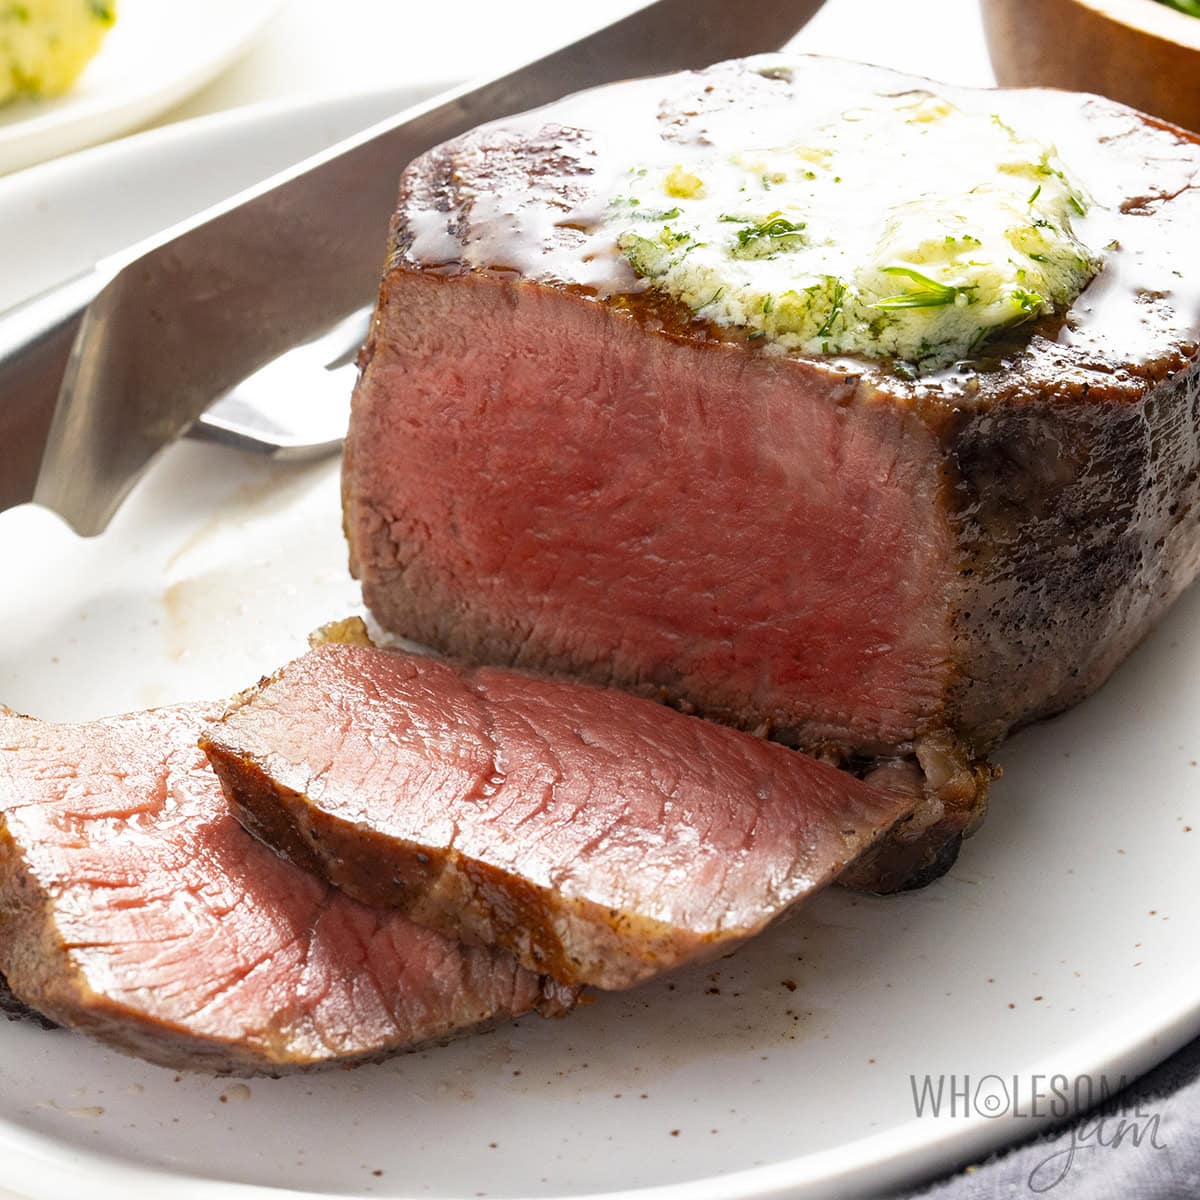
Filet mignon for tender steaks
Filet mignon is the undisputed king of tenderness, sourced from the small end of the short loin where muscles do minimal work. This cut demands minimal seasoning to let its buttery texture shine. Grill it over high heat for just a few minutes per side to achieve a crisp crust while keeping the interior rare to medium-rare. Avoid overcooking, as the lack of fat means it dries out quickly without careful temperature monitoring. -
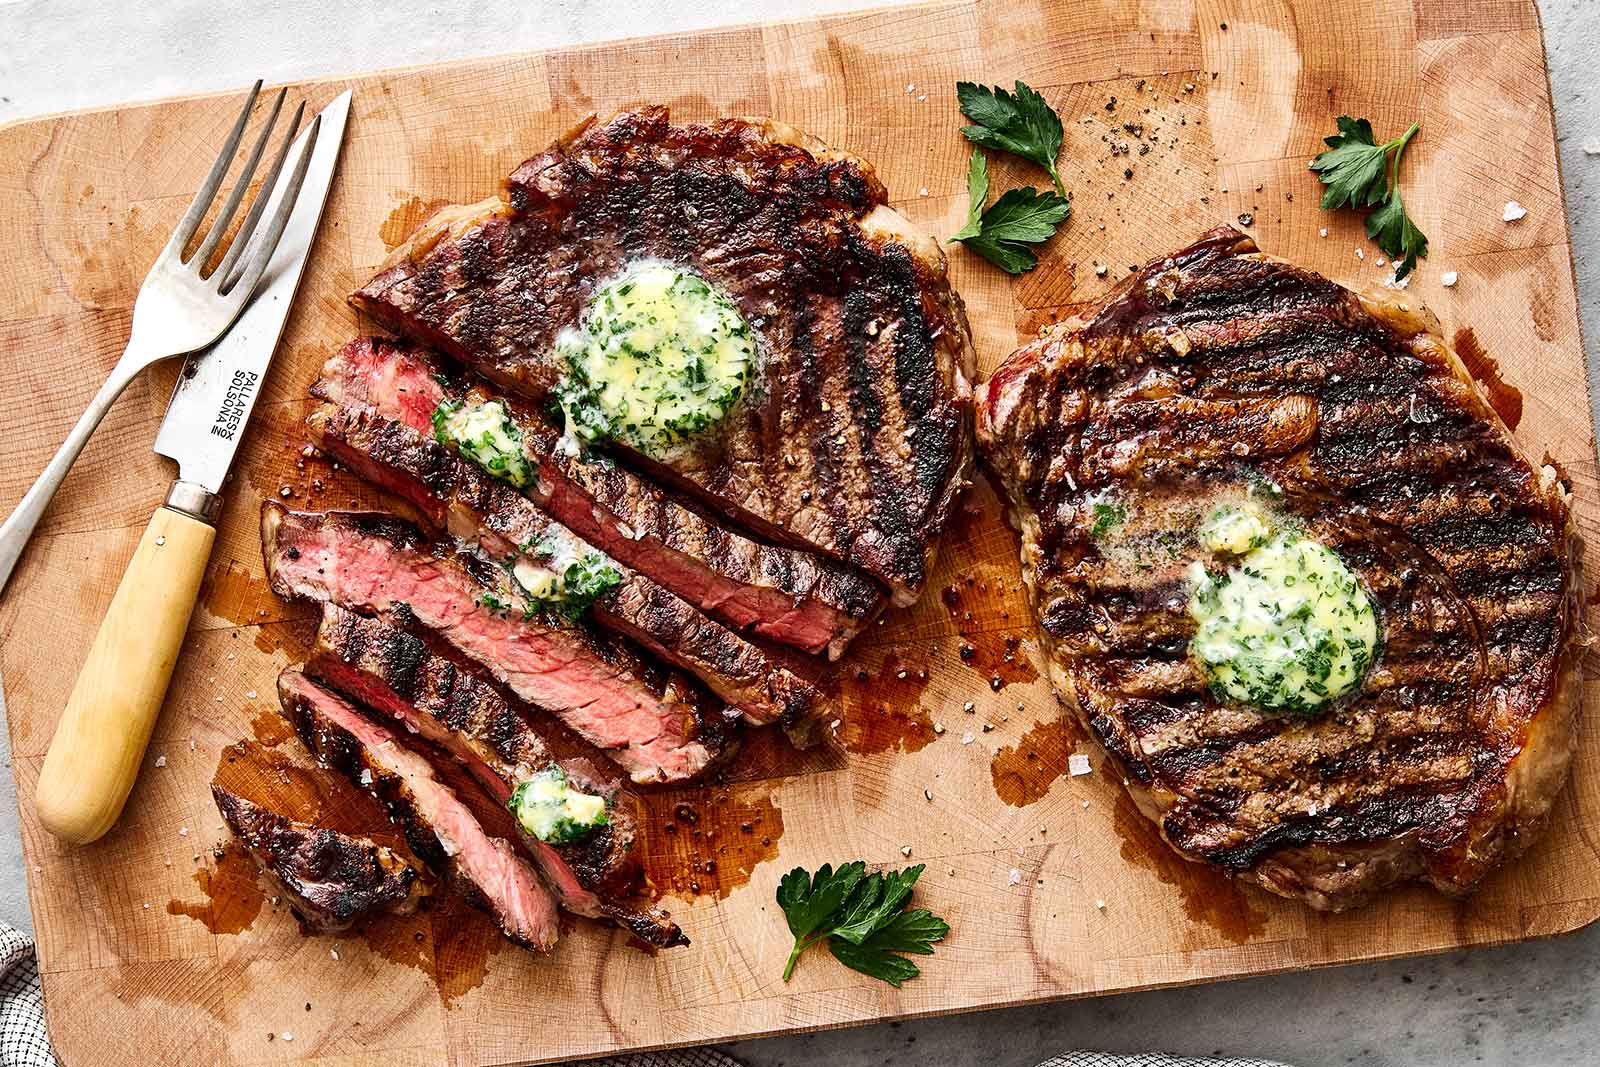
Ribeye for rich marbling
Ribeye steaks boast generous intramuscular fat, or marbling, which melts during grilling to baste the meat from within. This natural self-basting ensures a rich, beefy flavor that stands up well to bold rubs or simple salt and pepper. The bone-in version adds extra depth, but boneless cuts are easier to handle on the grill. Aim for a thick cut to prevent the fat from rendering out too fast, ensuring a juicy bite every time. -

New York strip for balance
The New York strip offers a perfect middle ground between the tenderness of filet and the flavor of ribeye. Located along the top loin, it features a firm texture with a distinct band of fat along the edge. This fat cap should be scored and rendered down to prevent curling and add crispiness. It holds its shape well on the grill, making it ideal for those who want substantial chew without excessive richness. -
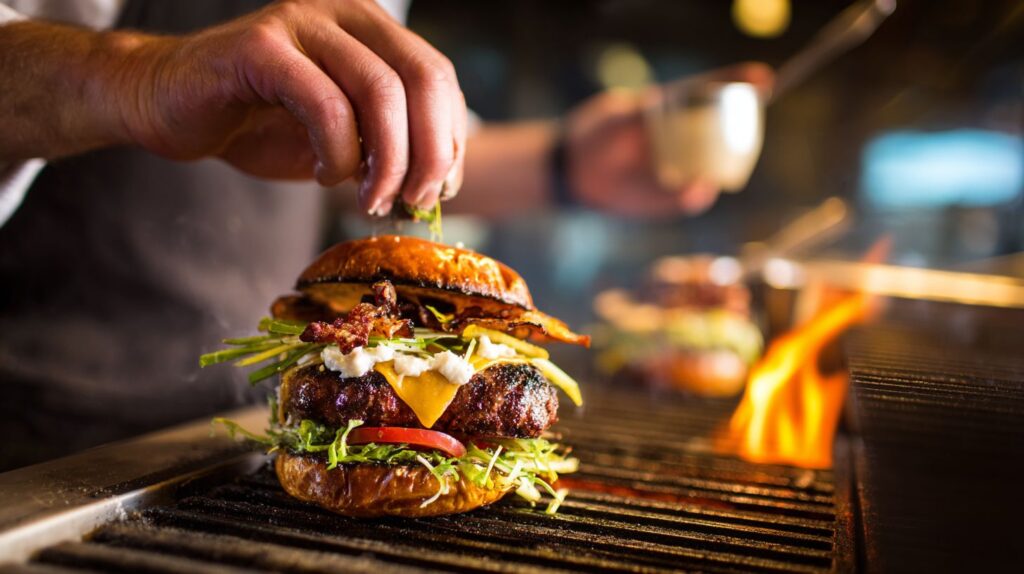
Grilling tips for burgers
Achieving the perfect burger starts with handling the meat gently; overworking the patty leads to a dense, tough texture. Use an 80/20 beef blend for optimal fat content, creating a slight indent in the center to prevent puffing during cooking. Grill over high heat to sear the outside quickly, locking in juices. Flip only once to develop a deep, caramelized crust that contrasts beautifully with the soft interior. -
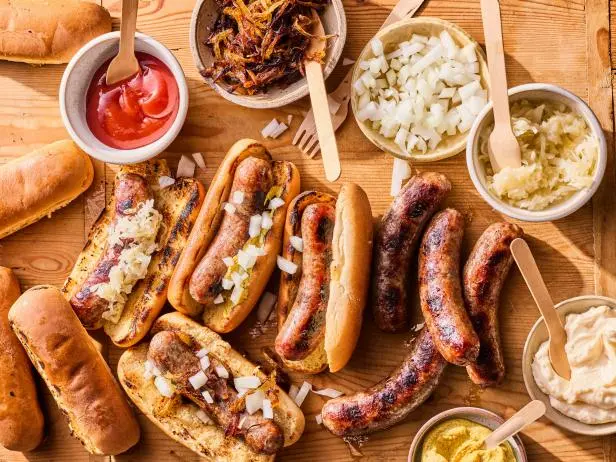
Bratwurst for juicy sausages
Bratwursts require a gentle approach to maintain their delicate pork and veal blend. Start by poaching them in beer or broth to cook the interior evenly without bursting the casing. Finish them on the grill over medium heat to achieve a golden, snap-worthy exterior. This two-step method ensures the sausage remains juicy inside while developing a smoky flavor profile that pairs perfectly with mustard and sauerkraut. -
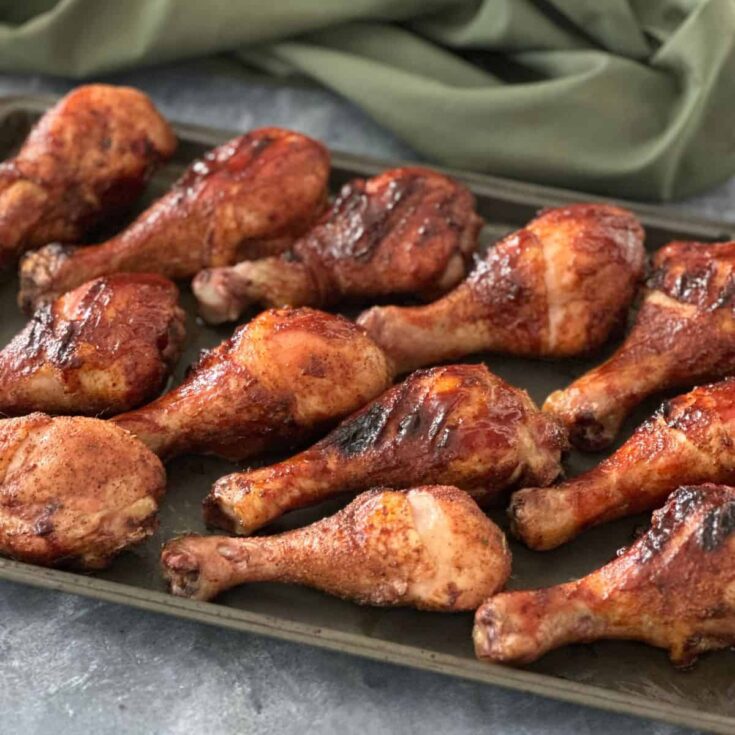
Chicken legs for crispy skin
Chicken legs offer the perfect balance of dark meat juiciness and skin crispiness. The higher fat content keeps the meat moist even over high heat, while the skin renders down to a shattering crunch. Position them skin-side down first to render fat, then flip for char. This cut is forgiving for beginners, delivering restaurant-quality results without the risk of drying out leaner cuts like breasts. -
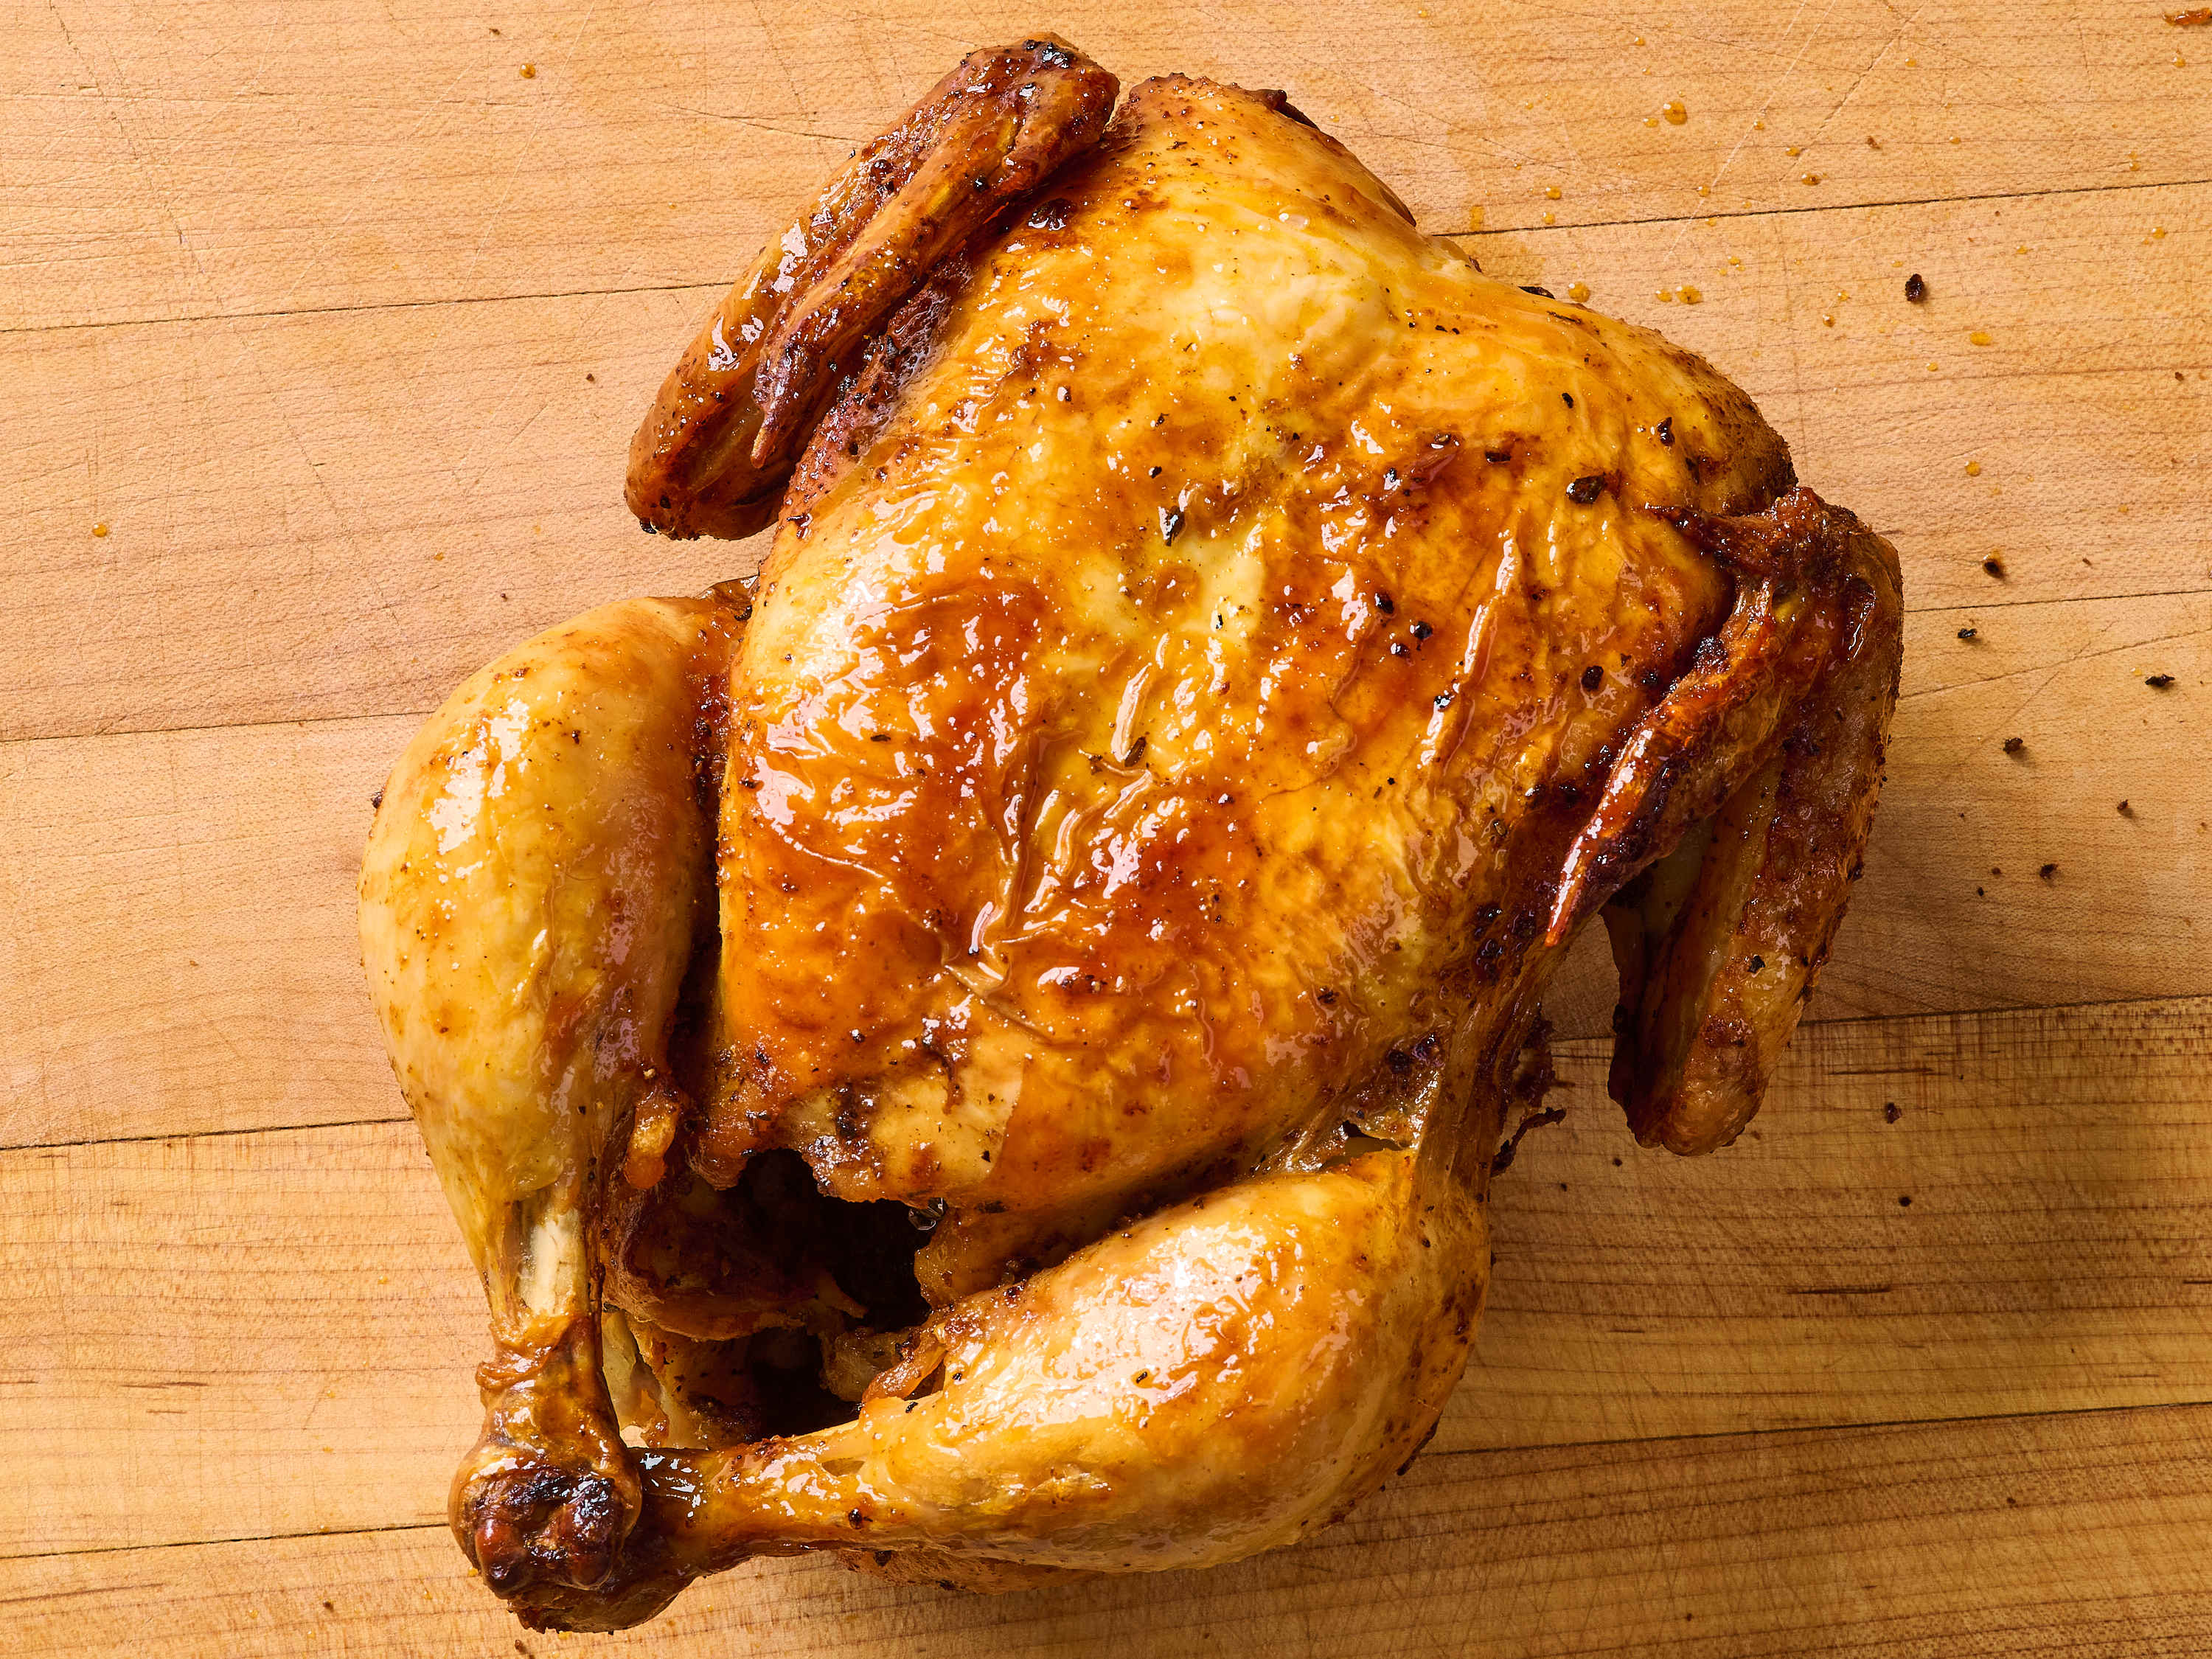
Whole chicken for roasting
Grilling a whole chicken requires indirect heat management to cook evenly without burning the exterior. Truss the bird tightly to ensure uniform shape and heat distribution. Place it breast-side up on the cooler side of the grill, rotating occasionally. The result is succulent, evenly cooked meat with a golden, aromatic skin that absorbs smoke flavors deeply, making it ideal for family gatherings. -

Salmon for delicate fish
Salmon fillets are rich in oils that prevent sticking, making them surprisingly resilient on hot grates. Use a well-oiled grate or a fish basket to maintain integrity. Cook skin-side down first to crisp the skin and protect the flesh, flipping only once. The high fat content ensures the fish remains moist and flaky, offering a luxurious texture that pairs beautifully with simple citrus or dill marinades. -
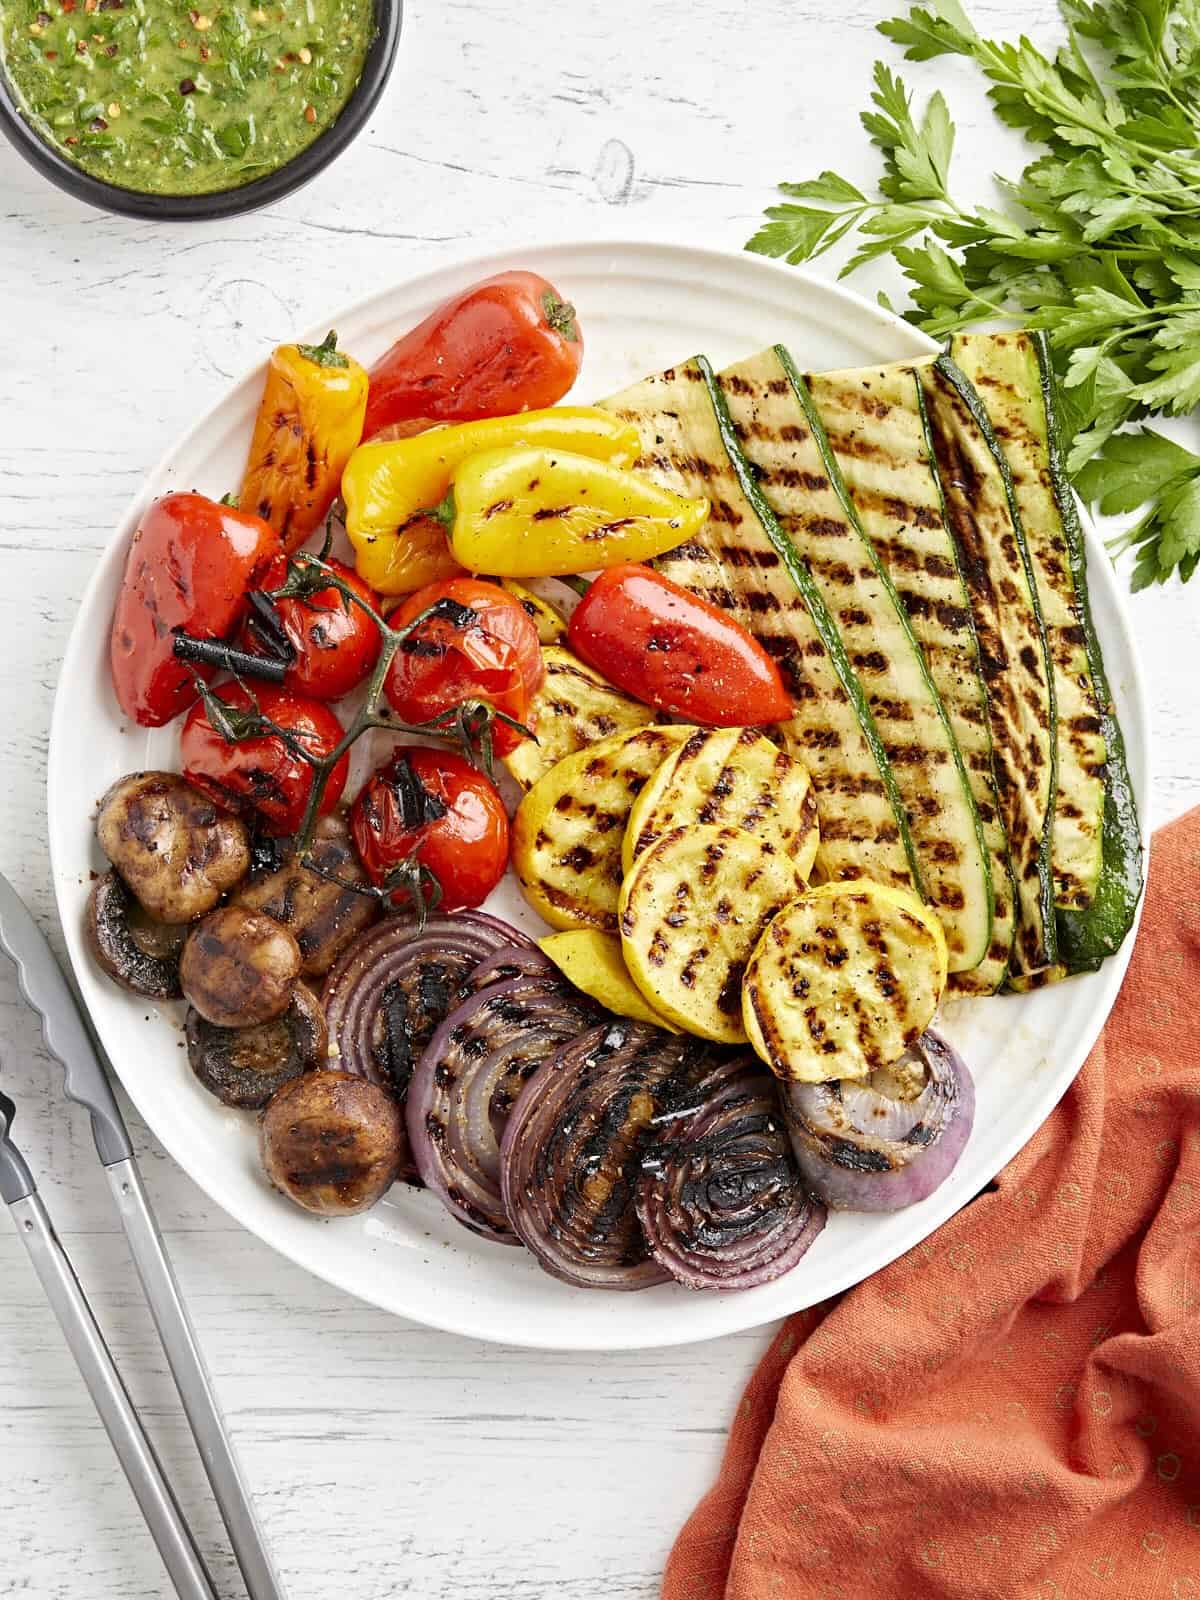
Vegetables for smoky sides
Vegetables like bell peppers, zucchini, and asparagus absorb smoke flavors beautifully, adding complexity to any meal. Toss them in oil and salt, then place them perpendicular to grill grates to prevent falling through. Cook over medium-high heat until tender-crisp with distinct char marks. This method enhances their natural sweetness while providing a hearty, nutritious counterpoint to richer meats, elevating the overall plate. -
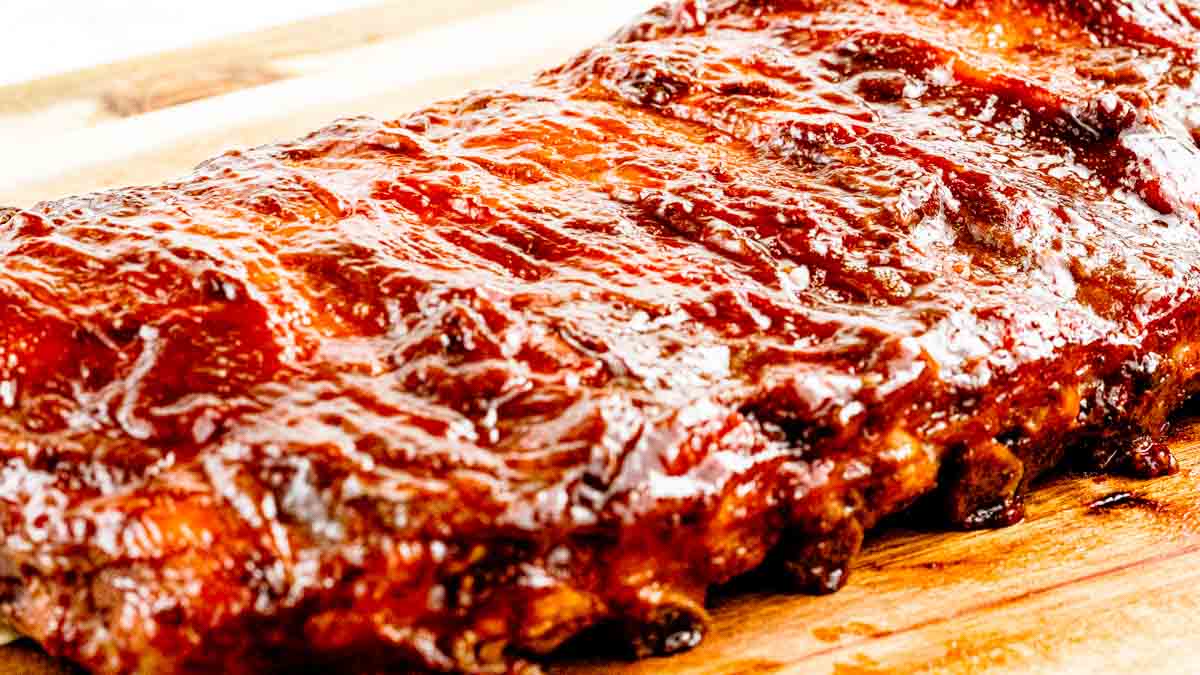
Pork ribs for tender meat
Pork ribs demand low-and-slow cooking to break down connective tissue without drying out the meat. Start with a dry rub, then smoke indirectly for several hours. Wrap in foil with a splash of apple juice or beer to tenderize further, then unwrap to set the bark. The result is fall-off-the-bone tenderness with a smoky, caramelized exterior that defines classic barbecue excellence.
Grilling Guide Basics for 2026
Success on the grill comes down to managing two types of heat: direct and indirect. Direct heat places food over the flame or coals, creating the sear and char marks we associate with a perfect steak. Indirect heat surrounds the food with hot air, cooking it through without burning the exterior. Knowing when to use each method determines whether your meal turns out tender and juicy or tough and charred.
Start by preheating your grill for 10 to 15 minutes. This ensures the grates are hot enough to sear meat immediately upon contact, preventing sticking and promoting proper Maillard reaction. Clean the grates with a brush before adding food to remove residue from previous sessions. A clean surface ensures consistent heat transfer and better flavor.
For thicker cuts like filet mignon or ribeye, use a two-zone fire. Sear the meat over direct heat to build flavor, then move it to the indirect side to finish cooking gently. This approach gives you control over the internal temperature without risking a burnt exterior. For thinner cuts like burgers or chicken breasts, direct heat alone is usually sufficient, provided you monitor the time closely.
Understanding these basics allows you to tackle any of the 10 essential cuts in this guide with confidence. The principles remain the same whether you are using charcoal, gas, or pellet grills. Focus on heat management, and the results will follow.
Essential grilling tools
The right equipment makes the difference between a rushed meal and a controlled cook. You do not need a full workshop, but a few reliable tools will keep your heat steady and your food safe. Start with a pair of long-handled tongs for turning steaks and flipping burgers without piercing the meat. A sturdy spatula with a thin edge is equally important for lifting delicate cuts from the grate.
Temperature control is the next priority. An instant-read thermometer gives you a quick, accurate check on internal heat so you can pull proteins at the perfect moment. For charcoal grills, a chimney starter lights fuel evenly without lighter fluid, leaving no chemical taste on your food. Keep a wire brush on hand to scrub the grates clean before and after every session.


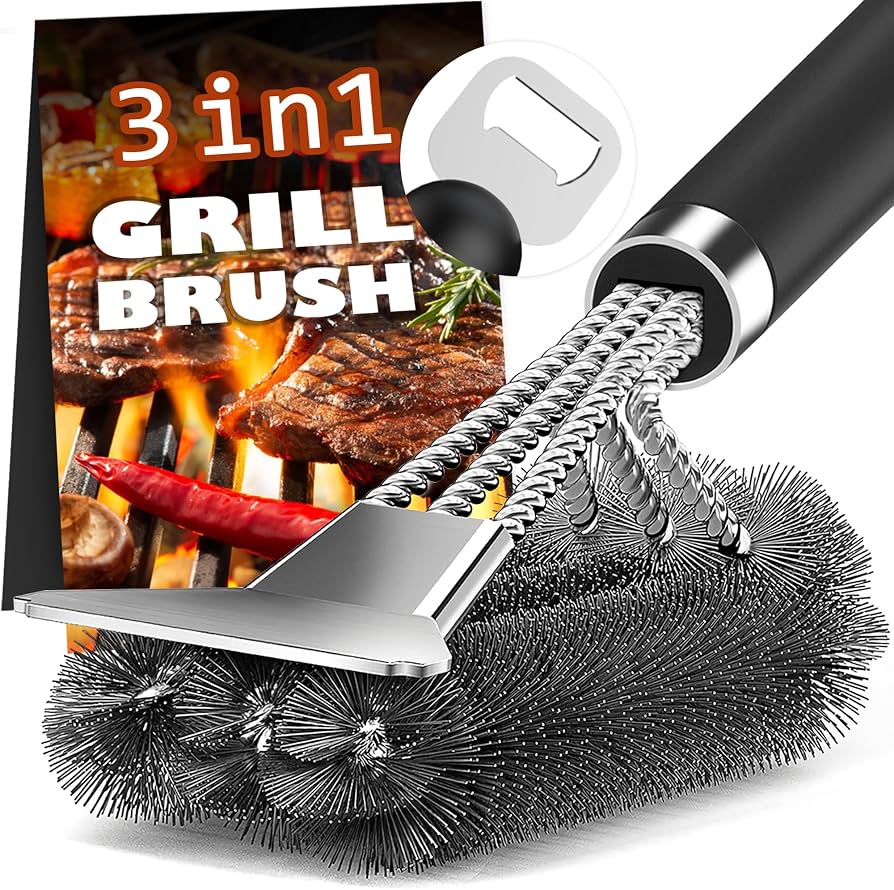
As an Amazon Associate, we may earn from qualifying purchases.
Gas, charcoal, and pellet grills compared
Choosing the right grill depends on how you cook and how much time you want to spend managing the fire. Gas grills offer speed and convenience, charcoal delivers high-heat searing and traditional smoky flavor, and pellet grills provide precise temperature control for low-and-slow smoking. This table breaks down the core differences to help you pick the right tool for your kitchen.
| Grill Type | Heat Control | Flavor Profile | Setup & Cleanup |
|---|---|---|---|
| Gas | Instant, precise knobs | Clean, mild smoke | Quick ignite, ash-free cleanup |
| Charcoal | Manual vent adjustment | Rich, authentic smoke | Longer preheat, ash disposal |
| Pellet | Digital temperature settings | Subtle wood smoke | Plug in, wood chip tray cleanup |
Gas grills are the standard for weeknight dinners. You get heat the moment you flip the switch, making them ideal for burgers and steaks that cook fast. Charcoal grills require more patience but reward you with higher maximum temperatures and a distinct flavor that gas cannot replicate. Pellet grills act like outdoor ovens, using wood pellets to maintain steady temperatures for hours, perfect for brisket or ribs.
Grilling Prep Checklist
A successful grill session starts before the fire is lit. A systematic prep routine ensures your heat is even, your tools are ready, and your meat is primed for the best crust. Follow this ordered checklist to avoid last-minute scrambles.
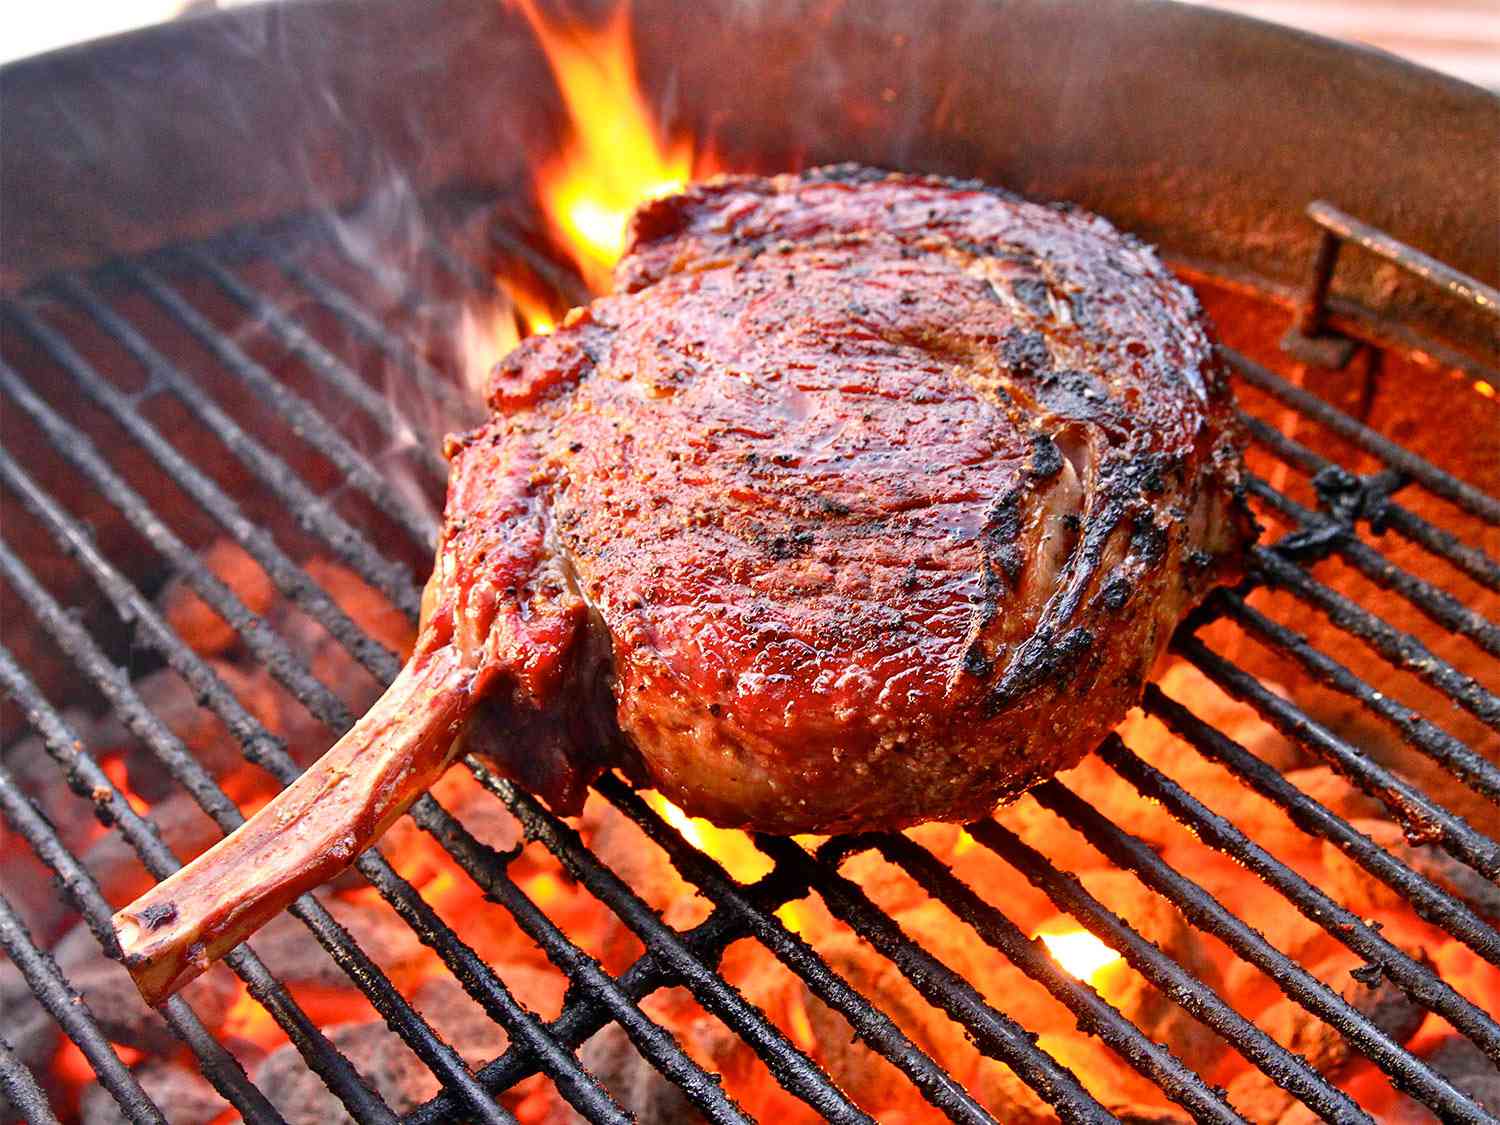
Scrub the grates with a brass or nylon brush to remove carbon buildup from previous sessions. Check for loose spots or rust that could flake into your food. A clean surface is the foundation of a good sear.
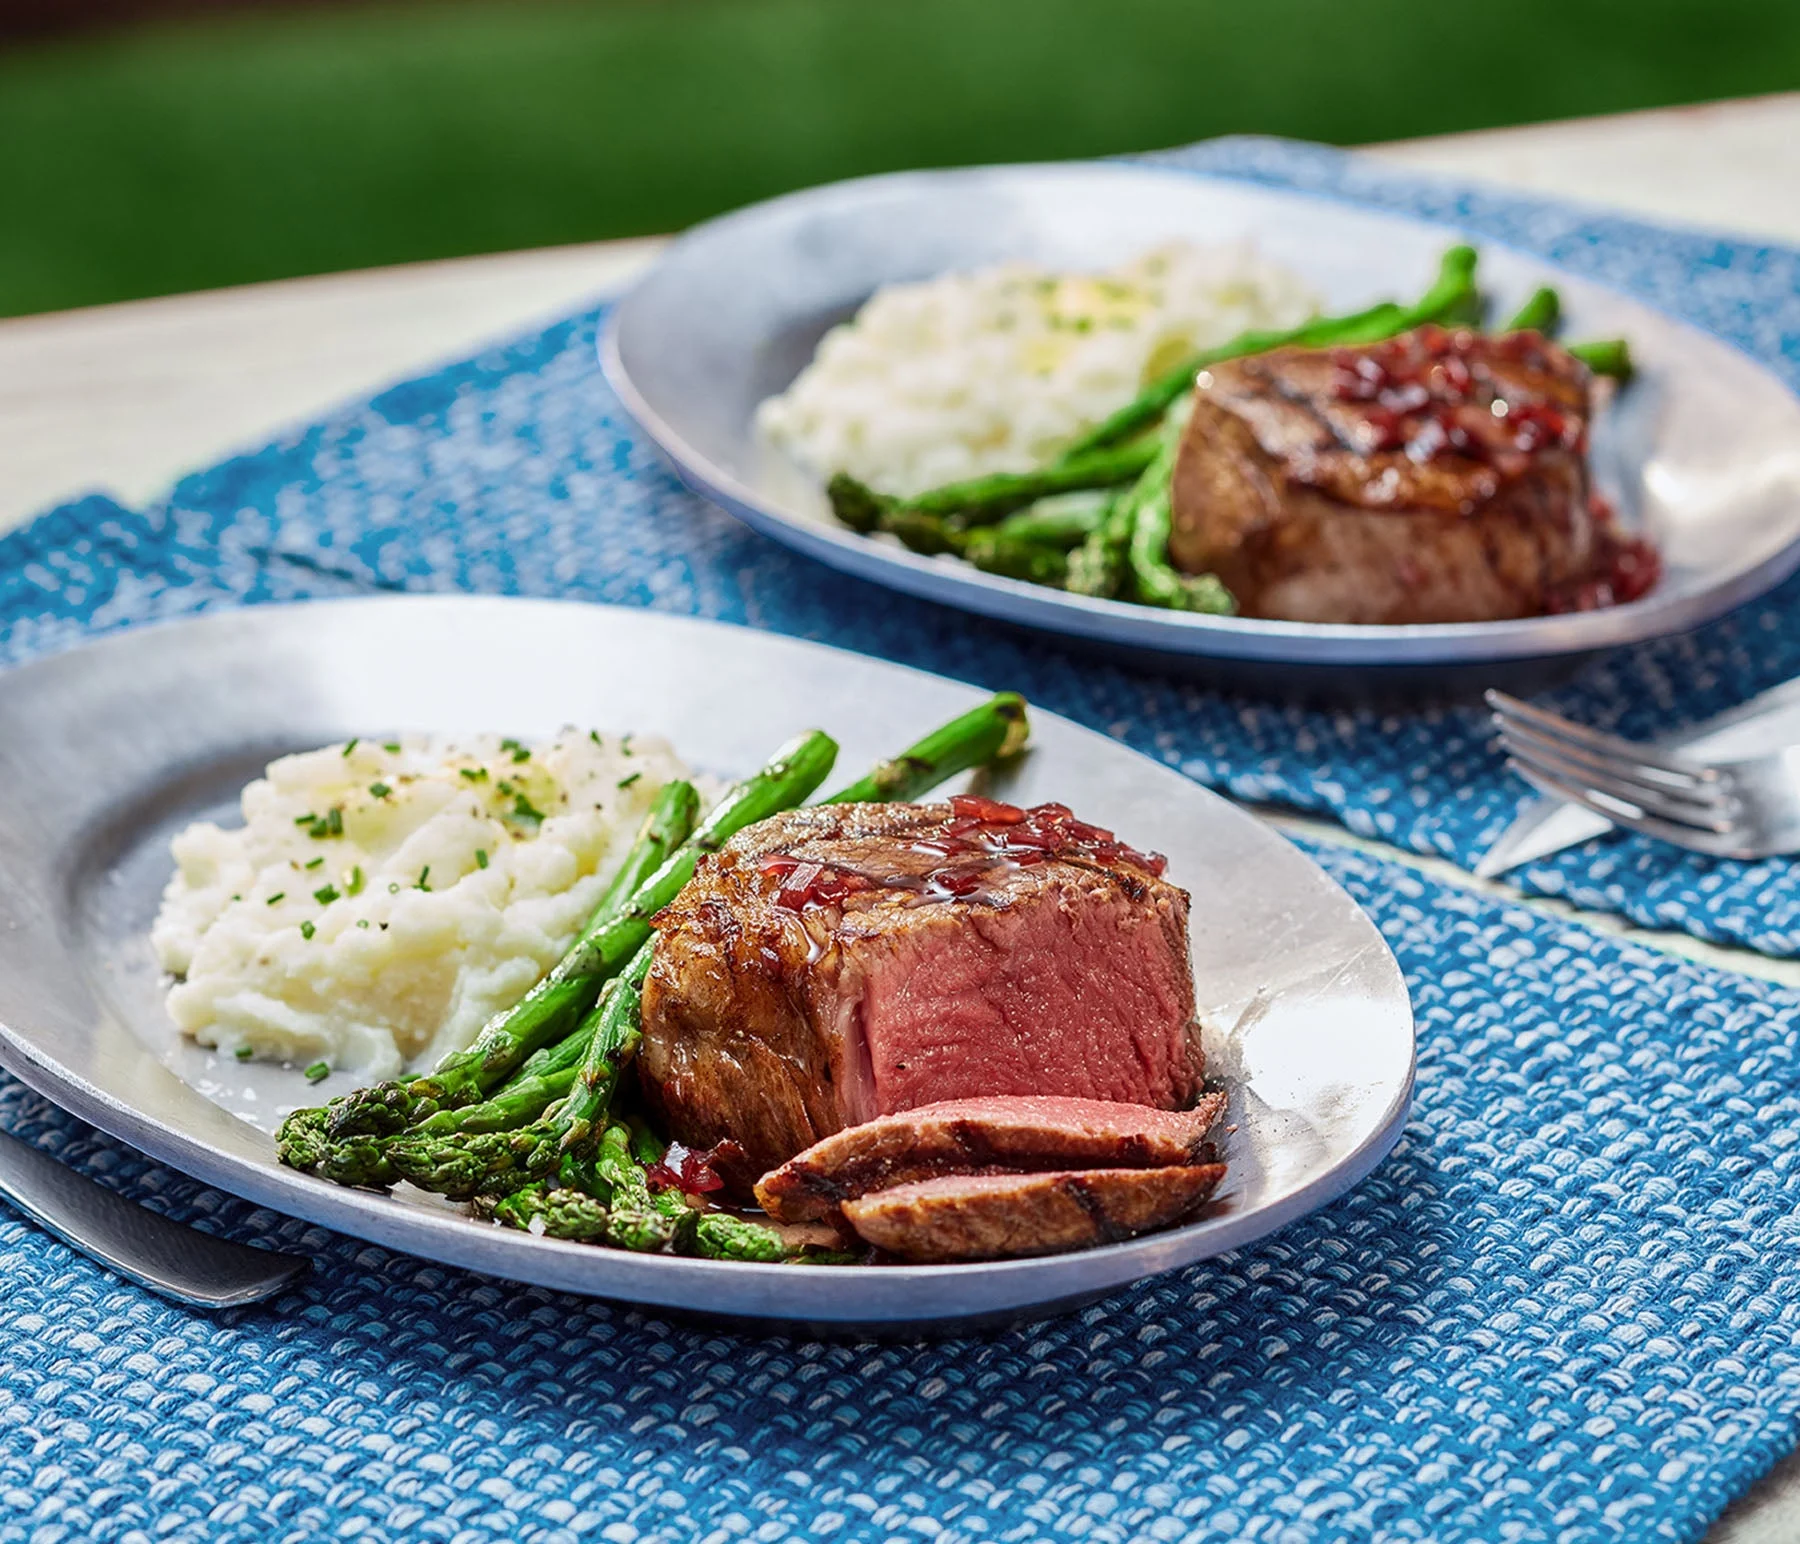
Turn all burners to high (or open charcoal vents fully) and close the lid. Allow 10–15 minutes for the grates to reach the target temperature. This step renders the grill ready for immediate searing.
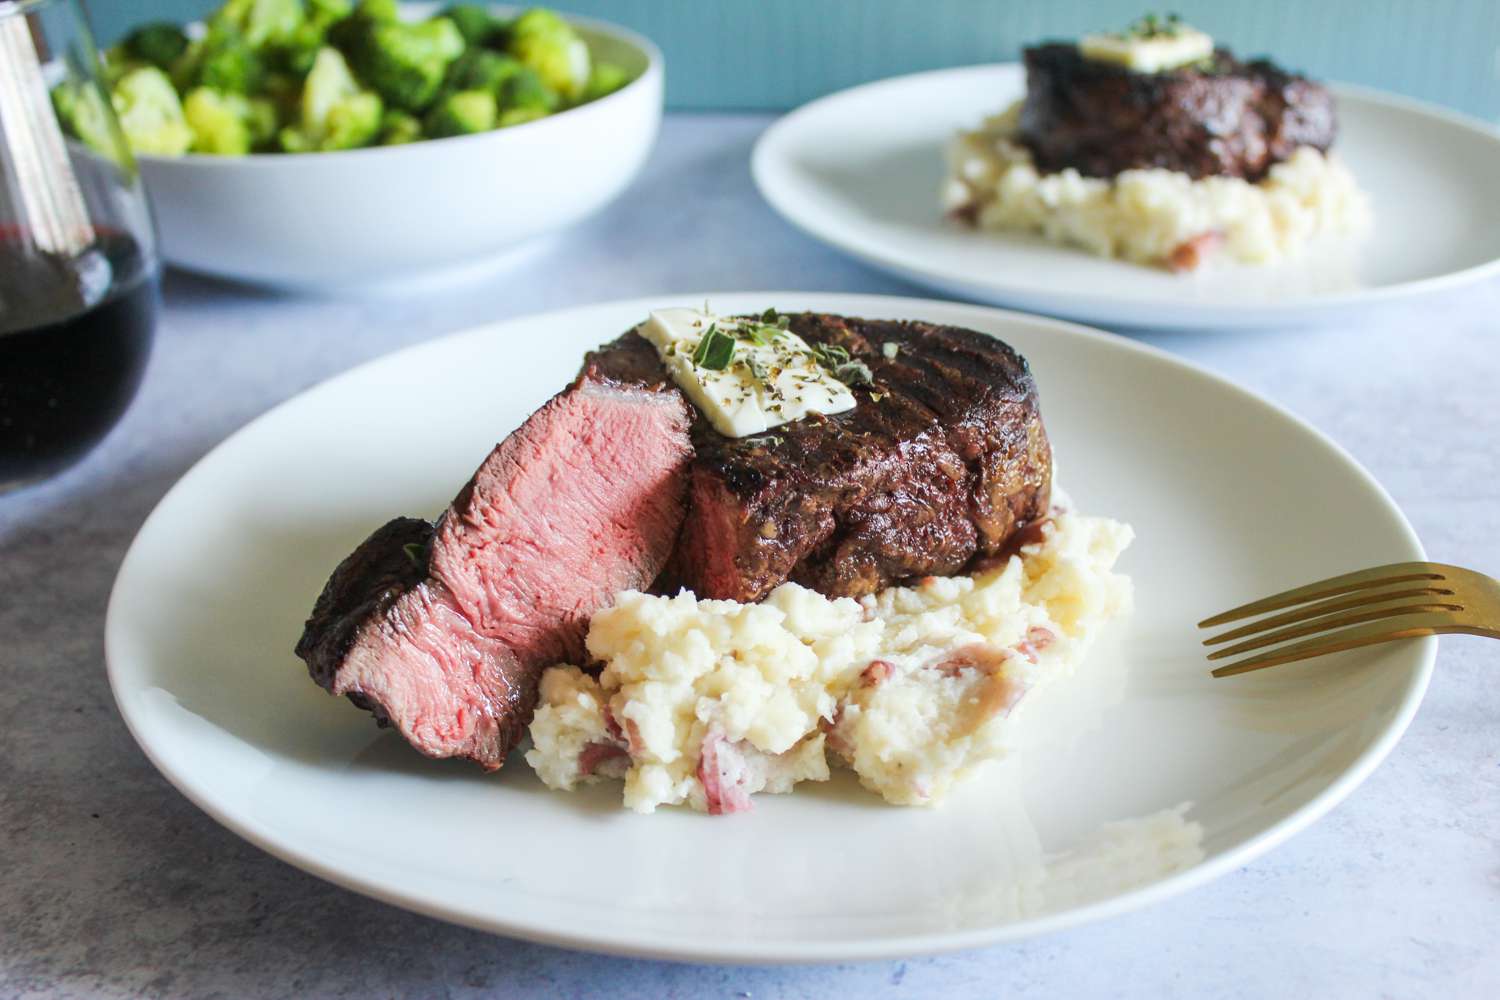
Dip a folded paper towel in neutral oil, hold it with tongs, and rub the hot grates. This creates a non-stick layer without causing the flare-ups that happen when you oil the meat directly.
Pat proteins dry and season them generously with salt and pepper at least 30 minutes before cooking. Bringing meat to room temperature ensures it cooks evenly rather than steaming in its own juices.
Place long-handled tongs, a spatula, an instant-read thermometer, and a platter within arm’s reach. Keeping everything organized prevents you from leaving the grill unattended while you hunt for tools.
No comments yet. Be the first to share your thoughts!