

Set up your two-zone fire
A two-zone fire is the foundation of any successful grilling guide. It gives you control over how your food cooks by dividing the grill into two distinct areas: direct heat and indirect heat. This setup works for every protein whether you are searing a filet mignon, finishing a burger, or roasting a whole chicken.
Think of your grill as a kitchen with two rooms. One room is the stovetop (direct heat), where you get high, intense heat for searing. The other room is the oven (indirect heat), where you get ambient, even heat for cooking through without burning the outside. Having both available means you can sear a steak to lock in juices and then move it to the cooler side to finish cooking gently. This prevents the common mistake of charred exteriors and raw centers.
How to build the fire
For charcoal grills, push all the lit coals to one side of the grill. Leave the other side completely empty. If you are using a gas grill, light only the burners on one side. Turn the middle and outer burners off if you have a three-burner setup. This creates a clear boundary between the hot zone and the safe zone.
Why this matters for your proteins
This layout solves the biggest challenge of grilling: managing heat. Filet mignon is lean and can dry out if cooked too long over high heat. The two-zone setup lets you sear it quickly for flavor, then move it to the indirect side to reach your desired doneness without burning. Burgers benefit from the direct zone for a crispy crust, but if they are thick, the indirect zone ensures the inside cooks before the outside burns. Whole chicken needs the indirect zone to roast evenly, but you can sear the skin over direct heat for crispiness at the end.
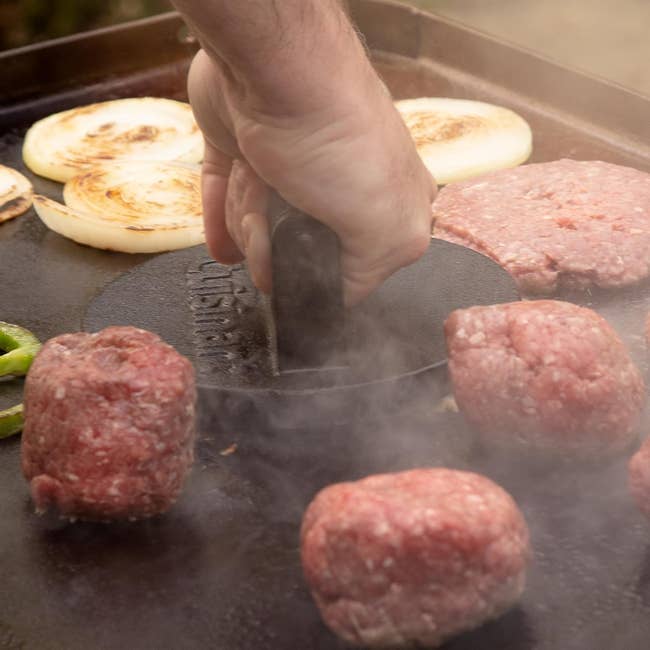
Turn all burners to high on a gas grill, or arrange lit charcoal on one side. Let the grill heat up for 10-15 minutes. You want the direct zone to reach high heat (450°F+) for searing.
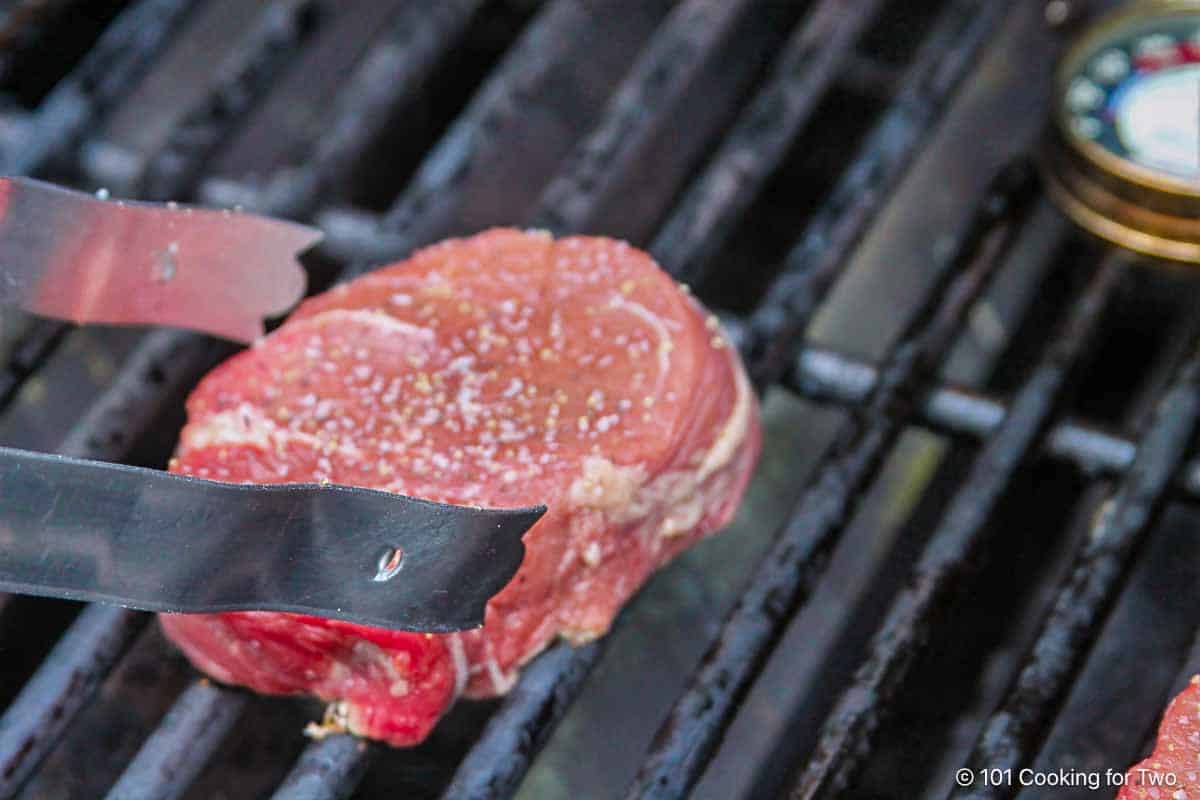
On a charcoal grill, push coals to one side. On a gas grill, turn off the burners on the side you want to be indirect. You should now have a hot side and a cool side.
Hold your hand about 5 inches above the grate. If you can only hold it there for 2-3 seconds, the direct zone is hot. If you can hold it for 5-6 seconds, it is medium heat. Adjust vents or burner knobs as needed.
Once your zones are set, you are ready to cook. This single setup handles the entire grilling guide process, from searing to roasting, without needing to add more fuel or change your equipment.
Grill the filet mignon
Filet mignon is the most tender cut of beef, but its low fat content means it can dry out quickly if treated carelessly. The goal here is a crisp, caramelized crust without overcooking the interior. Because the steak is lean, you need high heat to trigger the Maillard reaction—the chemical process that creates that savory, browned flavor—while keeping the inside pink and juicy.
Start by patting the steels completely dry with paper towels. Moisture is the enemy of a good sear; if the surface is wet, the steak will steam instead of brown. Season generously with kosher salt and coarse black pepper just before it hits the grill. Let the steak sit at room temperature for about 20 minutes while your grill preheats to high heat (around 450–500°F). You want the grates hot enough that a drop of water sizzles and evaporates instantly.
Place the filet directly over the hottest part of the grill. Do not move it for 2–3 minutes. This stationary time is critical for developing a deep, dark crust. If the steak sticks to the grates, it isn’t ready to flip. Use tongs to rotate it 90 degrees halfway through to create crosshatch marks, then flip it once.
Sear the opposite side for another 2–3 minutes. If your steak is thicker than 1.5 inches, you may need to sear the edges by holding it vertically with tongs for 30–60 seconds per edge. This renders the fat cap and prevents curling. The total active grilling time for a 1-inch steak is usually 4–6 minutes for medium-rare.
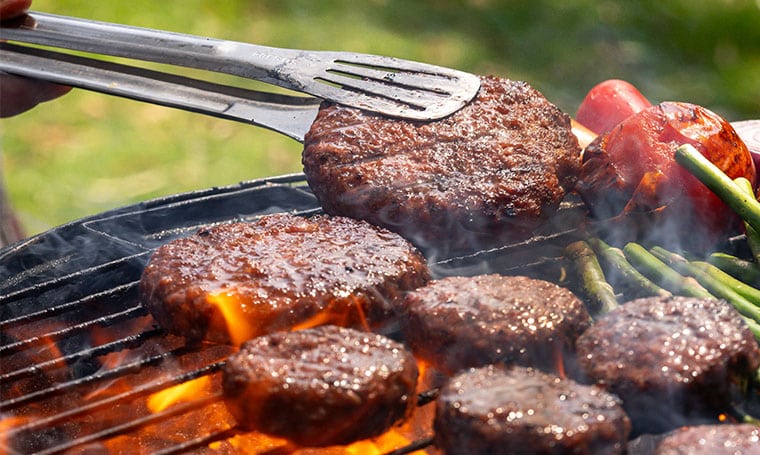
Remove the steak when the internal temperature is 5°F below your target. For medium-rare, pull it at 125°F (52°C). The temperature will continue to rise (carryover cooking) while it rests. An instant-read thermometer is the only reliable way to avoid guessing; visual cues are often misleading with lean cuts like filet.
Transfer the steak to a warm plate or cutting board and tent loosely with foil. Let it rest for 5–10 minutes. This allows the muscle fibers to relax and reabsorb the juices. If you cut into it immediately, those juices will spill out onto the board, leaving the meat dry and less flavorful.
Grilling is a game of heat management. If you see flames licking up from dripping fat, move the steak to a cooler zone of the grill to finish cooking. This prevents the exterior from charring before the interior reaches the desired doneness. Once rested, slice against the grain and serve immediately.
Grill the burgers
Building a reliable grilling guide means understanding that the burger is less about precision and more about heat management and fat distribution. Unlike the filet mignon or the whole chicken, a burger is a composite of ground meat and added fat, making it both the most forgiving and the most prone to disaster if handled incorrectly. The goal is a crusty exterior and a juicy interior, achieved by keeping the meat cold and letting the grill do the work.
Start by preheating your grill to medium-high heat. For a gas grill, this means turning all burners on high for ten to fifteen minutes before you even touch the meat. You want a hot surface to sear the outside quickly, locking in juices. While the grill heats, form your patties. Keep the meat cold until the last second; warm fat melts too early, leading to a dry burger. Shape the patties slightly wider than your buns, as they will shrink during cooking. Press a shallow dimple into the center of each patty with your thumb. This prevents the patty from puffing up into a ball, ensuring it stays flat and cooks evenly.
When the grates are hot and oiled, place the patties down. This is where most home cooks make their fatal error: they press down on the burgers with a spatula. Do not do this. Pressing squeezes out the flavorful juices and fat, leaving you with a dry, crumbly puck. Let the burger sit undisturbed for three to four minutes. You will see juices pooling on the top surface; this is your cue that the bottom is seared and ready to flip. Flip only once. Over-manipulating the meat prevents a good crust from forming.
Cook until the internal temperature reaches 160°F (71°C) for well-done, or 155°F (68°C) if you prefer a medium finish. If you are adding cheese, place it on the patty right after flipping and close the lid for the final minute to melt it without overcooking the meat. Remove the burgers to a clean plate and let them rest for two minutes. This allows the juices to redistribute throughout the patty rather than running out onto the bun the moment you bite into it.
Grill the whole chicken
Roasting a whole chicken on the grill requires a two-zone fire to keep the meat juicy while crisping the skin. This indirect heat method mimics an oven, allowing the bird to cook through evenly without burning the exterior.
Setup the Two-Zone Fire
Arrange your charcoal or preheat your gas burners to create two distinct heat zones. For charcoal, push the lit coals to one side of the grill, leaving the other side empty. For gas, turn on only the burners on one side. This creates an indirect heat zone where you will place the chicken, preventing flare-ups and ensuring even cooking.
Prepare and Place the Bird
Pat the chicken dry with paper towels and season it generously. Place the chicken breast-side up on the grate over the unlit side (indirect heat). If your grill has a lid, close it to trap the heat, turning the grill into a convection oven. The goal is to cook the chicken gently until the internal temperature reaches safe levels.
Pat the chicken dry to help the skin crisp. Season with salt, pepper, and herbs. Place the bird breast-side up on the grill grate over the indirect heat zone (the side with no flames or coals directly underneath).
Close the grill lid to create an oven-like environment. Cook for approximately 45–60 minutes, depending on the size of the bird. Avoid opening the lid frequently, as this releases heat and extends cooking time.
Insert an instant-read thermometer into the thickest part of the thigh, avoiding the bone. The chicken is safe to eat when the internal temperature reaches 165°F (74°C). If the skin isn’t crispy enough, move the chicken directly over the heat source for the last 2–3 minutes.
Rest and Serve
Once the chicken reaches 165°F, remove it from the grill and let it rest on a cutting board for 10–15 minutes. This allows the juices to redistribute, ensuring moist meat. Carve and serve as part of your summer grilling guide feast.
Watch a grilling demo
Visualizing the two-zone fire makes the concept stick faster than reading about it. This Grilling guide demo from Rick Bayless breaks down the essentials of direct and indirect heat, showing exactly how to manage your grill zones for filets, burgers, and whole chicken.
The video covers grate maintenance and fire management, giving you a clear reference point before you light the coals.
Grilling prep checklist
Before you light the grill, run through this quick inventory. A smooth grilling guide starts with having the right tools, fuel, and ingredients within arm’s reach so you aren’t scrambling mid-cook.
- Grill tools: Long-handled tongs, a sturdy spatula, meat thermometer, and a wire brush for cleaning grates.
- Fuel: Two full propane tanks or enough charcoal to last through the entire cook, plus lighter fluid or chimney starter.
- Ingredients: Filet mignon, burger patties, whole chicken, oil, salt, pepper, and any marinades prepped and chilled.
- Safety: Fire extinguisher nearby, heat-resistant gloves, and a clean platter for resting meat.
-
Grill tools ready
-
Fuel topped up
-
Ingredients prepped
-
Safety gear accessible
Double-check that your grill grates are clean and oiled. This simple step prevents sticking and ensures even heat distribution for every item on the grill.
Common grilling: what to check next
This Grilling guide covers the most frequent hurdles when cooking filet mignon, burgers, and whole chicken. Mastering these basics ensures every protein hits the perfect doneness without drying out.
What is the best temperature for grilling burgers?
Set a gas grill to medium heat and let it preheat for 10 to 15 minutes before placing the patties inside. This steady, moderate heat prevents the outside from burning while the center remains raw. For charcoal, arrange the coals for indirect heat to avoid flare-ups that can char the meat too quickly. Flip burgers only once to retain juices. Grilling Basics from Beef It’s What’s For Dinner recommends this two-zone approach for consistent results.
How do you keep whole chicken moist on the grill?
Brining the whole chicken in saltwater for several hours before grilling is the most effective way to keep the meat juicy. This process helps the muscle fibers retain moisture during the long cooking time. If brining isn’t an option, rub the bird generously with oil and seasonings, and consider using a drip pan underneath to catch any juices that prevent flare-ups. Cook over indirect heat to ensure the meat cooks evenly without drying out.
How do you know when filet mignon is done?
Use an instant-read thermometer to check the internal temperature rather than guessing by touch. For a medium-rare finish, remove the steak from the grill when it reaches 130°F (54°C); the temperature will rise a few degrees as it rests. Filet mignon is lean, so overcooking it quickly leads to a tough texture. A quick sear over high heat followed by a move to a cooler part of the grill helps achieve a perfect crust without overcooking the center.
No comments yet. Be the first to share your thoughts!