
Welcome to the Ultimate Grilling Guide: Chicken Legs & Drumsticks Edition
Ever wondered what separates the grill masters from the novices when it comes to grilling chicken perfectly? It's all in the technique, my friend. And that's exactly what this ultimate grilling guide is all about. It's your one-way ticket to mastering the art of grilling chicken legs and drumsticks, transforming you from a backyard beginner to a grill guru.
Imagine this: it's the weekend, and you're pondering what to grill for dinner tonight. You've got a pack of chicken legs and drumsticks in the fridge, but you're tired of the same old recipes. You want that golden, crispy skin, juicy meat, and flavor that sings. You're in the right place.
This guide will reveal the best way to grill drumsticks, share grill cooking tips you've never heard before, and even inspire you with what to grill this weekend. Ready to boost your grill game? Let's dive in.
Chicken Legs vs Drumsticks: What's the Difference?
Ever looked at a chicken and wondered, "What part am I actually grilling?" Well, let's clear the air. The term 'chicken leg' is often used interchangeably with 'drumstick', but there's a subtle difference. A chicken leg consists of two parts - the drumstick and the thigh. The drumstick is the lower part of the leg, the bit you’d hold onto if you were to eat the chicken with your hands, like a pirate gnawing on a meaty treasure. The thigh, on the other hand, is the upper part of the leg, located just below the chicken's hip.
So, why does this matter for your grilling chicken perfectly mission? Well, knowing your chicken parts can help you achieve the ultimate grilling guide's goal: evenly cooked, juicy meat. Drumsticks and thighs can have different cooking times due to their size and meat density. So, the next time you're pondering what to grill this weekend or what to grill for dinner tonight, remember this: grilling chicken legs guide isn't just about the drumsticks; it's about mastering the art of grilling both the drumstick and the thigh.
Now, armed with this knowledge, you're one step closer to becoming a grill master. Ready to dive into the world of marinades and grill cooking tips? Let's go!
From Kitchen to Grill: Prepping Your Chicken Like a Pro
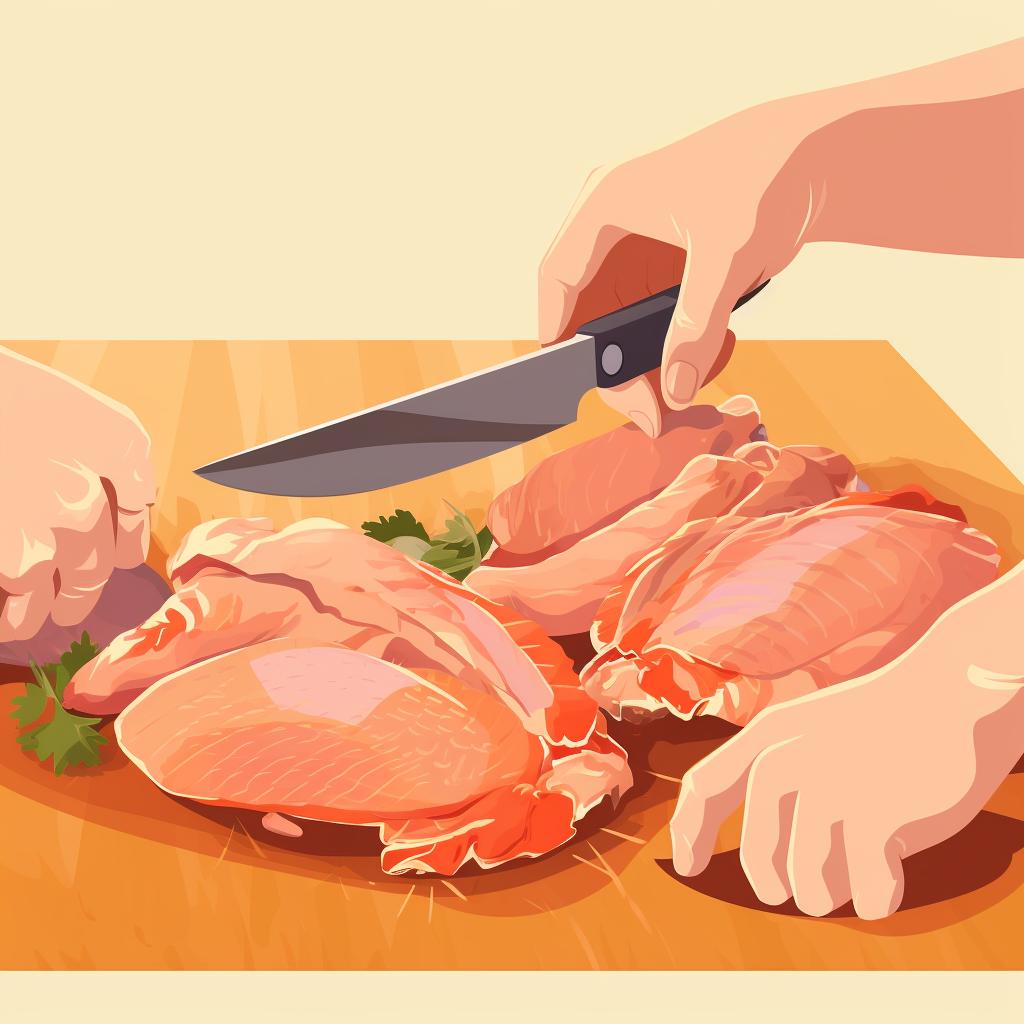
Now that we've identified our chicken parts, let's dive into the preparation process. Here's a step-by-step guide to cleaning, marinating, and preparing your chicken legs and drumsticks for grilling.
From Cleaning to Marinating: Preparing Your Chicken


Learn more about 🔥 Grill Matey: Step-by-Step Guide to Preparing Your Chicken 🔥 or discover other Grill Matey guides.
With your chicken properly cleaned, marinated, and prepped, you're ready to move on to the grilling process. But before we do that, let's talk about choosing the right marinades and rubs to maximize the flavor of your chicken.
Now, let's dive into the world of marinades and rubs, the secret weapons in your grilling arsenal. Ever wondered why your neighbor's grilling chicken perfectly every weekend while yours tastes like it's missing something? The answer often lies in these flavor-packed concoctions.
Marinades, a blend of acid, oil, and spices, tenderize and infuse your chicken legs and drumsticks with flavor. The acid breaks down tough proteins while the oil carries flavor into the meat. For a quick flavor boost, a simple marinade of olive oil, lemon juice, garlic, and your favorite herbs can work wonders. If you're wondering what to grill this weekend, why not experiment with a spicy, Asian-inspired marinade?
On the other hand, rubs are a blend of spices and seasonings that create a delicious, crispy crust on your grilled chicken. A basic rub could include brown sugar, paprika, garlic powder, salt, and pepper. But don't stop there! The best way to grill drumsticks is to get creative with your rubs. Ever tried adding some ground coffee or cocoa powder? Trust us, it's a game-changer!
Remember, your marinade or rub isn't just about adding flavor. It's about creating an experience, a memory. So, what are you grilling for dinner tonight?
Grill Cooking Tips: Turning Up the Heat on Your Chicken Grilling Techniques
As the saying goes, "playing with fire is dangerous," but we're about to do just that - safely, of course. Mastering the grill starts with understanding fire safety, so let's make sure we're all on the same page. First, keep a fire extinguisher nearby, and never leave your grill unattended. Sounds simple, right? But you'd be surprised how often these rules are overlooked!
Now, let's talk about heat. Ever wondered why your chicken grilling techniques leave you with charred drumsticks or undercooked chicken legs? It's all about heat management, my friend. Your grill isn't a one-trick pony; it can do more than just scorch. Learn to use the zones: high heat for searing and low heat for cooking through. It's like a dance, and your grill is your partner, leading the way to that perfect golden-brown finish.
Arranging your chicken on the grill is the final step in this grilling chicken legs guide. Picture this: your chicken parts are dancers, and the grill is their stage. You wouldn't want them all bunched up in the corner, would you? Spread them out, give them room to move. This ensures even cooking and, trust me, your taste buds will thank you. So, what are you grilling for dinner tonight?
Now that we've covered the basics of fire safety and managing grill heat, let's move on to the practical part. Here's a video that demonstrates the process of setting up the grill and placing the chicken.
The video above provides a clear demonstration of how to grill your chicken to perfection. Now that you've seen it in action, let's dive into the specifics of the recipe guide for grilling chicken legs and drumsticks, including ideal grill temperatures, cooking times, and when to apply sauces.
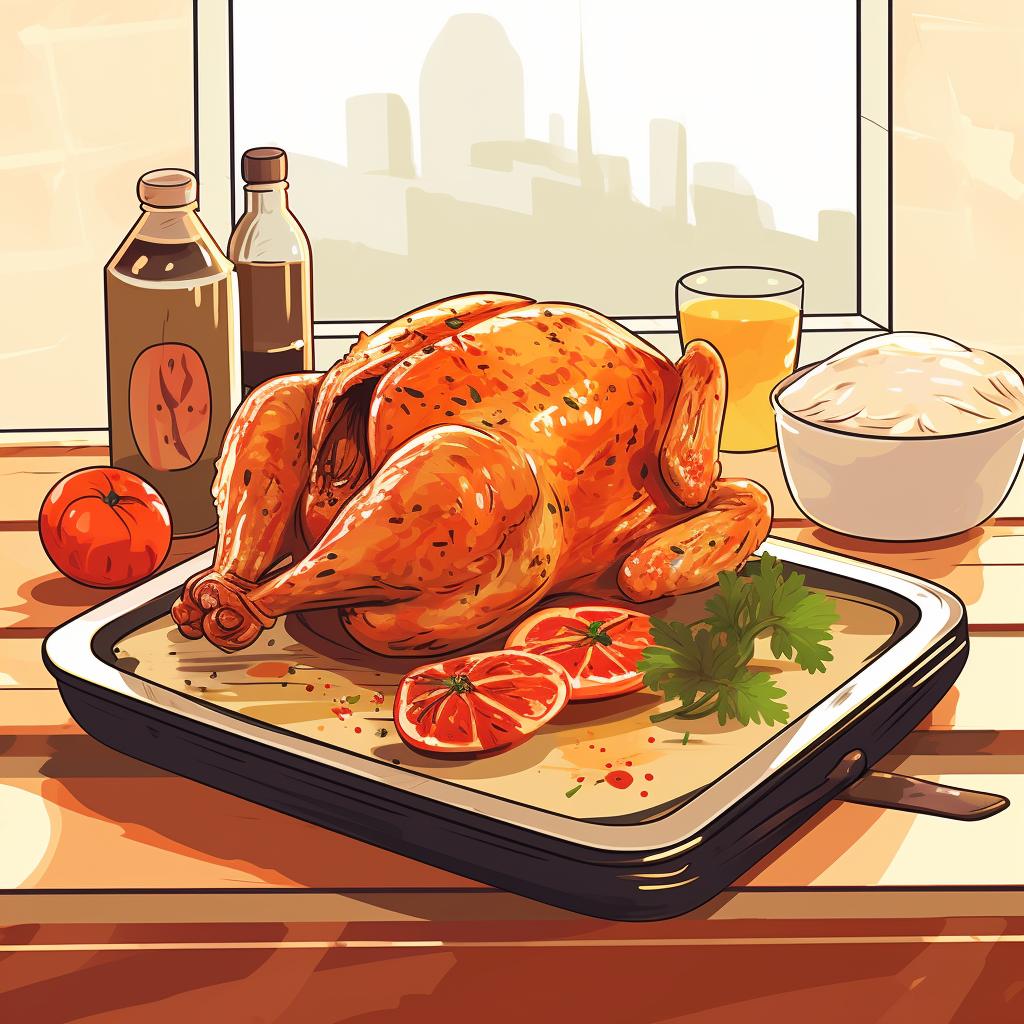
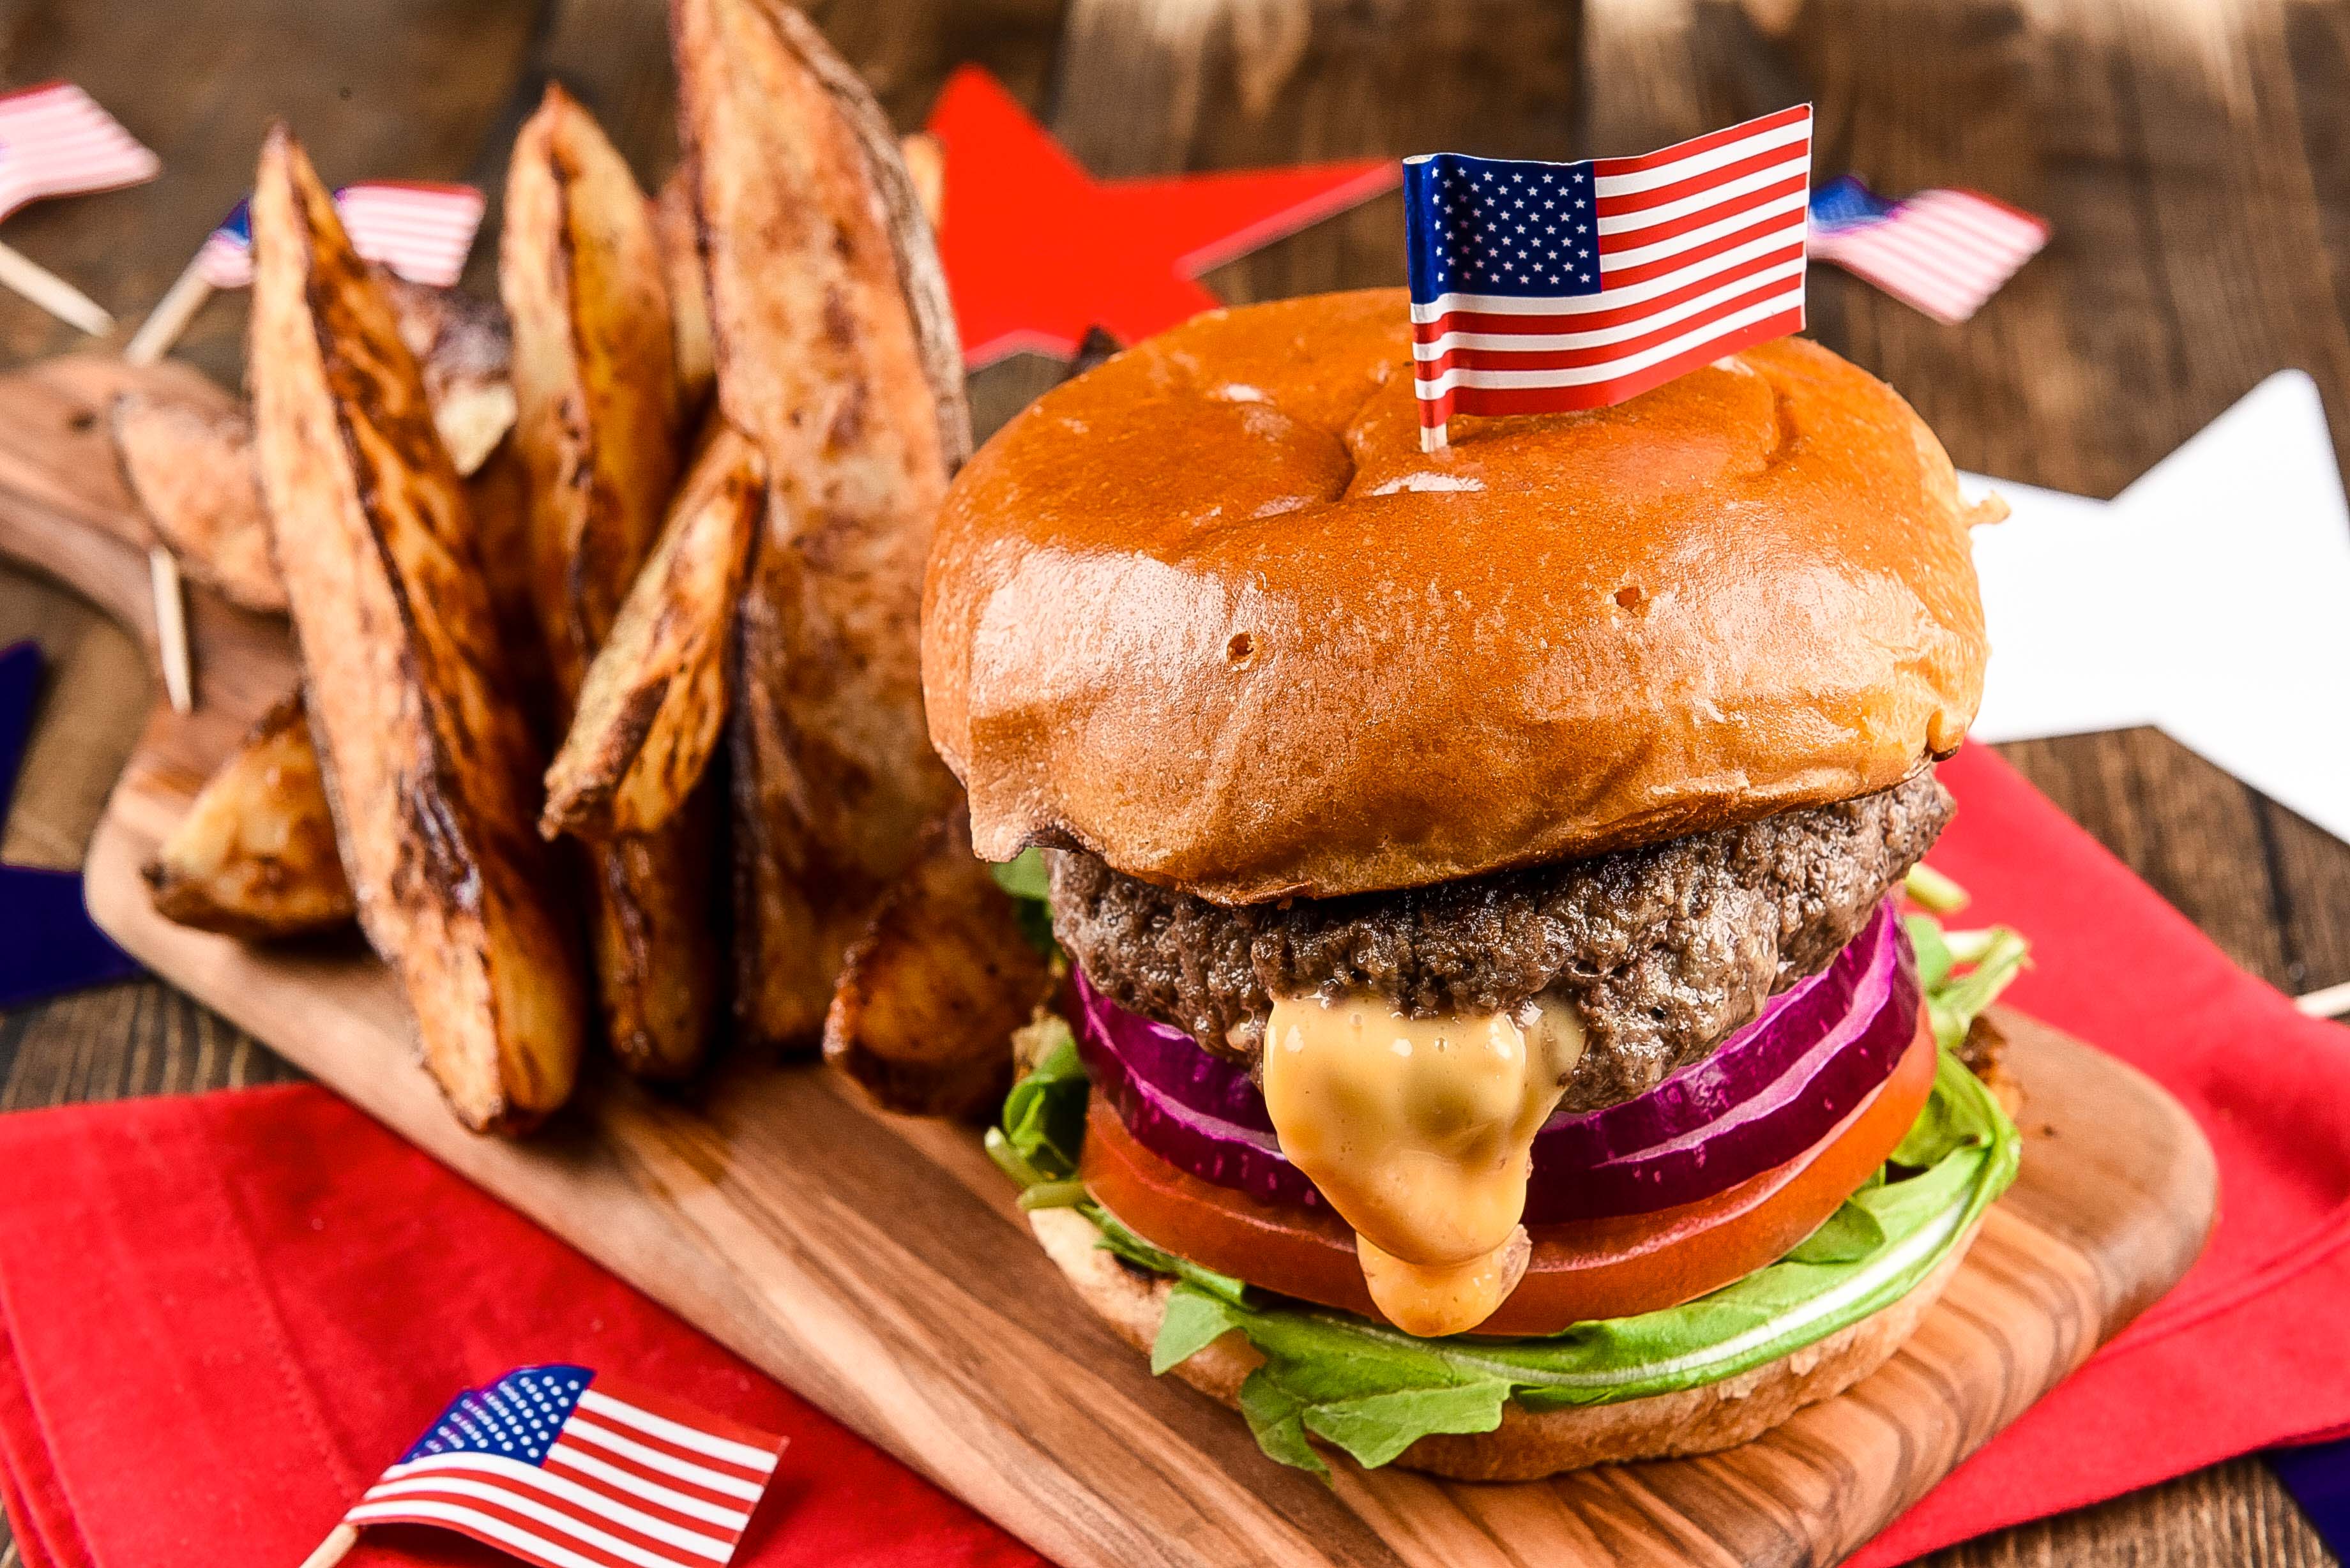
Perfectly Grilled Chicken Legs and Drumsticks
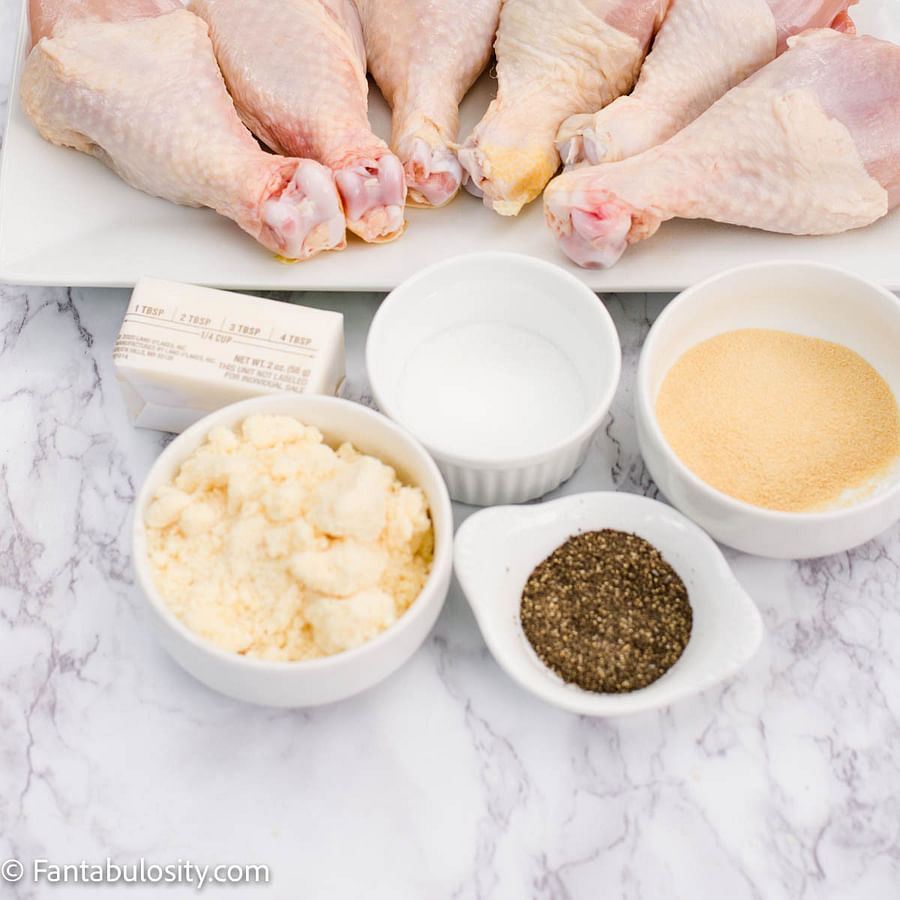
You will need:
 6 chicken legs and drumsticks
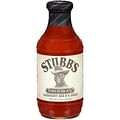 1/2 cup of your favorite BBQ sauce
 1/4 cup olive oil
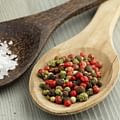 Salt and pepper to taste
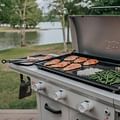 Grill
Grill Grill brush
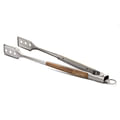 Tongs
Tongs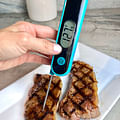 Thermometer
Instructions
- Preheat the grill to medium heat (350-450°F).
- Clean the grill grates with a grill brush.
- Coat chicken legs and drumsticks with olive oil, salt, and pepper.
- Place the chicken on the grill, skin side down.
- Grill for about 25-30 minutes, turning occasionally.
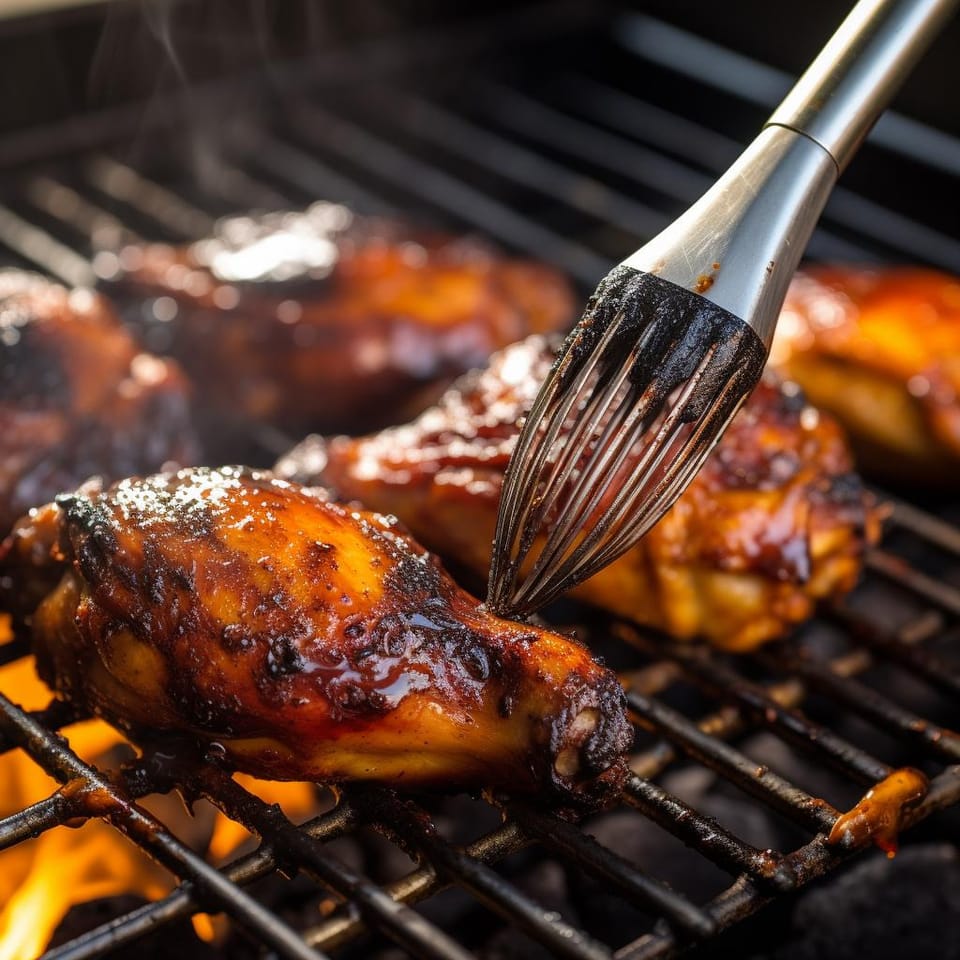
- Apply BBQ sauce during the last 5-7 minutes of grilling.
- Check the internal temperature of the chicken. It should reach 165°F.
- Remove the chicken from the grill and let it rest for a few minutes before serving.
Notes
Feel free to experiment with different seasonings and sauces to make this recipe your own. Just remember, the key to perfectly grilled chicken is managing your grill heat and cooking the chicken to the right internal temperature.
Learn more about 🍗 Perfectly Grilled Chicken Legs and Drumsticks Recipe 🍗 or discover other Grill Matey recipes.
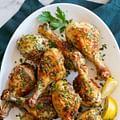
Serving Up Perfection: How to Present Your Grilled Chicken Masterpiece
So, you've grilled your chicken legs and drumsticks to a tantalizing golden brown. But how can you be sure that they're not just visually appetizing, but also perfectly cooked and safe to eat? Here's where your ultimate grilling guide comes in handy.
First, let's talk about the magic number: 165°F. This is the safe internal temperature for chicken, as recommended by the USDA. A reliable meat thermometer is your best friend here. Insert it into the thickest part of the chicken, without hitting the bone, and if it reads 165°F, you're good to go. No thermometer? No problem. Another way to check is by cutting into the meat. If the juices run clear and the meat is opaque all the way through, your chicken is ready.
Now, this might be the hardest part: resist the urge to dig in immediately! Letting your chicken rest for a few minutes after grilling helps the juices redistribute throughout the meat, ensuring every bite is moist and flavorful. Patience is a virtue, especially when it comes to grilling chicken perfectly. Remember, what to grill for dinner tonight isn't just about the cooking, it's also about the waiting. So, are you ready to grill chicken legs and drumsticks like a pro this weekend?
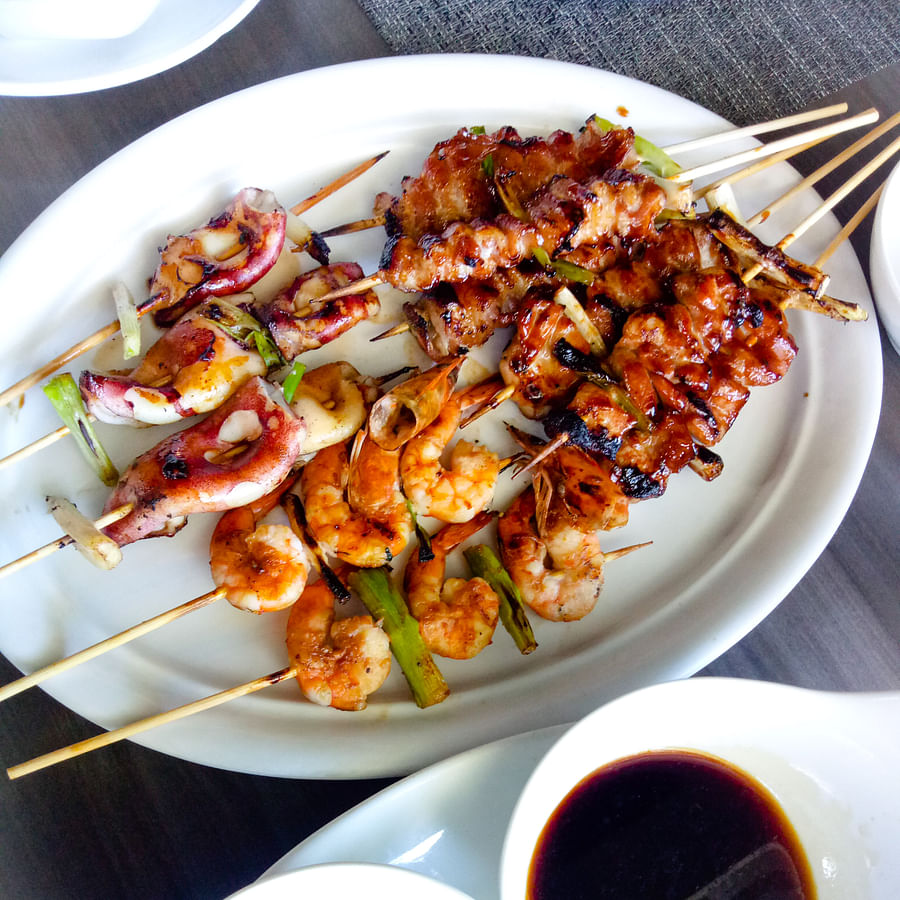
Now that you've mastered the art of grilling chicken perfectly, let's turn our attention to the supporting stars of your grill fest - side dishes. What's a hero without a worthy sidekick, right? A tangy coleslaw, a hearty potato salad, or a vibrant grilled corn on the cob can elevate your grilled chicken legs and drumsticks to a gastronomic symphony. And let's not forget about presentation - it's all about that first impression!
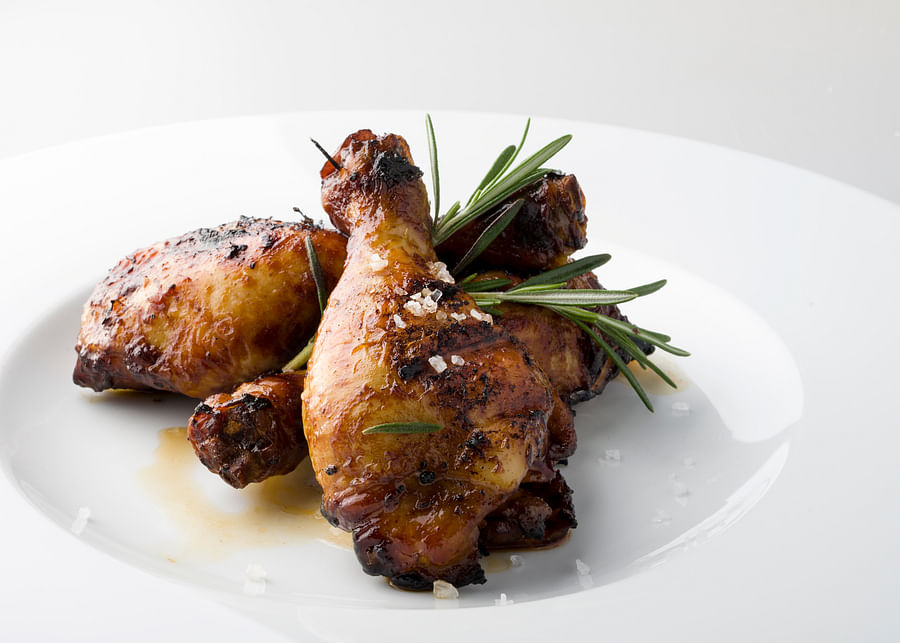
Imagine this: Your guests are gathered around, the air filled with the irresistible aroma of your grilled masterpiece. You unveil a platter, the grilled chicken legs and drumsticks glistening under a light brush of BBQ sauce, nestled against a backdrop of colorful sides. The collective gasps of appreciation? That's your cue to bask in your well-deserved glory.
So, what to grill this weekend? With our ultimate grilling guide at your fingertips, you're all set to create a feast that's not just about what to grill for dinner tonight, but a memorable culinary journey. Ready to up your grill game?
Grill Guru Q&A: Solving Your Chicken Grilling Dilemmas
Before we wrap up, let's address some common questions and dilemmas you might face while grilling chicken legs and drumsticks.
Now that we've addressed these common questions, you're well-equipped to handle any grilling challenge. Remember, practice makes perfect. Don't be afraid to experiment with different flavors and techniques. Happy grilling!
Time to Fire Up the Grill: Your Chicken Grilling Adventure Awaits
Now, you've twirled through the dance of flames, dipped into the orchestra of flavors, and mastered the rhythm of grilling chicken legs and drumsticks. But, my dear Grill Mateys, the journey doesn't end here. This is just the beginning of your culinary waltz.
Ask yourself, what new flavors could you conquer next? How will you elevate your grilling game? Because remember, the grill is not just a cooking tool, it's the stage upon which you perform your gastronomic symphony. So, as you close the lid on your grill tonight, let the aroma of your perfectly grilled chicken be the standing ovation you deserve.
Our ultimate grilling guide has armed you with the secrets to grilling chicken perfectly. But dare to be bold, dare to experiment. Discover what to grill for dinner tonight, or try out new chicken grilling techniques this weekend. Your grill is waiting, and the world is your oyster...or should we say, your chicken drumstick?
So, light up those coals, don your apron, and let's make every day a Grill Day!
What part of our 'Boost Your Grill Game' guide did you find most helpful or would like to learn more about?
We hope you found our guide useful! Let us know which part you found most helpful or what you'd like to learn next. Your feedback helps us create content that suits your grilling needs.
No comments yet. Be the first to share your thoughts!